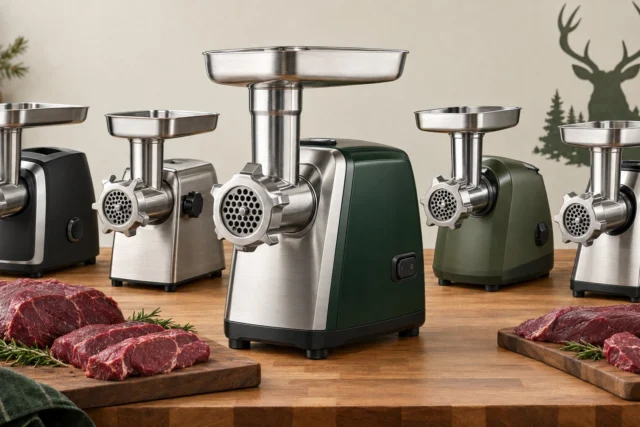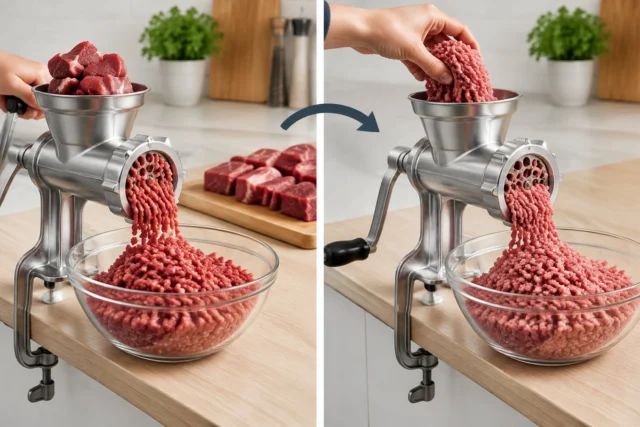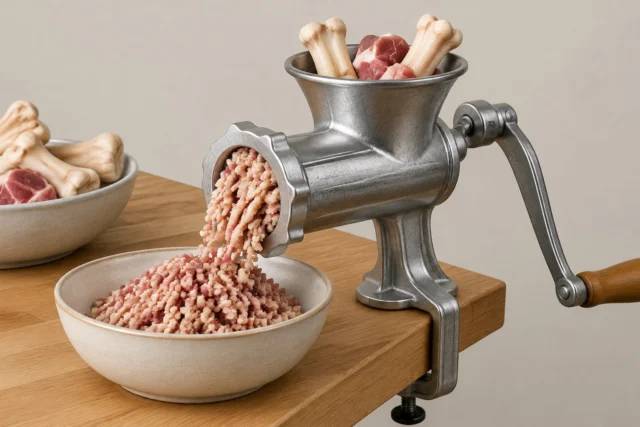

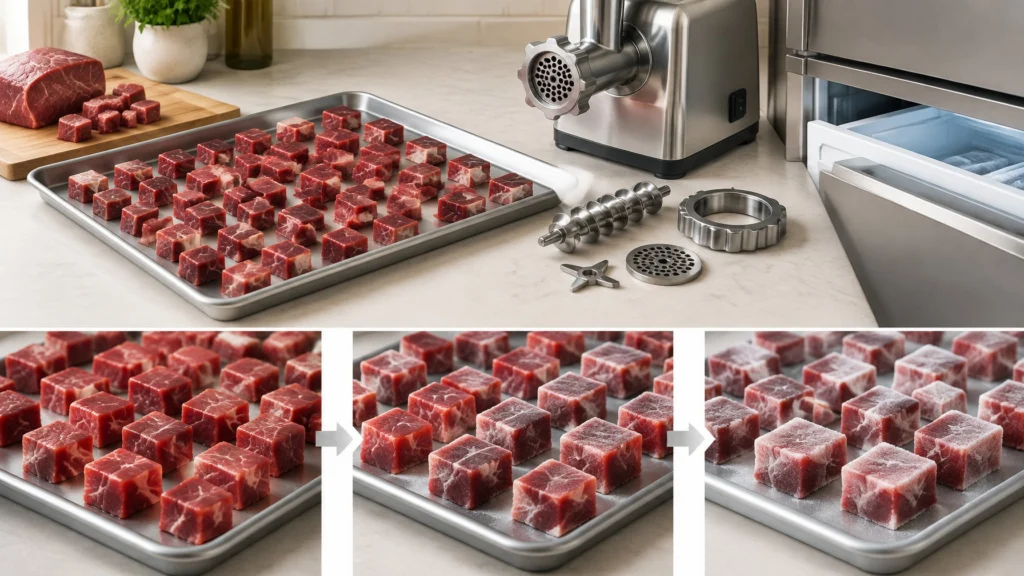
Spread small, refrigerated pieces of meat in one layer on a tray and freeze them for about 30 to 60 minutes, checking at the 30-minute mark. You want the edges stiff, leaving the meat firm but not frozen solid, with the center still cuttable with a knife. Treat the clock as a starting point. A firmness check decides when you grind.
Understanding why freeze meat before grinding helps you protect meat texture when preparing homemade ground meat. The technique relies on freezing meat before grinding so fat and lean cut cleanly instead of smearing.
Owners rarely compare chest and upright freezers for this step. Most describe a target feel, not a set time. MeatEater says the meat should be icy in the middle but not frozen into a solid block. It suggests putting the grinder parts in the freezer for 30 minutes and chilling the meat another 10 to 15 minutes between grinds. Timing depends on your freezer, how far apart the cubes are spread, and how cold the meat was to start. Check by feel: edges should be stiff and centers should still give a little.
What You Need Before You Start
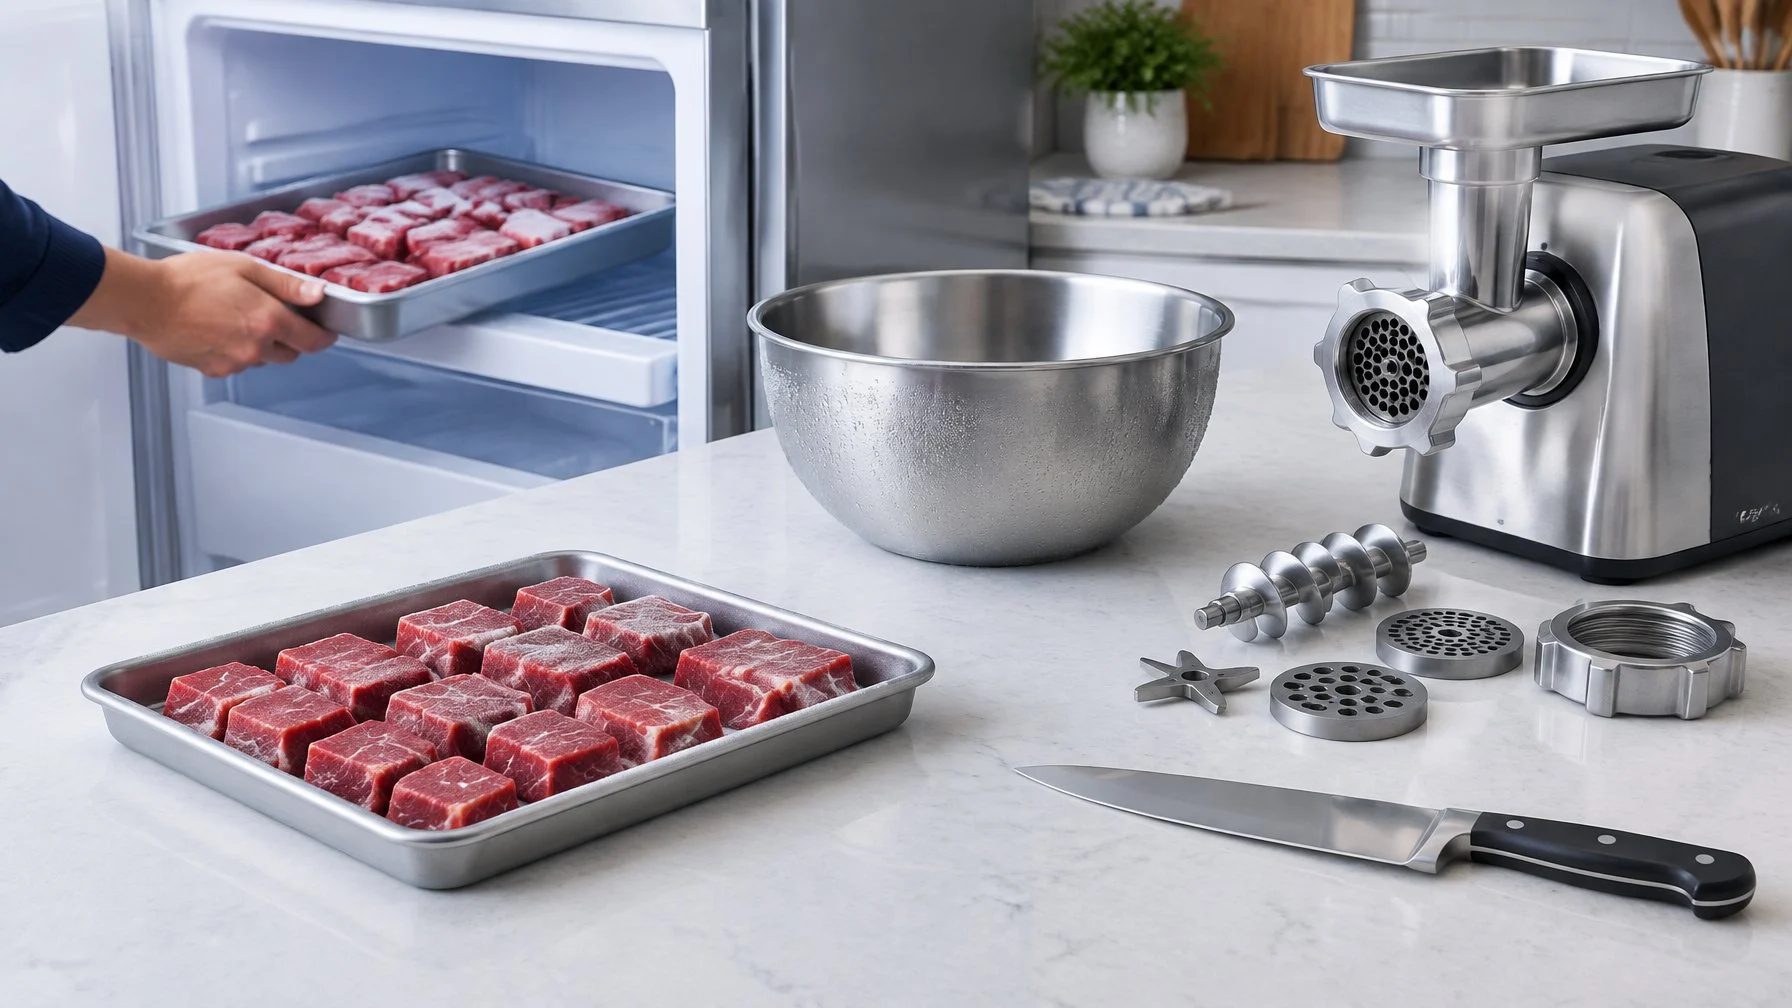
Two things set up a clean grind: the right gear on the table and meat cut and batched to chill evenly. Preparing your meat grinder properly makes all the difference. No cure or salt is needed for this step.
Meat, Tray, Thermometer, and Grinder Parts
Start with meat that is already cold from the refrigerator, at 40°F or below. Monitoring meat temperature from the start protects against spoilage. Warm meat takes longer to firm up and spends more time in the danger zone.
Here is the working kit:
From a commercial-kitchen view, pick grinder parts you can strip and scrub fast. A head with tight corners that trap fat is harder to get clean between batches.
Cut Size, Batch Size, and Freezer Setup
When preparing meat for freezing, cut the meat into 1-inch to 1½-inch cubes or strips that fit your meat grinder throat. Even pieces chill at the same rate. This phase of freezing meat helps ensure consistent results across the batch.
Work in batches of about 2 to 5 pounds per tray. A crowded tray chills unevenly, so the outside pieces freeze hard while the middle stays soft.
Set your freezer to 0°F or below and clear one shelf so the tray sits flat. The USDA advises spreading food in one layer to freeze faster and stacking only after it is frozen solid. The same rule speeds up a short firming chill.
How to Chill and Grind the Meat
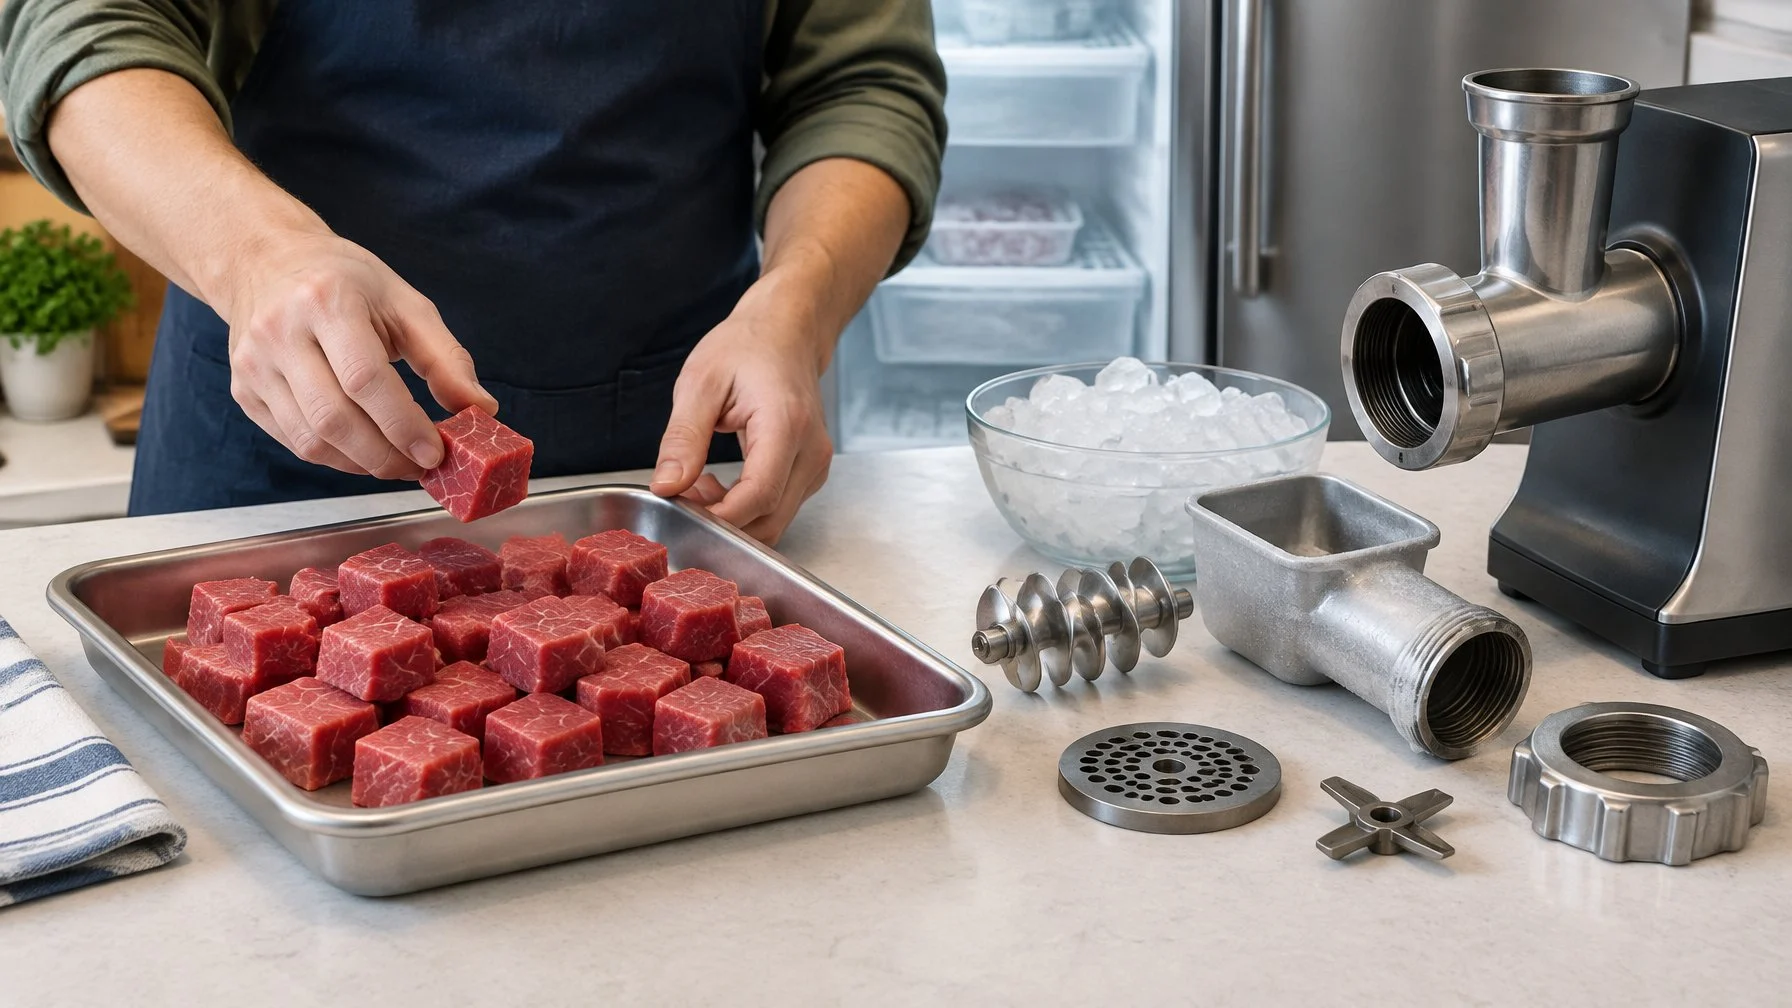
The process runs in four moves: cut and spread, chill and check, grind at the right firmness, then keep later batches cold. Freezing meat to the proper firmness works for ground beef, fresh sausage, bratwurst, jerky, and meatballs.
1. Cut the Meat and Spread It in One Layer
- Trim off silver skin and heavy sinew. Sinew wraps the knife and clogs the plate.
- Cut 1-inch to 1½-inch pieces. Small, even pieces firm up in about the same time.
- Spread them on a lined tray with gaps between pieces. Air needs to reach every side.
- Put the grinder head, auger, knife, and plate in the freezer too. Cold steel keeps fat from smearing.
2. Chill for 30 to 60 Minutes, Then Check
When determining how long to freeze meat before grinding, the ideal freezing time for meat usually lands between 30 and 60 minutes. Set a timer for 30 minutes and check. Cut size, freezer temperature, and starting coldness all shape the final timing.
Using partially frozen meat keeps the fat separate and distinct. The ideal freezing time for meat ensures the exterior is stiff without hardening the center.
Partially frozen meat for grinding is meat chilled until its surface is stiff and its center still yields to a knife, near 29°F to 32°F.
Meat freezes at 27°F to 29°F, a few degrees below water. Keeping the meat temperature in that sweet spot gives clean strands. One experienced sausage maker on a long-running smoking forum thread describes the right feel as about 29°F to 30°F, firm enough for the knife to bite but soft enough to dent with your fingers.
| Check | Too Soft | Ready | Too Hard |
|---|---|---|---|
| Probe temperature | Above 34°F | About 29°F to 32°F | Below 27°F |
| Finger press | Floppy, no resistance | Firm, dents slightly | Will not dent |
| Knife test | Squishes | Cuts with light pressure | Will not cut |
| Fat | Greasy and soft | Stiff and white | Brittle |
3. Grind When the Pieces Are Firm but Still Cuttable
Feed the pieces steadily and let the auger pull them in. Pushing hard forces meat around the knife instead of through it.
Colder meat grinds faster. One grinder seller reports a run of about 10 seconds per pound at 39°F, which dropped to about 5 seconds per pound at 31°F on the same machine. That speed also means less heat from friction.
For a double grind, start with a coarse plate such as 3/8 inch, then chill the grind for about 20 minutes before the fine pass.
4. Keep Later Batches Cold and Package the Grind
Leave trays two and three in the freezer until you need them. Pull one tray at a time.
Catch the grind in a metal bowl set over ice. If the grinder head feels warm to the touch, swap in a chilled spare or put the head back in the freezer for 15 minutes.
Portion the meat right away. Press out the air, seal, label with the date, and move it into the refrigerator or freezer.
How Do You Keep the Grind Safe?
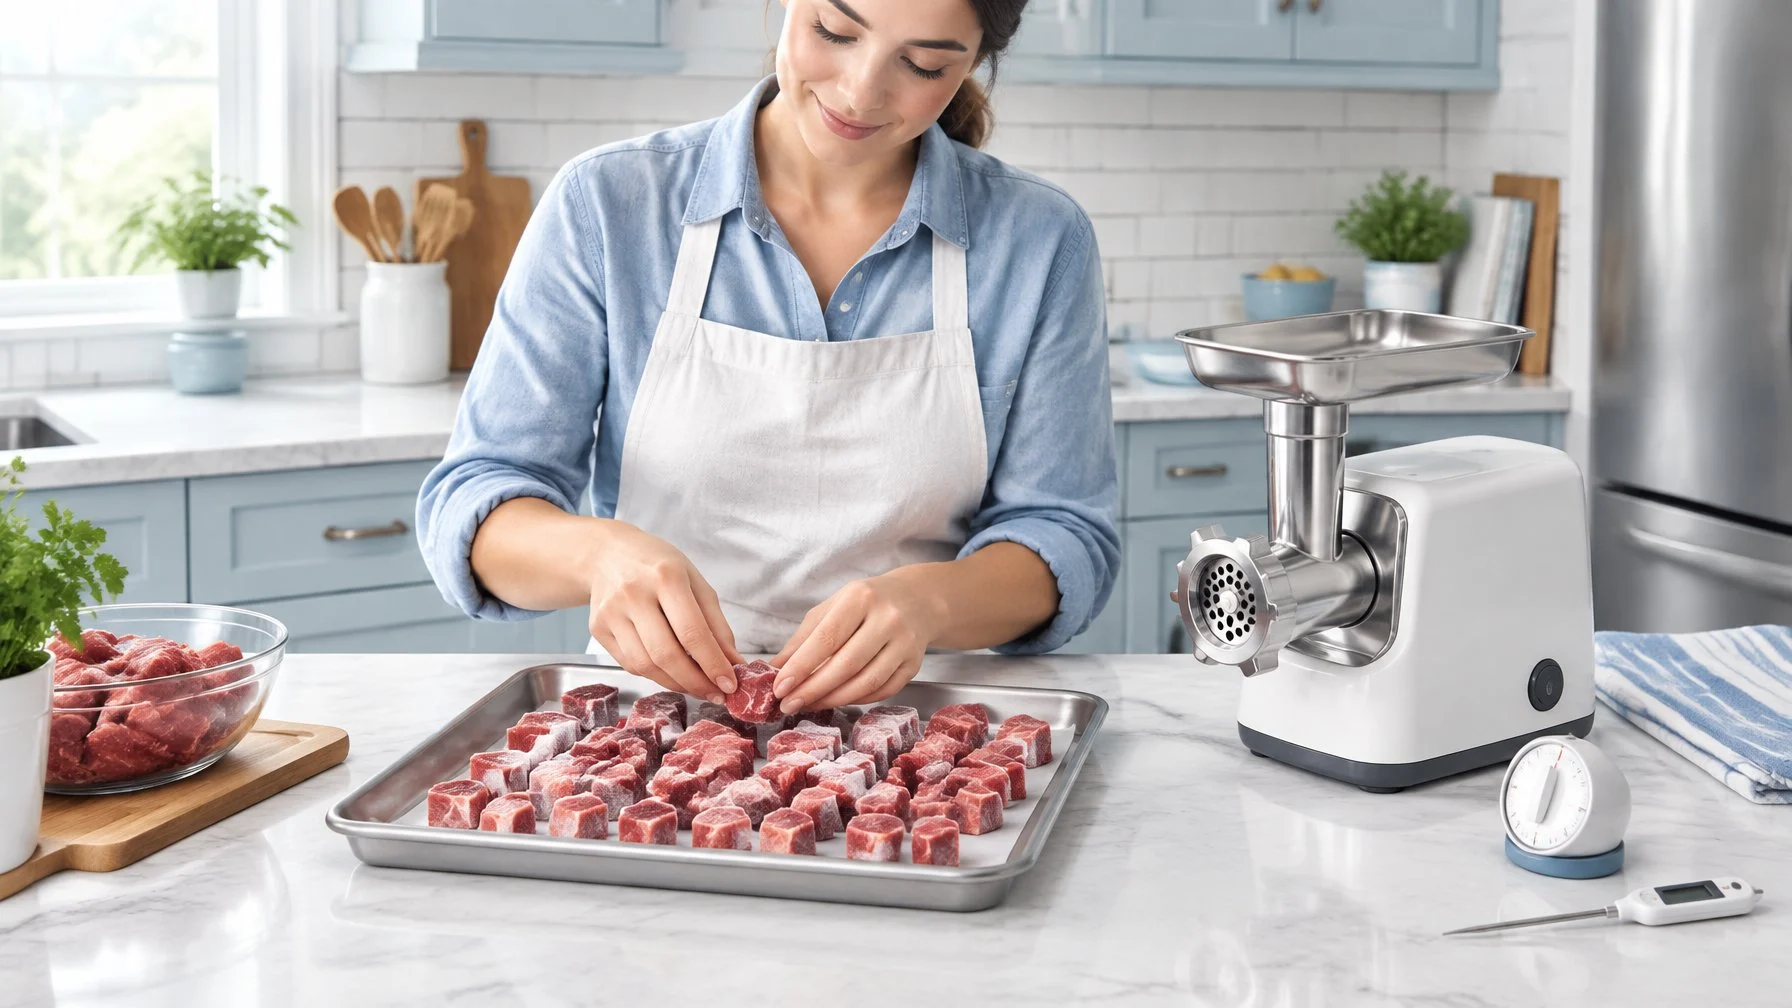
Grinding spreads surface bacteria through the whole batch, making food safety critical. Maintaining strict food safety halts rapid bacterial growth while you prep. Temperature and cleanliness carry more weight here than with whole cuts.
Three habits cover it: cold meat with clean gear, safe handling of previously frozen meat, and fast storage or cooking.
SAFETY: USDA FSIS warns that the temperature danger zone lies between 40°F and 140°F, where rapid bacterial growth occurs and pathogens can double in as little as 20 minutes. Keep raw meat out of refrigeration no more than 2 hours total, or 1 hour above 90°F. A 30- to 60-minute firming chill is for texture and handling only. It does not kill bacteria, and FSIS says home freezing cannot be relied on to destroy trichina or other parasites. Cooking to the right internal temperature does that.
Keep Raw Meat Cold and Clean the Equipment
Count every minute the meat sits out, including cutting time, toward the 2-hour limit. Work in small batches to keep that total short.
Before and after grinding, wash the head, auger, knife, plates, trays, and boards in hot, soapy water. Sanitize with 1 tablespoon of unscented liquid chlorine bleach per gallon of water. Wash your hands with soap for 20 seconds before and after handling raw meat.
USDA FSIS notes that home grinding is no safer than store-bought ground beef, since pathogens on a steak’s surface get mixed through the grind. That makes clean, cold gear your main control.
Handle Previously Frozen Meat Without Countertop Thawing
Thaw frozen deer, elk, or bulk beef in the refrigerator. Plan on a day or two for most packages.
Stop when the meat is still icy in the center. That gets you close to grinding firmness without a full re-chill. Never thaw on the counter, in a garage, or in the sink without cold water. If you use cold water, keep the meat in a leak-proof bag, change the water every 30 minutes, and grind and cook right away.
Refrigerate, Freeze, or Cook the Ground Meat Promptly
Store fresh ground meat at 40°F or below and use it within 1 to 2 days, or freeze it at 0°F. When freezing meat after processing, divide it into meal-sized portions first.
| Storage | Temperature | Time (USDA FSIS) |
|---|---|---|
| Refrigerator | 40°F or below | 1 to 2 days |
| Freezer | 0°F or below | 3 to 4 months for best quality |
| Cooking | Internal temp | 160°F for ground beef, pork, lamb, venison |
Guarding against freezer burn is essential for long-term storage, so use airtight packaging. Vacuum sealing or tightly wrapped freezer paper keeps air off the surface and prevents freezer burn over time.
FSIS lists 3 to 4 months for frozen ground meat as a quality limit. Meat held at 0°F stays safe longer, but flavor and texture fade.
What If the Meat Will Not Grind Cleanly?
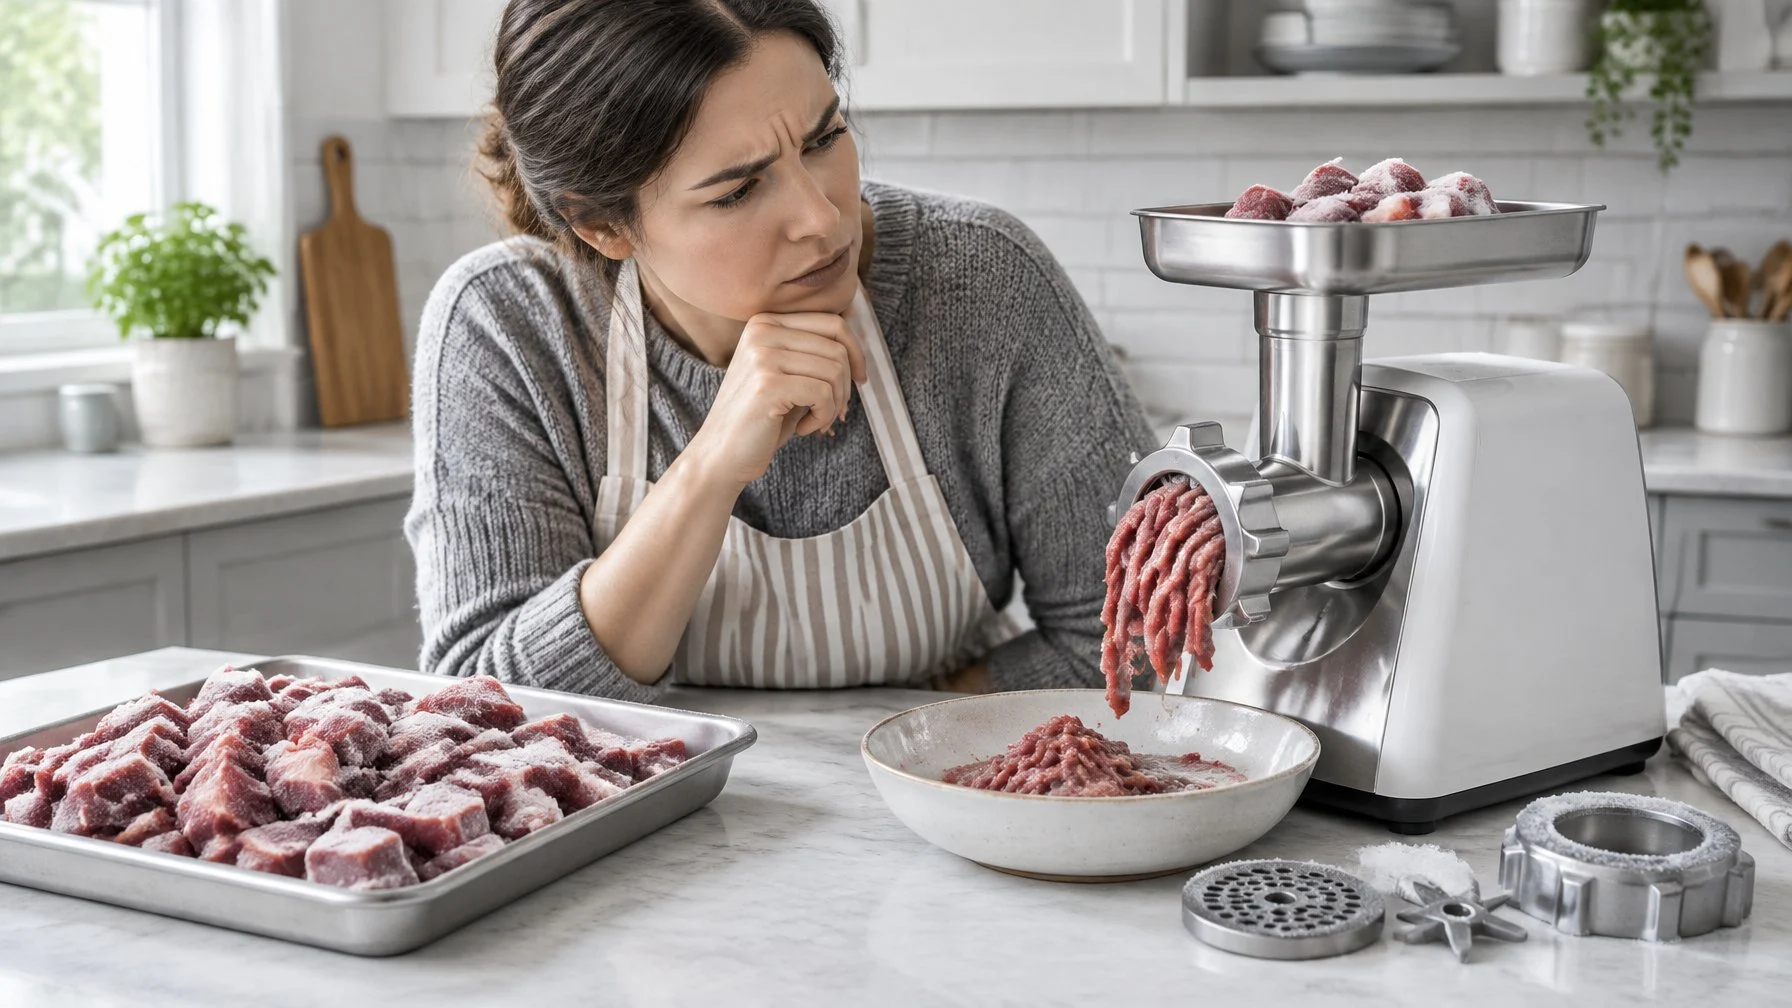
Most grinding problems trace back to four causes: soft meat with smeared fat, pieces frozen too hard, a clogged plate, or a sausage mix that warms up. Each has a direct fix.
Soft Meat or Smeared Fat: Chill the Next Batch
If the grind comes out pasty with white streaks of fat, the meat or head is too warm. Stop, put the head back in the freezer, and chill the remaining meat for another 15 to 20 minutes.
Smeared fat coats the lean and makes a sausage bind poorly and cook up greasy. This issue shows why freeze meat before grinding, since cold fat stays in clean, separate bits. The grind you already made is fine to use for burgers or meatballs.
Rock-Hard Pieces: Thaw in the Refrigerator Until Cuttable
When grinding frozen meat, pieces frozen solid strain the motor and can crack plastic gears in smaller grinders. The pieces should always stay firm but not frozen solid before going into the hopper.
If the knife will not cut a piece, move the tray to the refrigerator.
Check every 15 to 20 minutes until the pieces dent under your thumb. Avoid leaving the tray on the counter to speed this up, since the surface warms first.
Clogged Plate: Check the Blade, Plate, and Sinew
A clogged plate pushes meat back into the auger, where it turns to mush. Shut the grinder off and unplug it before opening the head.
Check these in order:
- Sinew wrapped around the knife. Pull it off and trim harder on the next batch.
- Knife direction. Grinder maker LEM’s owner FAQ on mushing meat says the flat side of the knife must sit against the plate. A backward knife mashes meat and can damage the head.
- A worn or missing bushing or washer. It presses the auger and knife against the plate.
- A dull knife or plate. Sharpen or replace both as a matched pair.
Owners describe the same warning signs again and again. The grind turns mushy or pasty instead of showing clean, separate bits. On Meatgistics, a venison snack-stick maker described a bologna-like smear, and staff blamed a worn knife and plate. Another member got mush through a fine plate. The grinder can also slow down and work harder. A loose ring or a gap between knife and plate can cause the same symptoms, so check those first.
Warm Sausage Mix: Chill Before Mixing or Stuffing
Mixing adds heat from your hands and from friction. If the mix feels greasy or the temperature passes 40°F, put the bowl in the refrigerator or freezer for 20 to 30 minutes.
Mix only until the meat turns tacky. That tackiness comes from protein extraction, which binds a fresh sausage or bratwurst. Overmixing warm meat breaks the fat down instead.
Freezing Meat Before Grinding: Quick Answers
Should you freeze meat before grinding it?
Yes, chill it until partly frozen. The main reason why freeze meat before grinding is to keep fat firm and prevent smearing. About 30 to 60 minutes in a 0°F freezer, with small pieces spread in one layer, firms the meat so the knife cuts cleanly.u003cbru003eCold fat stays in separate bits during processing. Grinding partially frozen meat also moves faster, which keeps friction heat low and shortens the time raw meat spends out of the refrigerator.
Can you freeze deer meat before grinding?
Yes. Venison and elk grind best partly frozen, the same as beef or pork. Trim silver skin and sinew first, since lean wild game clogs plates easily. If the meat is already frozen in packages, thaw it in the refrigerator until the center is still icy, cube it, and give it a short chill to even out the firmness.
Can you grind meat that is frozen solid?
Avoid it in most home grinders. Pieces must be firm but not frozen solid to protect the motor and gears. Running rock-hard blocks through a meat grinder leads to uneven texture and machine strain.u003cbru003eLarger commercial-style units handle colder meat better, but even those work best near 29°F to 32°F.u003cbru003eGrinding frozen meat safely means letting rock-hard pieces sit in the refrigerator until a knife cuts them with light pressure, then feeding them through.
Can you grind previously frozen meat and refreeze it?
Yes, if you thawed it in the refrigerator. USDA FSIS says meat thawed in the fridge can be refrozen without cooking, though some moisture and quality are lost. Meat thawed in cold water or the microwave should be cooked before refreezing. Keep total time out of refrigeration under 2 hours, or 1 hour above 90°F.
Should you chill the meat grinder parts too?
Yes. Put the head, auger, knife, and plate in the freezer for at least 30 minutes, alongside the meat. Warm steel melts fat on contact and causes smearing even when the meat itself is cold. On long sessions, rotate the head back into the freezer between batches or keep a second chilled head ready.
For your next step, the SaltRail Start Here page points you to the matching grinder guides and gear roundups.
This is general guidance based on USDA recommendations. When in doubt, follow the USDA FSIS source linked above.