
To butcher a deer at home, keep the carcass at 40°F or below, then work in this order: skin it, remove the front shoulders, lift the tenderloins, take the backstraps, and separate the hindquarters. Next, debone and trim each piece, grind the scraps, and package and freeze everything at 0°F. With a sharp boning knife and cold meat, one person can break a whole deer into steaks, roasts, and grind in a single session.
Learning how to butcher a deer is a rewarding skill for any hunter. This guide covers practical deer processing from field-dressed game to labeled packages in your freezer. It walks through complete deer butchering while providing critical food-safety guidelines.
You will get the holding temperatures, hold times, freezer limits and cooking targets recommended by USDA and university extension sources. If you are still weighing the choice, read is it worth processing your own deer before you start.
Is the Deer Ready to Butcher?
Before you make the first cut, check three things. The carcass needs to be clean, it needs to be cold all the way through, and you need to decide whether to cut it now or hold it a few more days.
Confirm Field Dressing and Check for Contamination
Start with a clean, fully field-dressed carcass. Look inside the body cavity for dirt, hair, and bloodshot areas, and plan to trim them first.
Some signs mean you should not eat the deer at all. Penn State Extension says to discard the carcass if organs smell offensive or if you saw greenish discharge, black blood, or clots in the muscle. Put on disposable gloves before you handle any deer meat.
Check the Meat Temperature Before You Cut
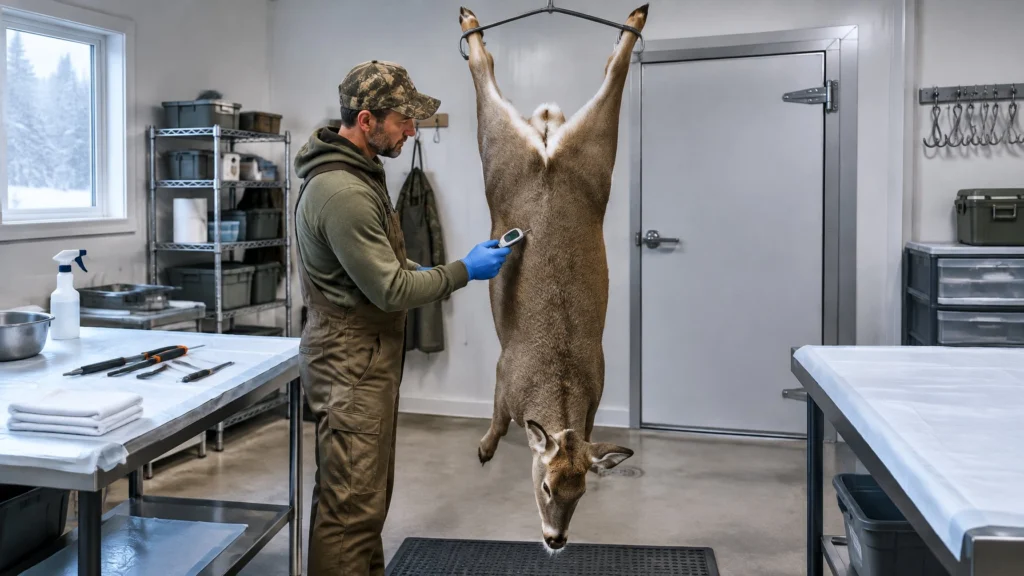
Push a probe thermometer into the thickest part of a hindquarter. You want a reading of 40°F or below. Extension guidance says to cool the carcass to 35 to 40°F as fast as you can.
Warm meat is a real risk. Bacteria grow fastest between 40°F and 140°F, and Penn State notes they can double in number every 20 minutes in that range.
Decide Whether to Butcher Now or Hold the Meat Cold
Butcher now if you cannot hold the carcass at 40°F or below. If you process your own game, hold it cold for two to three days at most. Meat meant for sausage does not need any aging.
A separate extension article says to cut the carcass within seven days of harvest if it was chilled fast, and sooner in warm weather.
SAFETY: Keep venison at 40°F or below from harvest until it goes into the freezer. In chronic wasting disease (CWD) areas, some states limit moving high-risk parts such as the head, spinal column and spleen. Check your state wildlife agency’s CWD rules and bone out the meat away from the spine. Sources: Penn State Extension and the Pennsylvania Game Commission rules summarized by Penn State.
What You Need at the Cutting Table
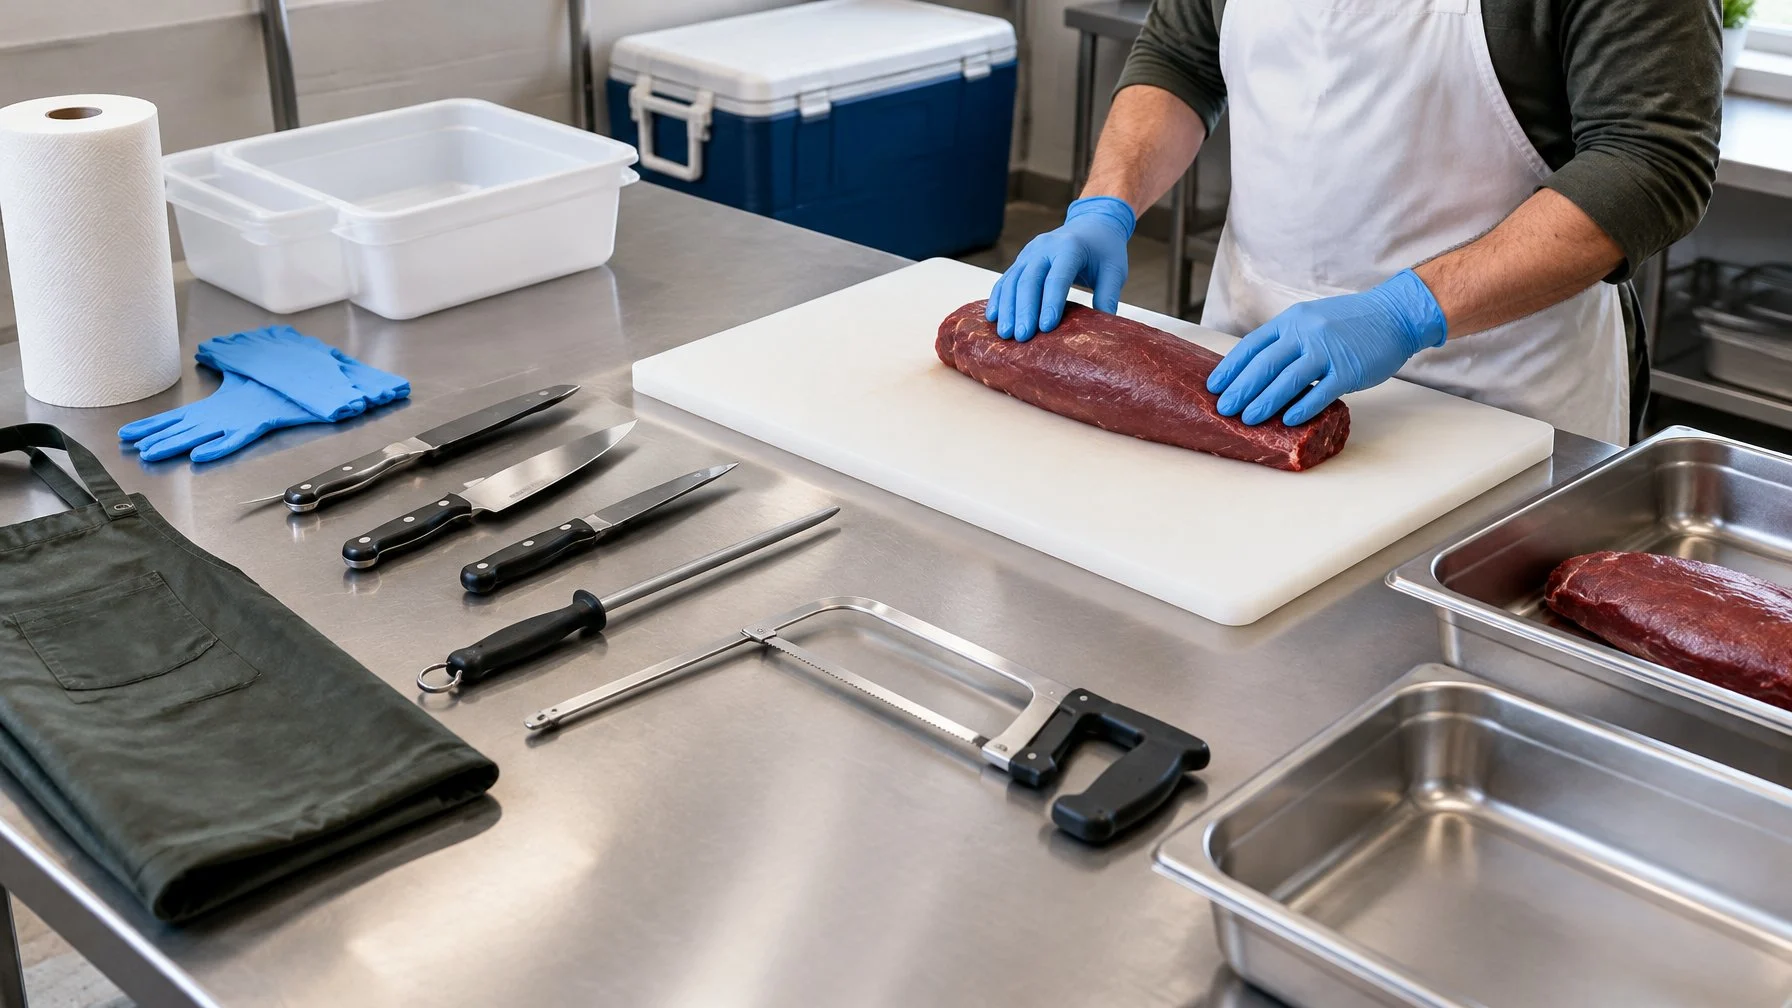
When you prepare to butcher a deer at home, group your gear by job: knives for cutting, a clean surface with containers for sorting, and cold storage with packaging for the finish. Power tools are optional. Basic deer butchering needs no cure or salt.
Knives
You need two knives and a way to keep them sharp.
| Job | Tool | Why |
|---|---|---|
| Skinning | Skinning knife, 3 to 4 in. curved blade | The curve lifts hide without scoring the meat |
| Deboning and seams | Boning knife, 5 to 6 in. | A narrow blade follows bone and seams |
| Keeping an edge | Steel or whetstone | A dull knife slips and tears the meat |
| Bones (optional) | Meat saw | Only for bone-in cuts |
In a commercial kitchen, the knife that stays sharp and cleans easily is the one that lasts. Pick molded or poly handles over wood so they can go in hot, soapy water. Our best knife for processing deer roundup compares knives on those points.
Cutting Surface and Clean Containers
Use a large poly cutting board or a stainless table that you can scrub. Set out trays with a lip or food-grade tubs, one each for steaks, roasts, grind trim and waste. Keep a bucket of hot, soapy water nearby for your knives and hands.
Cold Storage, Packaging and Optional Power Equipment
Have fridge or cooler space that holds 40°F or below, plus a thermometer. For packaging, use freezer paper, freezer bags or vacuum bags, along with a permanent marker.
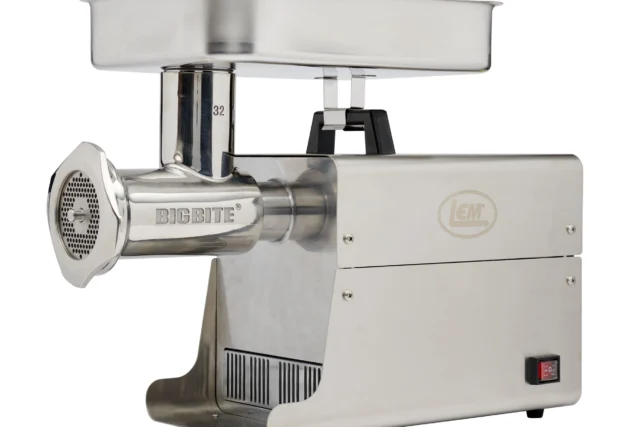
Efficient deer processing does not require power tools, though a meat grinder and a vacuum sealer save time. See the meat grinder buying guide before you choose one.
Cleanup complaints tend to repeat after deer season. Owners of aluminum grinder parts say a dishwasher leaves them gray or black, and KitchenAid says to hand-wash those parts for that reason. Carbon steel plates and knives can rust fast unless they are dried right away and given a light coat of food-grade oil. With vacuum sealers, wet meat is the usual mess: keep the seal area and any drip tray clean and dry between bags.
Skin and Separate the Major Cuts
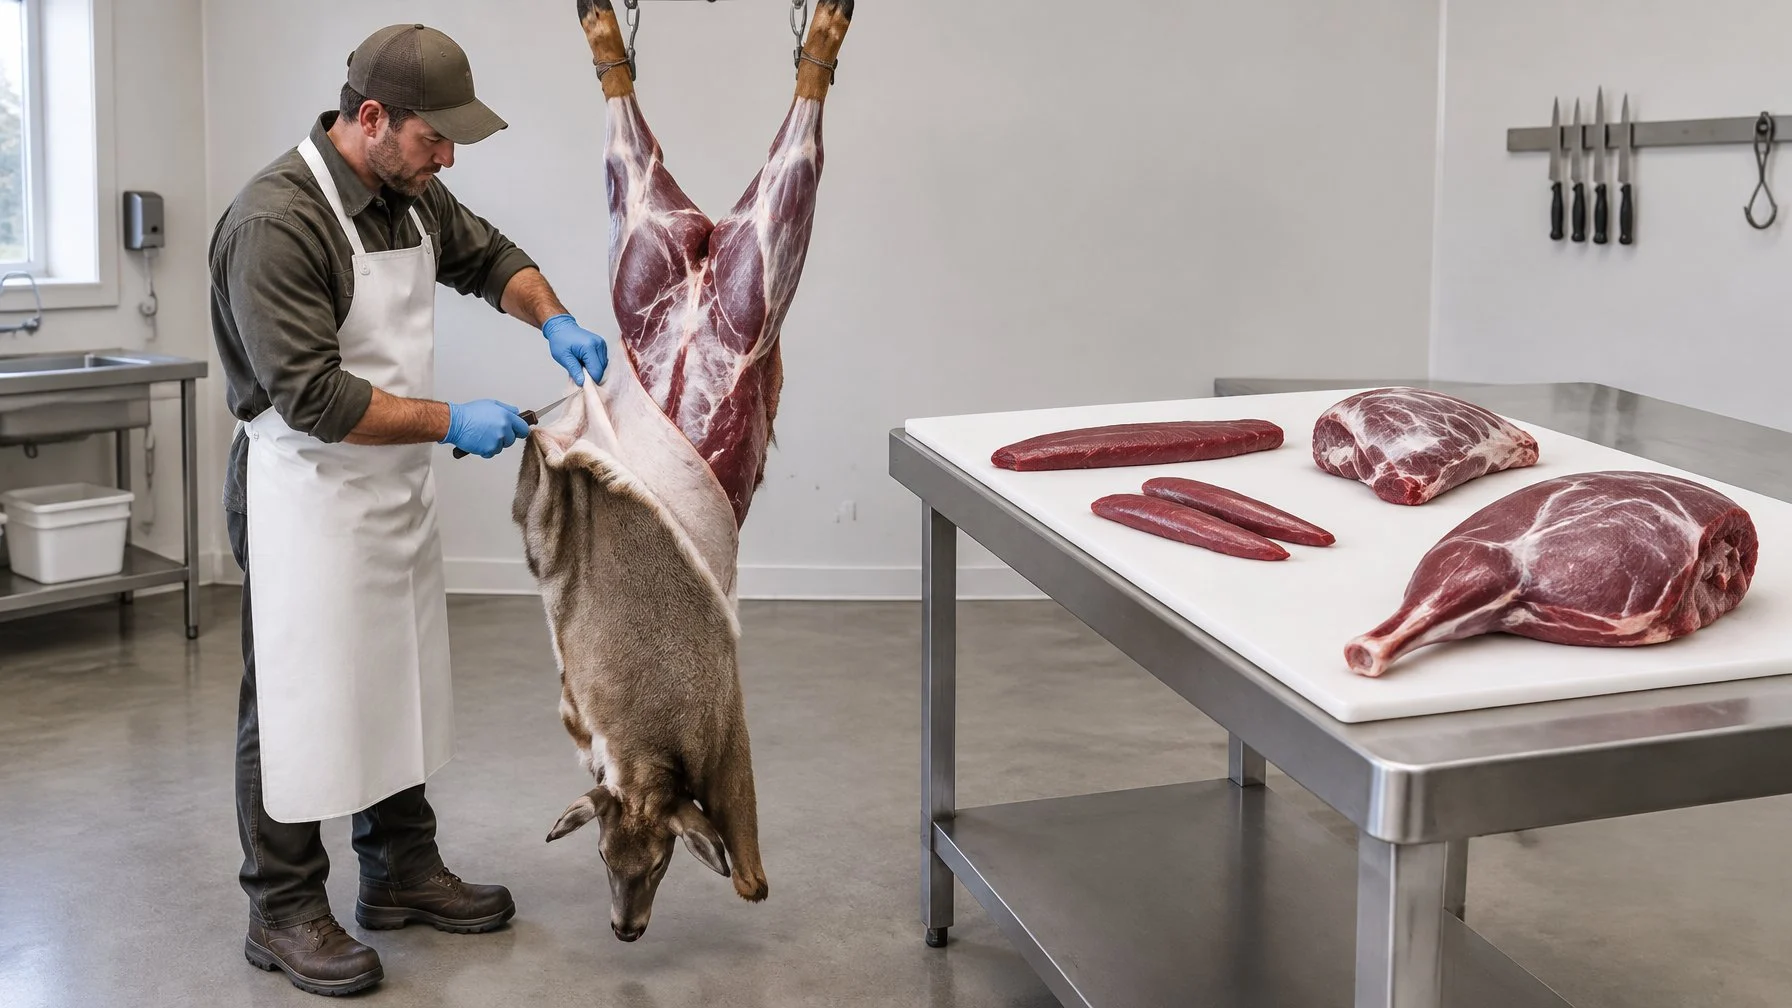
When learning how to butcher a deer, the breakdown follows five steps: skinning, the front shoulders, the tenderloins, the backstraps and the hindquarters. Each large cut comes off along a natural seam.
1. Skin the Deer Without Dragging Hair Across the Meat
Learning how to skin a deer cleanly prevents hair and dirt from contaminating exposed meat. Cut the hide from the inside out with the blade edge facing up. This keeps loose hair off the deer meat.
Peel the hide down in steady pulls using your skinning knife and wipe the blade often. When hair touches the meat, pick it off right away before it spreads to other cuts.
2. Remove Both Front Shoulders Along the Natural Seams
Pull the leg away from the ribs. A deer’s shoulder has no bone joint holding it to the body; muscle and connective tissue hold it on. Cut along the seam between the shoulder and the ribs, following the shoulder blade, and the shoulder comes free.
3. Lift Out the Tenderloins from Inside the Body Cavity
Tenderloins sit under the spine, inside the cavity. Keep your blade against the bone as you cut, then work each tenderloin loose. Take them early so they do not dry out.
The backstrap is the long loin along the top of the spine; the tenderloin is the smaller, softer muscle underneath the spine.
4. Remove the Backstraps Along the Spine and Ribs
Make one long cut along each side of the spine, from the hip to the base of the neck. Keep the knife tight to the backbone. Add a short cross cut at the hip, then lift the backstrap and follow the top of the ribs until it comes free.
5. Separate the Hindquarters at the Hip Joints
Follow the pelvis with your knife until you reach the ball joint. Cut around the joint to free it. Stay close to the hip bone so more meat stays on the leg.
Debone, Trim and Sort the Venison
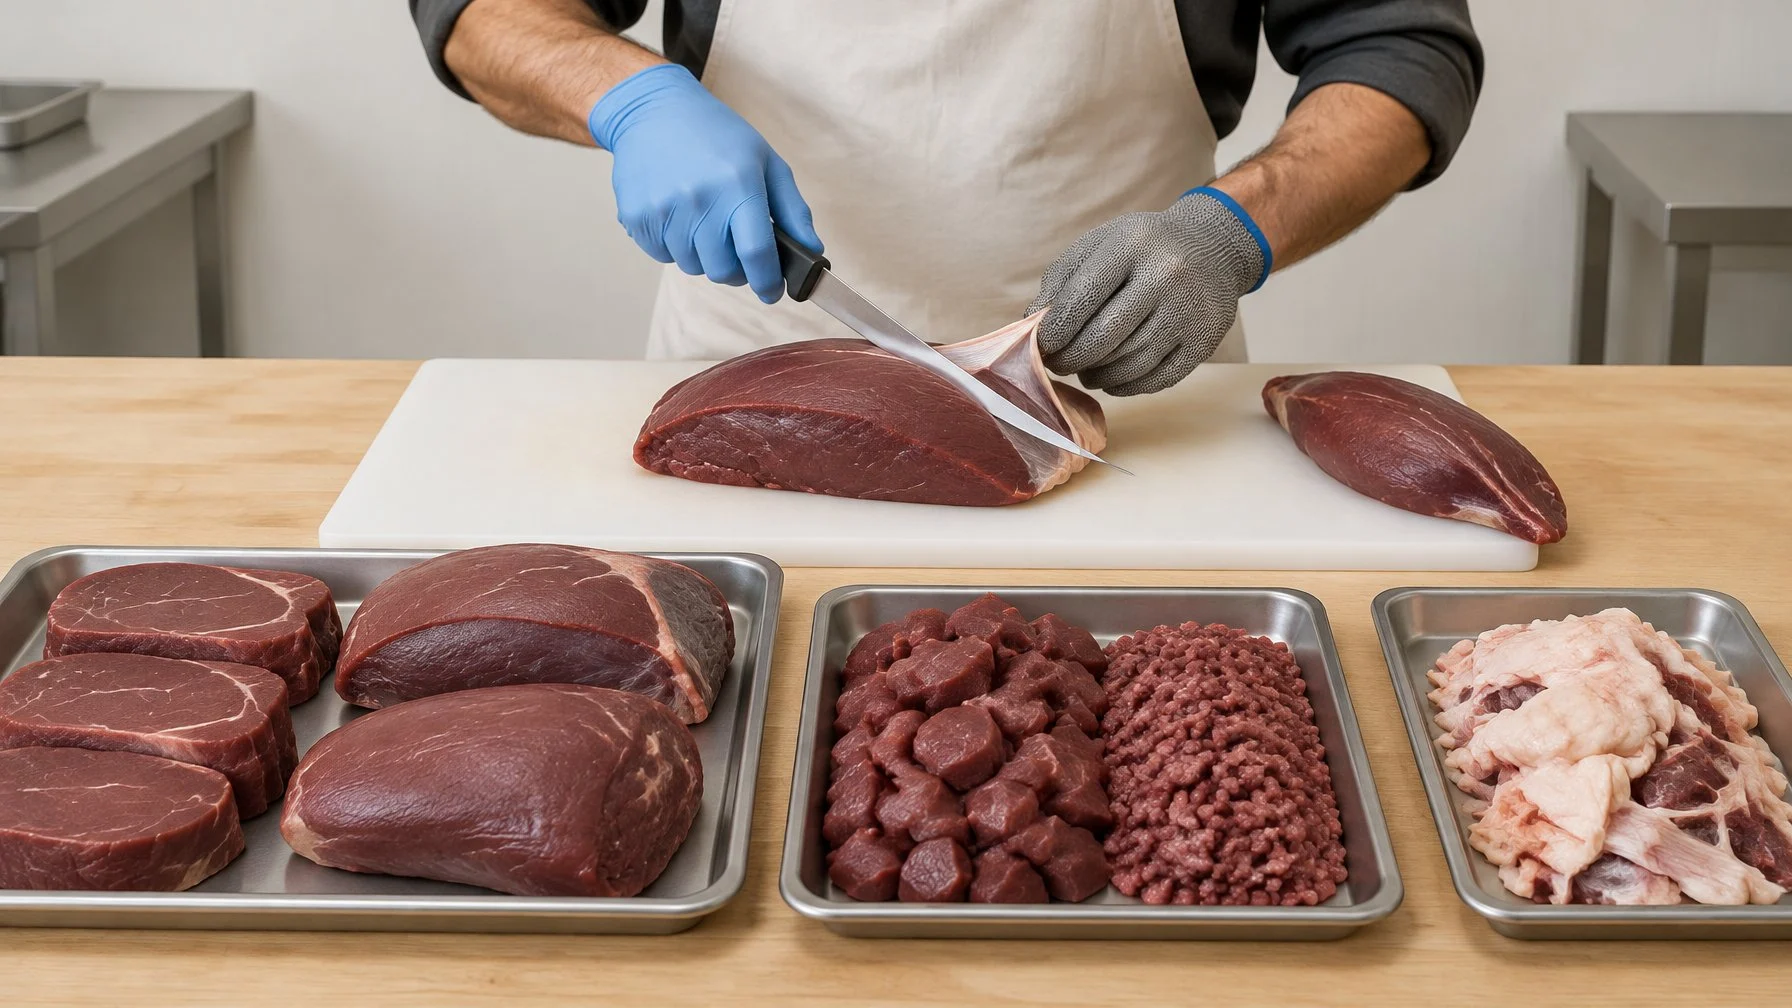
In this stage you bone out the hindquarters, break down the shoulders and neck, and trim deer fat and silver skin. Sorting your venison cuts properly ensures every piece goes into the right labeled tray.
6. Follow the Seams to Debone Each Hindquarter
Remove the shank, then bone out the femur. Separate the large muscles along their seams. Each one is a clean roast, and you can slice it into steaks.
Deboning separates your primary venison cuts for quick pan searing, roasting or slow braising.
| Cut | Best use |
|---|---|
| Backstrap | Steaks, whole roast |
| Tenderloin | Quick-sear steaks |
| Hindquarter muscles | Roasts, steaks, jerky |
| Shank | Braise or grind |
| Shoulder | Stew meat, roasts, grind |
| Neck and rib meat | Grind or sausage |
7. Break Down the Shoulders, Neck and Remaining Trim
Work around the shoulder blade and arm bone to free the meat. Shoulder meat has more sinew, so it suits stew or grind best. Neck, flank and rib meat all go in the grind tray. For sausage plans, see sausage making.
8. Remove Deer Fat, Silver Skin and Any Contaminated Meat
Trim off deer fat, since it turns waxy and strong-tasting. Slide your knife under silver skin with the edge angled up and pull it off in strips. Cut away all bloodshot, bruised or dirty meat and throw it out.
SAFETY: Wash knives, hands and boards often in warm, soapy water while you work. Source: Penn State Extension.
Grind, Package and Freeze the Meat
The finish comes down to cold trim for grinding, meal-size labeled packages, and a fast freeze at 0°F.
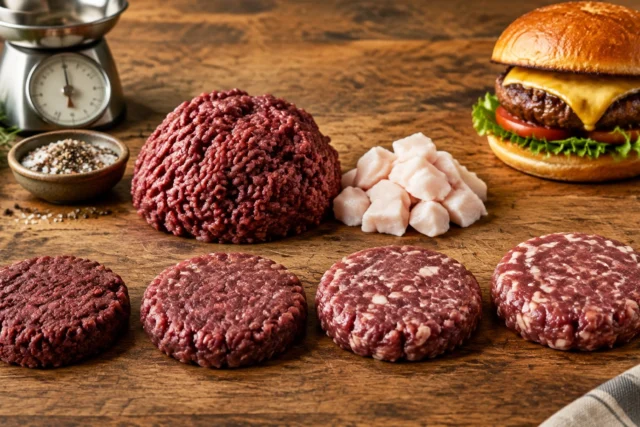
9. Chill Trim Before Grinding Venison Burger
Chill the trim until it is firm at the edges. Put the grinder head, auger and plate in the freezer too. Warm steel smears fat and turns ground venison pasty.
Use a coarse plate first and a finer plate second. The meat grinder size guide matches grinder size to deer-season volume.
10. Portion and Label Steaks, Roasts and Ground Meat
Pack meal-size portions of about one pound. Label each one with the cut and the date.
11. Seal the Packages and Freeze Them Promptly
Air causes freezer burn. Seal tight and freeze fast.
- Dry the bag opening. Moisture stops a good seal.
- Press out all the air, or vacuum seal. Air dries the meat.
- Lay packages in one layer. Stacked packages freeze slowly.
- Restack once they are solid, within 24 hours.
USDA says a 2-inch-thick package should freeze in about 2 hours, and it lists 8 to 12 months as the quality window for uncooked wild game.
SAFETY: Food held at 0°F stays safe; storage times are for quality only. Thaw in the fridge, in cold water or in the microwave. Cook venison steaks and roasts to 145°F with a 3-minute rest, and ground venison to 160°F, per the USDA FSIS safe minimum internal temperature chart.
What If Something Goes Wrong?
Most problems come from warm meat, contamination, a stuck joint, a smearing grinder or a failed seal. Each has a quick fix.
Meat Feels Warm or Slippery? Stop and Chill It
Put the meat back in the fridge or cooler until it drops to 40°F or below. Slick, sticky meat with an off smell is spoiling and should be thrown out.
Hair or Dirt Got on a Cut? Remove the Contaminated Area
Trim off the dirty surface with a clean knife. Wipe or wash the blade before your next cut.
A Joint Will Not Separate? Find the Seam Before Reaching for a Saw
Bend the joint to open it and cut the connective tissue around the ball. A saw leaves bone dust on the meat. If you cut a lot of bone-in pieces, see the best meat band saw for home use.
The Grinder Smears Meat? Chill the Trim and Grinder Parts
Stop, clear out the plate, and chill both the trim and the metal parts for 30 minutes. Check that the knife is sharp and seated flat against the plate.
Owner reports put most smearing and strain down to warm meat and small grinders pushed through fine plates. On Meatgistics, a venison grinder found that a second pass through a 1/8-inch plate slowed the machine and smeared the mix. Stand-mixer owners who grind whole deer say they run lower speeds and rest the motor between batches. On The Virtual Weber Bulletin Board, owners said smearing went away once meat and parts were chilled. Partly frozen meat and a cold head are the common fix.
A Package Will Not Seal? Dry the Seal Area and Try Again
Wipe the bag opening dry and cut off any wrinkles. Leave 3 inches of empty bag above the meat. Pre-freeze wet cuts for an hour before you seal them.
Butchering a Deer: FAQs
What is the first thing to do after harvesting a deer?
Field dress the deer as soon as you can, then start cooling it. Your target is 35 to 40°F. Keep the carcass out of direct sun and let air move around it. When the weather is above 41°F, pack bagged ice in the cavity to speed the cooling. Avoid wrapping a warm carcass in plastic or a tarp, because that traps heat.
How long should you let a deer hang before butchering?
If you butcher a deer at home, hold the carcass at 40°F or below for two to three days at most, following Penn State Extension. Venison meant for sausage or grind does not need aging, so you can process it as soon as it is cold. When you cannot hold that temperature, butcher right away.
Do you have to hang a deer for seven days?
No. Seven days is the outer limit that extension guidance gives, and only for a carcass that was chilled fast. In warmer weather you should cut it sooner. For most home processors without a walk-in cooler, two to three days at 40°F or below is the safer target. Aging adds some tenderness, but it adds no safety.
How hard is it to butcher a deer yourself?
It takes patience more than skill. Anyone can learn how to butcher a deer with basic tools and steady cuts. Learning to butcher a deer at home is straightforward because every major cut comes off along natural seams, and a sharp boning knife handles almost all of it.
Plan on several hours for your first deer butchering session. Keep the meat cold, clean your knife often and work one cut at a time. Speed comes with practice.
Do you need a meat saw to butcher a deer?
No. If you bone out every cut, a knife does all the work, since the shoulders have no bone joint and the hips separate at the ball joint. You only need a saw for bone-in cuts, such as chops or shanks. In CWD areas, deboning also keeps the meat away from the spine, which many state rules require.
This is general guidance based on USDA recommendations. When in doubt, follow the USDA FSIS source linked above.
Next step: pick your gear with the SaltRail meat grinders roundup before your trim tray fills up.