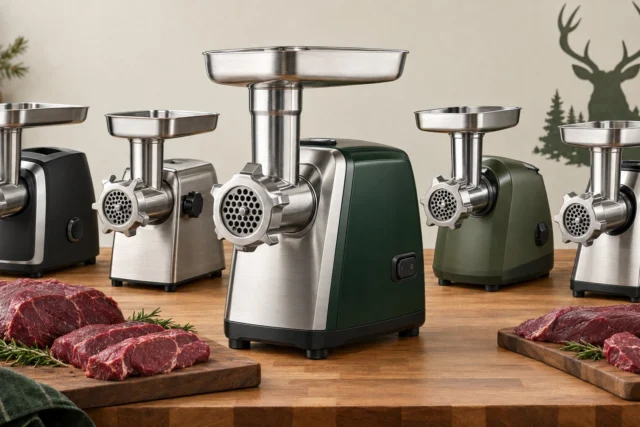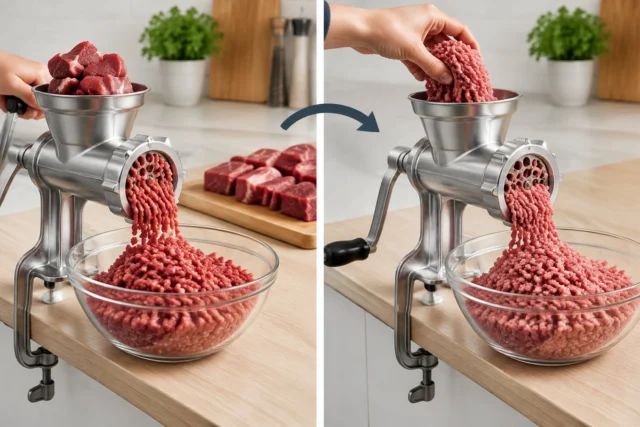

Only grind soft bones if your grinder’s manufacturer approves it in writing. For most home units, that means raw poultry bones in a #12 or larger electric grinder, with meat and parts chilled to 40°F or colder. If your manual permits soft bones, feed small, cold pieces slowly and stop the moment the grinder jams.
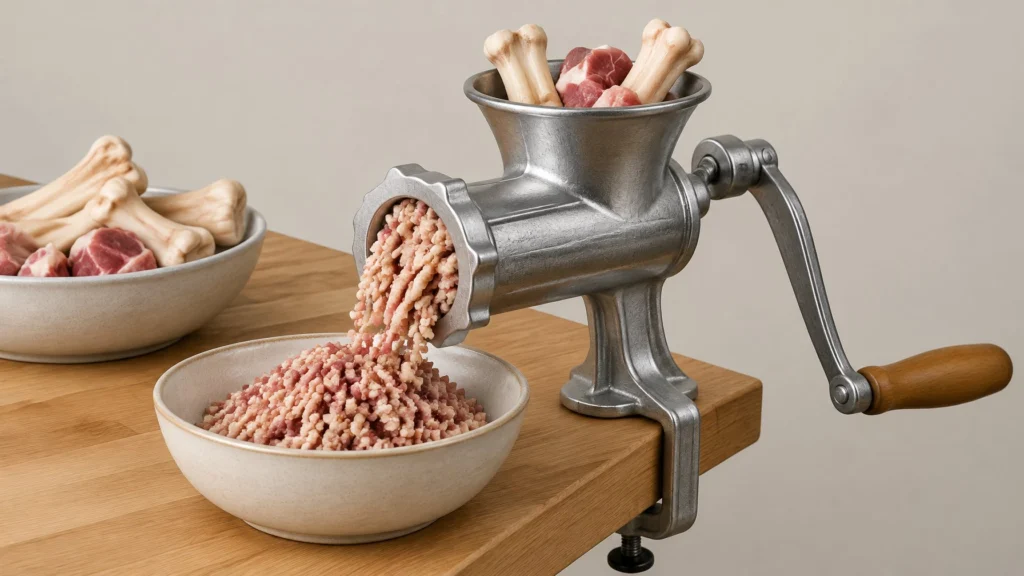
By the end, you will be able to tell a documented bone approval from a marketing line and set up your station. You will also be able to run a bone-in grind step by step and fix the four problems that stop most sessions. The food-safety numbers come from USDA FSIS. The equipment advice comes from manufacturer manuals and repeated patterns in owner reports.
Where Bone-In Sessions Go Wrong: What Owners Report
Owner reports on grinding chicken frames (backs, necks, keels, and rib cages) in #12 home grinders are fairly consistent. Most stalled or abandoned sessions trace back to one of four problems. Many owners hit more than one at once, because the problems feed each other.
1. Sinew wrapping and clogging
This is the most common complaint by a wide margin. Connective tissue, skin, and tendon wrap around the auger and the back of the knife. Output slows to a trickle while pressure builds in the head. Owners describe the grind going from clean strands to a paste that “smears” or backs up into the feed throat.
Contributing factors owners point to:
- Meat that has warmed above refrigerator temperature, so the fat softens and the tissue stretches instead of cutting
- A dull knife or a knife installed backwards (flat cutting face must sit against the plate)
- A retaining ring that is too loose, which lets the knife float off the plate
- Very skin-heavy batches, such as necks with skin on or a lot of loose skin trimmings
Typical fix reported: Stop and reverse if the unit allows it. Then disassemble, pull the sinew off the knife, re-chill the meat and the head, and resume. Many owners say partially freezing the frames (firm but not rock-solid) and chilling the metal head in the freezer beforehand nearly eliminates wrapping.
2. Bone jamming and motor stalling
Owners frequently report the auger stalling on a piece of bone, the motor humming without turning, or the grinder kicking pieces back up the throat.
Contributing factors owners point to:
- Pieces cut too large for the feed throat, forcing the auger to “chew” before it can feed
- Starting with a fine plate. Owners consistently recommend a coarse first pass (roughly 8–10 mm) for bone.
- Overloading the throat or forcing meat down hard with the stomper
- Mixing in denser bones (large leg bones, or bones from bigger birds) that a given unit can’t handle, even when it manages frames well
Typical fix reported: Cut frames into smaller sections, feed steadily without forcing, and do a coarse grind first. If a finer texture is needed, run a second pass. Reverse briefly to clear a jam rather than pushing through it.
3. Overheating and gear failure
Long sessions with large batches are a recurring theme in negative reviews. Owners describe units getting hot, tripping thermal cutoffs, or failing outright. Stripped internal gears are a common reported failure point. Some models use a nylon or plastic “sacrificial” gear designed to fail before the motor does, and owners are often surprised by this.
Contributing factors owners point to:
- Running continuously past the manufacturer’s rated duty cycle
- Repeated stalls from problems 1 and 2, which load the motor heavily
- Using a grinder whose manual does not list bone as an approved use, or lists only “soft bones”
Typical fix reported: Grind in batches with rest periods per the manual, and keep spare gears on hand if the model uses a sacrificial gear. Owners who process large volumes regularly tend to report better experiences with heavier-duty units built for the task.
Food-safety overlap: Long sessions and heat-related stops also let the meat sit warm. Tie this point back to your USDA FSIS temperature guidance.
4. Poor output: mush, fat separation, or large shards
Even when the grinder keeps running, owners report output problems:
- Mushy or pasty texture, usually from warm meat or a smearing knife
- Fat separating out, also tied to temperature
- Bone fragments larger than expected, usually from a single coarse pass, a worn plate, or a gap between knife and plate
Pet owners in particular flag shard size as a concern and often run a second pass through a smaller plate.
Typical fix reported: Keep everything cold, check that the knife sits flat against the plate, and replace worn knives and plates as a matched set. Use a two-stage grind (coarse, then medium) when shard size matters.
Secondary issues owners mention
- Aluminum parts darkening or oxidizing after going through the dishwasher. Hand-washing is widely recommended unless the parts are stainless.
- Cast iron or uncoated parts rusting when not dried and oiled promptly
- Cleanup difficulty with bone paste packed into the plate holes. Running a piece of bread or a few ice cubes through at the end is a common tip, but check whether the manual allows ice.
- Knife and plate orientation errors, especially on first use
What You Need Before Grinding Bones
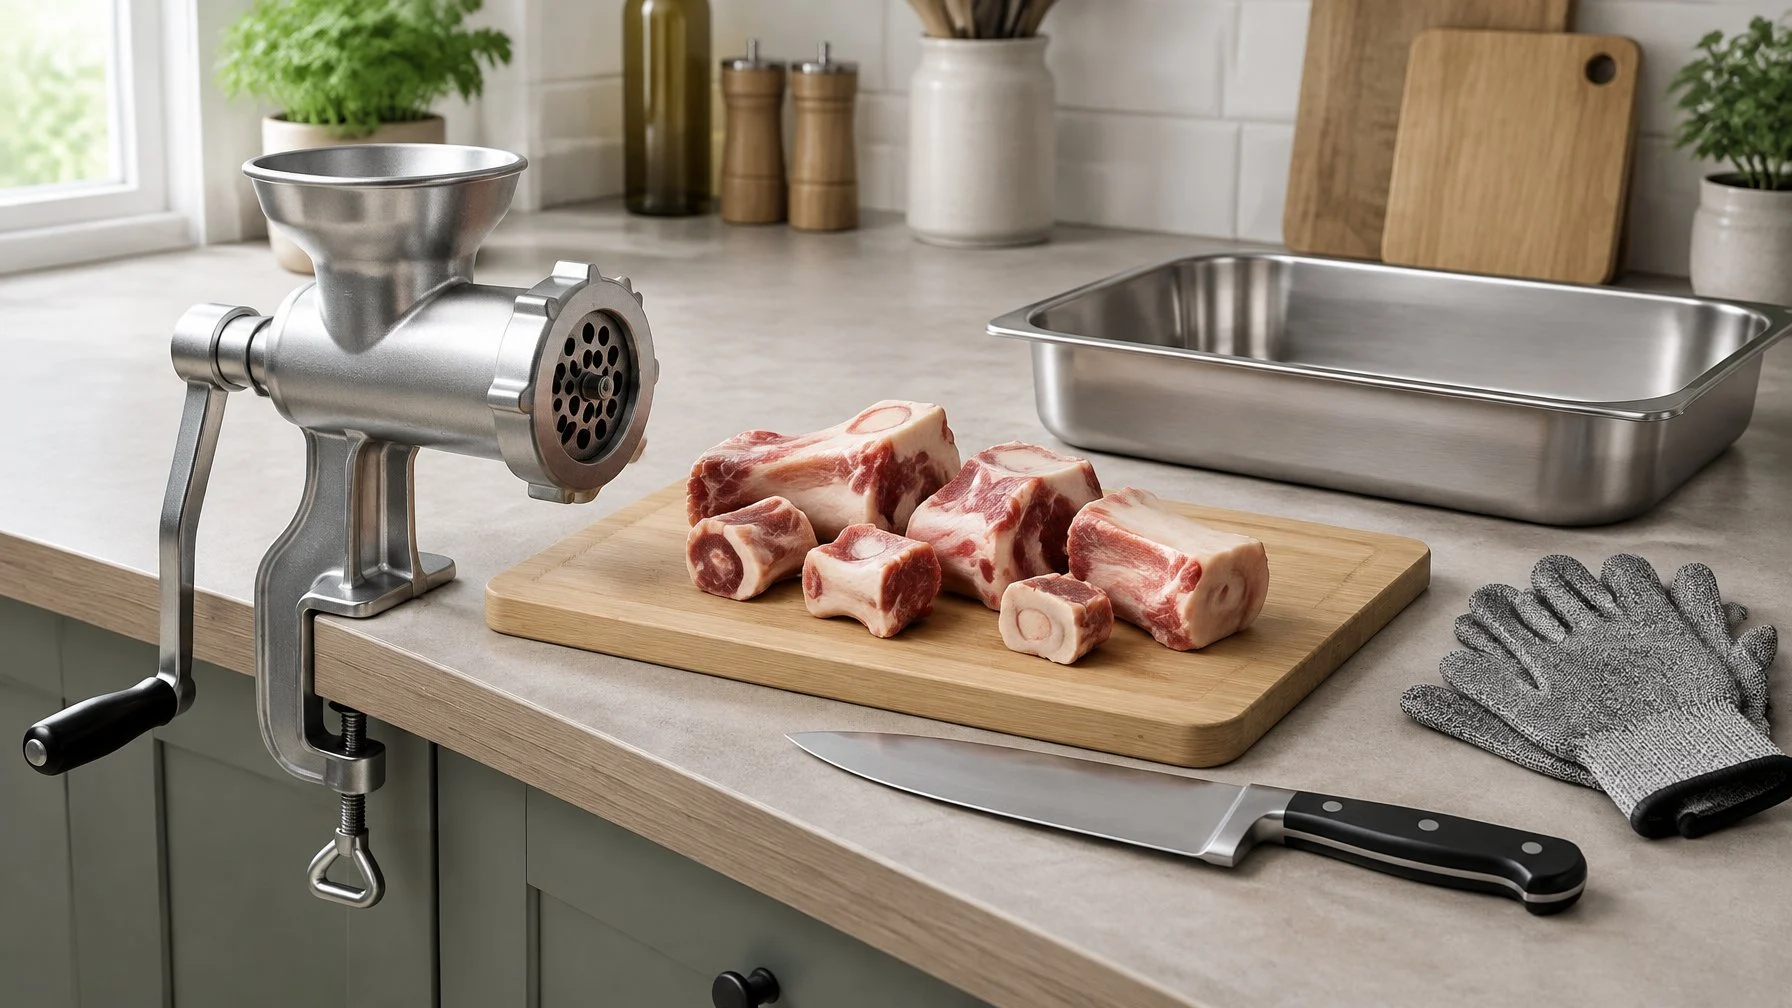
Start with three checks: what your manual says about bones, which bones and tools you set out, and which grinder features help with this job.
Does Your Grinder’s Manual Permit Bones?
Read the manual before you trust a product listing. A box labeled as a heavy-duty meat grinder is often just a sales claim. When searching for a meat grinder for bones, a line in the instructions naming bones is an actual approval.
Selecting the best meat grinder for bones starts with the user manual rather than retail claims. Many home processors attempt grinding bones only to ruin machines that were never engineered for the load.
Here is what a clear approval looks like. The LEM BigBite grinder manual says its #12 model is approved for soft bones such as raw chicken bones. The same manual says smaller models like the LEM Products BigBite #8 meat grinder are not approved, and grinding bones in them voids the warranty.
Bone grinding is feeding raw, soft animal bones through a meat grinder rated by its maker to handle them without damaging the auger, knife, or plate.
If your manual says nothing about bones, treat that as a no. Call the maker’s support line and ask for a written answer before you start.
| What you see | What it means |
|---|---|
| Manual names soft or raw poultry bones | Approved, within stated limits |
| Manual says “no bones” | Do not grind bones; warranty risk |
| Only the listing or box mentions bones | Marketing claim; confirm with the maker |
| Manual is silent | Treat as not approved |
SaltRail’s meat grinder buying guide explains how to read these specs before you buy.
Consistent bone grinding demands high torque and durable internal gearing. Without verified approval, regular meat processing should remain strictly boneless.
Which Bones and Equipment Should You Set Out?
Use raw soft bones only during routine food preparation. Good candidates include small bones from chicken necks, backs, wings, and rabbit bones, if your manual covers them. Fish bones are small and soft, but check your manual for them too.
Processing small bones helps protect the auger and motor from binding. A suitable meat grinder for bones can break down tender poultry frames, whereas thick leg bones will instantly jam the feed tube.
For raw pet food preparation and general pet food preparation, raw poultry parts are popular ingredients. Even when assembling homemade pet food, bone density matters just as much as meat freshness.
Keep beef, pork, deer, and elk leg bones out of a home grinder. They are dense and can stall the motor or chip the plate. Cut bigger pieces with a meat band saw for home use if you need them for stock.
Set out this gear by type:
- An approved electric meat grinder with its meat pan and stomper
- A coarse plate (the 10 mm size in many kits) and a sharp matching knife
- Poultry shears or a cleaver to cut pieces down
- Sheet pans and a freezer with room for them
- A food thermometer and an appliance thermometer for your fridge
- A bowl set in ice to catch the grind
- Cut-resistant gloves for handling the knife and plate
- Hot soapy water, a brush, and a bleach sanitizer
While many grinder kits include sausage tubes for making homemade sausage, reserve those accessories solely for boneless mixtures.
Attaching narrow sausage tubes while forcing bone fragments through the throat will clog the head instantly. Save any homemade sausage recipes for a clean, bone-free batch.
A blender or food processor is a poor stand-in. Neither is built to push bone through a plate, and most makers do not approve bone use.
Which Grinder Features Matter for This Job?
Look for features that protect the motor and clear jams. Match them to what you plan to grind.
- Size and motor power: A #12 or larger head gives bone room to move. A meat grinder size guide explains head numbers.
- Metal gears: These stand up to load better than plastic gears.
- Circuit breaker: It shuts the motor down when it overheats.
- Reverse function: It backs the auger out to clear a jam.
- Stainless steel construction: Food-grade stainless steel and 304 stainless steel resist rust and are easier to sanitize.
Durable 304 stainless steel cutting plates resist dulling and corrosion when exposed to moisture and meat juices.
When searching for the best meat grinders for bones, keep in mind that not all meat grinders for bones deliver the same durability. Entry-level units like the Sunmile SM-G50 and the Sunmile SM-G50 ETL electric meat grinder are designed for soft boneless cuts and cannot handle structural bone.
Similarly, light domestic models like the Cheffano meat grinder or Gourmia GMG525 are engineered exclusively for boneless meats and will jam on bone.
Popular electric models like the STX Turboforce II 4000 offer high motor power for home kitchens. The STX International Turboforce II 4000 electric meat grinder provides multiple speeds, but the STX International Turboforce II 4000 still requires strict adherence to manufacturer limits.
Users operating the STX International Turboforce II 4000 electric meat grinder should reserve that appliance for boneless cuts unless the maker specifies soft-bone compatibility in writing.
For heavier meat processing tasks, premium units like the Weston Pro Series electric meat grinder offer reinforced gearing. Built with solid stainless steel construction, the Weston Pro Series electric meat grinder provides the strength needed for rigorous kitchen prep.
A manual meat grinder, such as the Huanyu manual meat grinder or a Vevor manual meat grinder, can process tender cartilage, but cranking bone by hand strains internal parts. Even with solid construction, the Huanyu manual meat grinder is intended primarily for small, boneless batches.
A Happybuy commercial meat grinder or Vevor commercial meat grinder handles volume more easily, though most home kitchens do not need a commercial meat grinder. The Happybuy commercial meat grinder offers considerable power, yet operators must still confirm manual ratings before grinding bones.
How to Grind Soft Bones with Meat
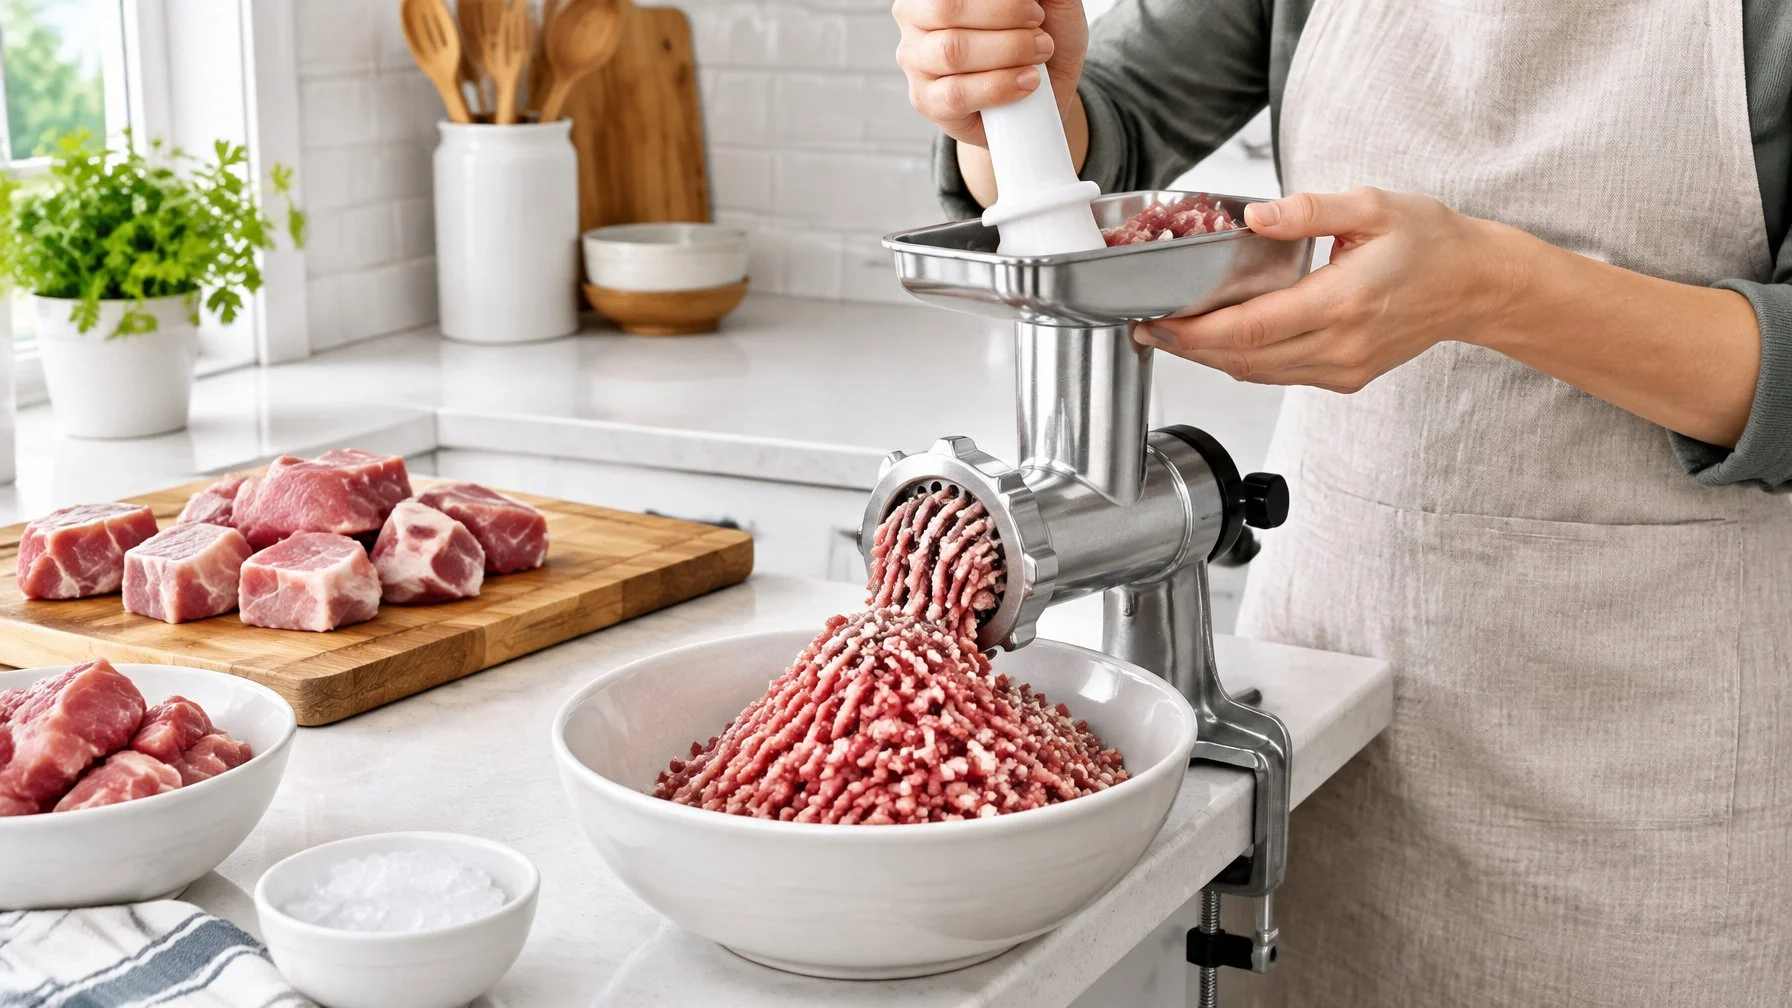
The process runs in five steps: confirm approval, chill everything, cut to size, feed slowly, then inspect and clean. Each step below gives the action and the reason. There is no salt or cure in this process, so none is listed.
1. Check the Bone Type and Grinder Approval
Confirm that the bone is raw, soft, and named in your manual. The approval is the line between a normal grind and a broken auger.
- Match the bone to your manual’s wording. “Raw chicken bones” does not cover deer ribs.
- Throw out anything cooked. Cooked bone turns hard and brittle.
- Pull out any knuckle or thick joint. Dense pieces jam first.
2. Chill the Meat, Bones, and Grinder Parts
Keep raw meat at 40°F or below the whole time. Cold meat cuts cleanly and slows bacteria.
- Set the pieces on sheet pans in the freezer for 15 to 20 minutes. They should be firm, not frozen solid.
- Chill the head, auger, knife, and plate in the freezer at the same time. Warm steel smears fat.
- Return the meat to the freezer whenever it starts to soften.
LEM’s manual calls for meat at 40°F or colder, but not frozen, for the best grind. SaltRail covers timing in more detail in how long to freeze meat before grinding.
3. Cut Pieces to Fit the Feed Tube
Cut every piece so it drops into the throat without force. Oversized pieces bind the auger.
- Use shears to cut necks and backs into short sections.
- Split wings at the joints.
- Mix bone pieces with boneless meat in the pan. Meat helps carry bone through the plate.
Piece sizes owners report for chicken backs
Size pieces to the throat opening, not to the plate. A piece that drops in freely feeds steadily.
- #12 heads: Owners most often report reliable feeding with back pieces cut to about 2 to 3 inches (5 to 7.5 cm). Most #12 throats are a little over 2 inches across, so a whole back rarely fits without force. Cutting each back into three or four sections is the common approach.
- #22 heads: The wider throat (roughly 2.5 to 3 inches) takes larger pieces. Owners commonly report halved backs feeding well, and small backs sometimes go in whole. Many still cut into thirds for smoother, steadier feeding.
- Necks: Usually fit whole in a #22. In a #12, owners often cut longer necks in half.
- Rib cages and keels: Flatten or cut these into strips. Wide, curved pieces tend to bridge across the throat instead of dropping onto the auger.
Patterns owners repeat across both sizes:
- Smaller is safer when unsure. Pieces that are slightly too small cost a few seconds. Pieces that are too large cause stalls and kickback.
- Long and narrow beats short and wide. Strips drop onto the auger. Square chunks tend to wedge.
- Feed one piece at a time. Stacking pieces in the throat causes most stalls, even when each piece is the right size.
- Firm pieces hold their shape. Partially frozen backs keep the size you cut. Soft backs fold and bunch in the throat.
If you want a quick-reference version, this table works:
| Piece | #12 head | #22 head |
|---|---|---|
| Chicken back | 2–3 in sections (3–4 per back) | Halves; small backs whole |
| Neck | Halved if long | Whole |
| Rib cage / keel | Strips | Strips or halves |
| Wing | Split at joints | Split at joints |
4. Grind in Small Batches Without Forcing the Feed
Feed slowly and let the auger pull the meat in. Pushing hard overloads the motor.
- Assemble the grinder fully, including the meat pan, before you plug it in.
- Use the stomper only. Never use your fingers.
- Feed one piece at a time, alternating bone pieces with meat.
- Listen to the motor. If it labors or slows, stop and switch it off.
- Work in small batches and return the rest to the freezer.
5. Inspect the Output and Clean the Grinder
Check the grind for sharp fragments, then clean right away. Raw poultry residue grows bacteria fast.
- Rub a spoonful of the grind between gloved fingers. Sharp or large chips mean you should regrind or toss the batch.
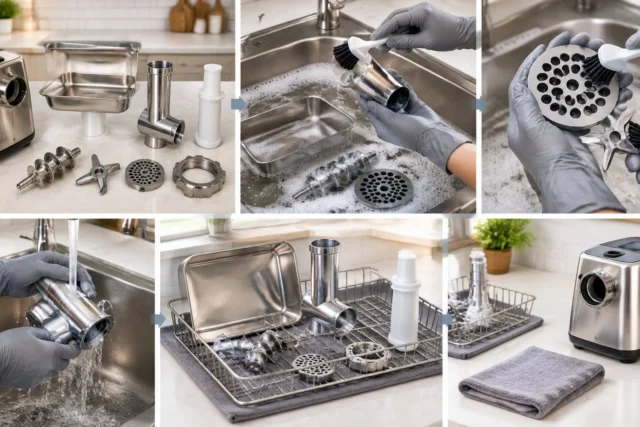
- Turn off and unplug the grinder. Take the head apart.
- Hand wash the parts in hot soapy water. Do not soak them, and keep them out of the dishwasher.
- Dry the parts right away. LEM suggests a 200°F oven for 15 to 20 minutes to finish drying.
- Wipe the parts with food-grade silicone spray before you store them.
How Do You Handle Bone-In Meat Safely?
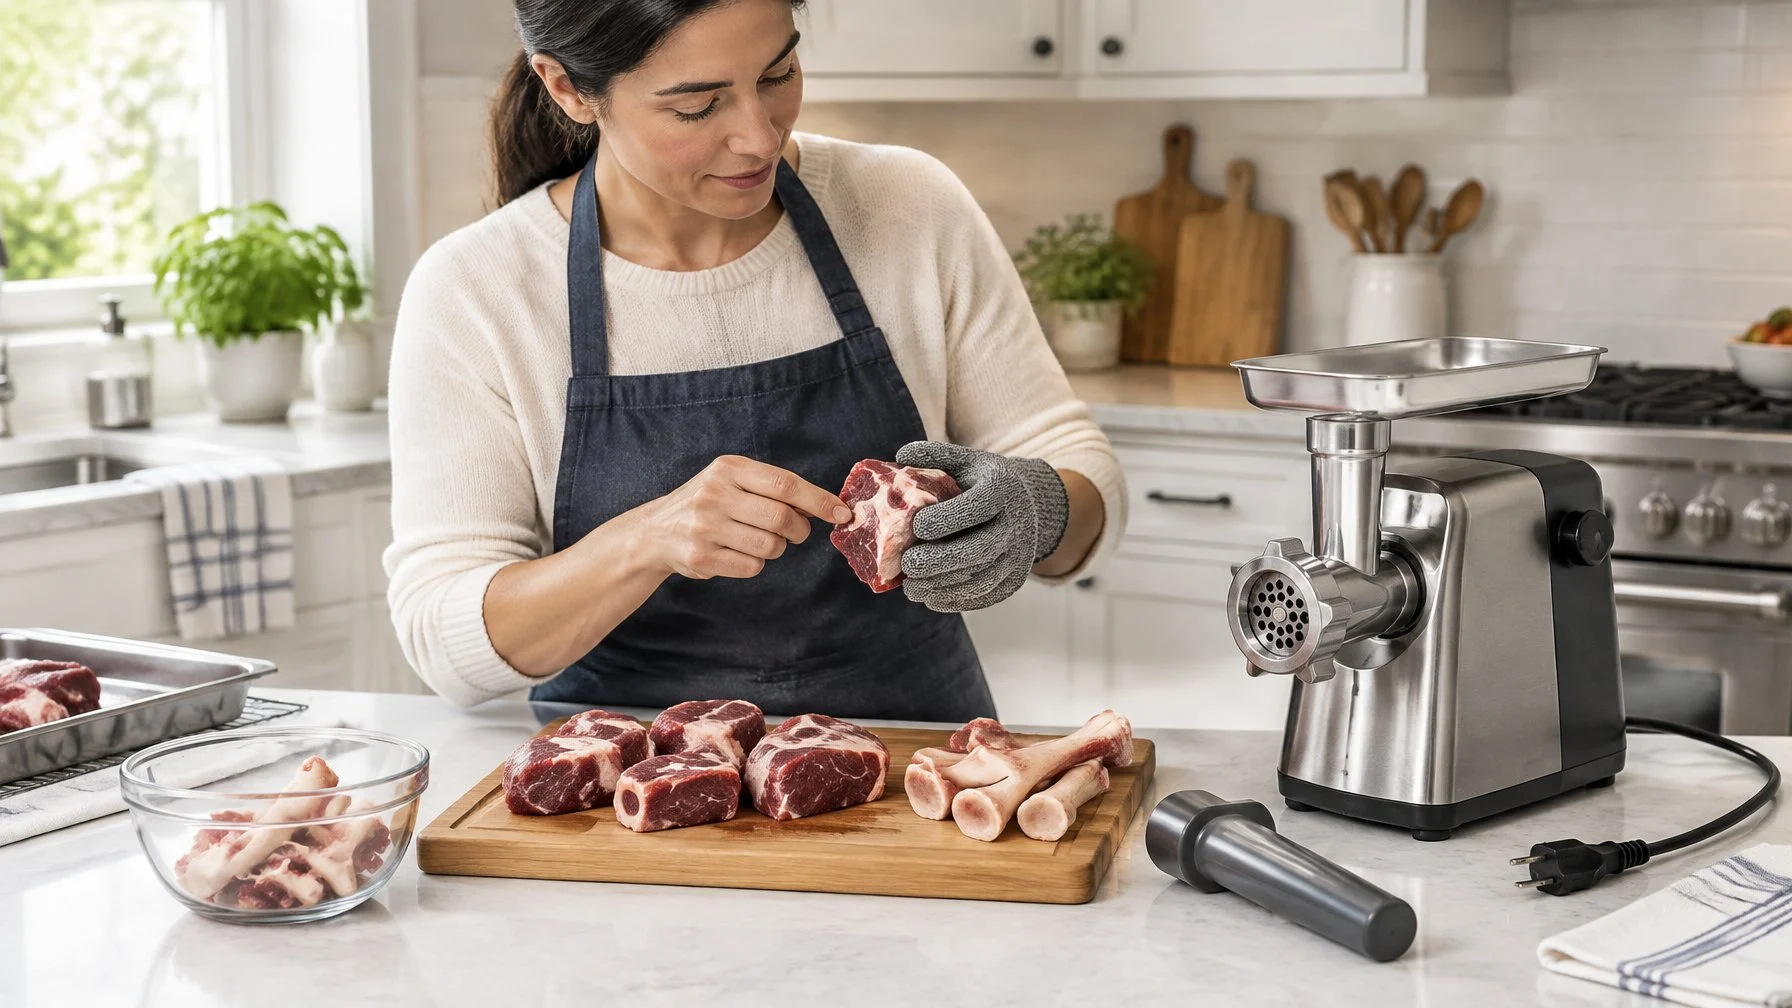
Three rules cover most of the risk: keep raw poultry cold and contained, keep cooked and hard bones out of the grinder, and bring your veterinarian into any pet-food plan.
Keep Raw Poultry Cold and Prevent Cross-Contamination
Treat every surface the chicken touches as contaminated. Raw poultry can carry Salmonella and Campylobacter.
SAFETY: Bacteria grow fastest between 40°F and 140°F and can double in as little as 20 minutes, according to USDA FSIS guidance on how temperatures affect food. Do not leave raw meat out longer than 2 hours, or 1 hour above 90°F. Follow the full USDA FSIS food-safety guidance for handling raw meat and poultry.
Rule Number Fridge temperature 40°F or below Freezer temperature 0°F or below Cook or freeze fresh poultry and ground meat Within 2 days Hand washing 20 seconds, soap and warm water Board sanitizer 1 tbsp unscented bleach per 1 gallon water
Those storage and sanitizer figures come from the USDA’s steps to keep food safe. Grind poultry last, or on a separate day from deer or beef. Label every package with the date and contents; SaltRail’s guide on how to label frozen meat shows a simple system.
Keep Cooked Bones and Hard Bones Out of the Grinder
Never grind cooked bones. Cooking makes bone brittle, and brittle bone breaks into sharp shards.
The LEM manual warns that splintered bones can get into a pet’s digestive tract and puncture the stomach or intestines. Hard bones bring a second risk. They can crack a plate or strip gears, and that damage is not covered when the maker forbids bones.
In a commercial kitchen, nobody runs bone through a line grinder that is not built for it. One broken plate shuts down the whole station.
Check Pet-Food Plans with a Veterinarian
Talk to your veterinarian before you feed ground bone-in meat to a pet. Grinding changes texture. It does not kill germs or balance a diet.
The CDC does not recommend raw pet food for dogs and cats. It notes that freezing reduces germs but does not kill all of them. The American Veterinary Medical Association discourages raw animal protein in pet diets for the same reason.
If homemade food will be your pet’s main diet, ask for a veterinary nutritionist. Keep children under 5, adults over 65, and anyone pregnant or immune-compromised away from raw prep.
What Should You Do When Grinding Goes Wrong?

Four problems stop most bone-in sessions: a jammed feed, a hot motor, bone chips in the grind, and smeared meat. Every fix starts with the switch off and the plug pulled.
The Feed Jams or Stops Moving
Stop at once. A jammed auger under power strains the gears.
- Switch off and unplug the grinder.
- If your model has a reverse function, use it briefly to back the piece out.
- Remove the retaining ring and clear the plate by hand while the grinder is unplugged.
- Cut the problem piece smaller, or set it aside for stock.
If the same bone type jams twice, it is too dense for your grinder. Stop grinding it.
The Motor Heats Up or Trips Its Breaker
Let the motor cool before you restart. Heat means the load is too high for the motor power.
The LEM grinder circuit breaker steps list a clear sequence:
- Turn the switch off and unplug the unit.
- Clear any obstruction from the grinding unit.
- Wait 1 to 2 minutes, then plug it back in.
- Press the restart button and resume.
If the plug or housing feels hot, stop for the day and call the maker. Feed less bone per batch next time.
Visible Bone Pieces Remain in the Output
Regrind or discard any batch with sharp chips. Large pieces mean the bone was too hard or the knife is dull.
- Check the knife and plate for nicks and dull edges.
- Confirm the knife’s cutting edge faces out, flat against the plate.
- Run the batch through a second time if your manual allows it.
- Drop the bone ratio and add more boneless meat.
A grinder will not turn bone into powder. Expect small, gritty bits.
The Meat Smears Instead of Grinding Cleanly
Chill everything again. Smear comes from warm meat, a loose setup, or a dull knife.
LEM’s MightyBite #8 manual says to chill mashing meat to 40°F and check that the plate and knife are installed correctly. It also names a dull knife or plate as a cause. Replace the knife and plate together, as a matched pair.
Grinding Soft Bones: Quick Answers
Can you grind up chicken bones in a meat grinder?
Yes, if the bones are raw and your grinder’s manual approves them. LEM’s BigBite manual approves its #12 model for soft bones such as raw chicken bones, while its #5 and #8 models are not approved. Keep everything at 40°F or colder, feed slowly with the stomper, and stop at the first jam.
Can a manual meat grinder handle bones?
Most manual grinders are a poor match for bones. Cranking bone takes heavy force, strains the gears, and leaves an uneven grind. Some hand units can process small bones and cartilage, but only do it if the maker’s instructions say so. Otherwise, use an approved electric grinder with a circuit breaker and metal gears.
Can you grind cooked bones for dog food?
No. Cooked bones turn hard and brittle and can break into sharp shards. LEM’s manual warns that splintered bone can puncture a pet’s stomach or intestines. Grinding does not remove that risk. Talk to your veterinarian about safe calcium sources and whether a homemade diet suits your dog before you change its food.
Will a meat grinder turn bones into powder?
No. A meat grinder pushes bone through plate holes, so the result is small gritty pieces, not powder. A second pass through a finer plate makes the grind smaller, but only if your manual approves bones on that plate. Always inspect the batch, and regrind or toss anything with sharp chips.
What is the best meat grinder for grinding meat with bones?
If you need the best meat grinder for bones, choose an electric grinder of #12 or larger whose manual names soft bones. Metal gears and a circuit breaker help it handle the load.
The LEM BigBite #12 is one model whose current manual approves raw chicken bones. Check the exact model number, since smaller sizes in the same line may forbid bones.
For home meat processing, look for a meat grinder for bones that features all-metal gearing and stainless steel construction. Successful bone grinding always relies on sharp blades and sticking to small bones.
When you’re ready to pick a grinder whose maker approves this job, start with SaltRail’s best meat grinders roundup.
This is general guidance based on USDA recommendations. When in doubt, follow the USDA FSIS source linked above.