
As an Amazon Associate I earn from qualifying purchases.
For many hunters, deer hunting is just the first step. Taking the harvest from field to table through DIY deer processing offers total control over your food.
When asking is it worth processing your own deer, the answer comes down to time, gear costs, and kitchen setup.
Completing the field-to-table journey yourself gives you total confidence in how every cut was handled.
Processing your own deer is worth it when you can keep the deer meat cold, work clean, and set aside four to eight hours to learn the flow. You get the cuts you want and the packaging you trust. A local processor that charges $110 to $130 for basic skinning, cutting, and grinding is money well spent when you lack space, time, or a cold place to work.
By the end of this you will be able to price your own break-even against a real processor quote, follow a field-to-freezer sequence with the safety numbers attached, and spot the mistakes that quietly eat the savings. Most guides stop at where to cut. This one covers reusable gear versus per-deer supplies, cut-to-use choices, and the storage times published by USDA FSIS and university extension programs.
What You Gain—and Give Up at Home
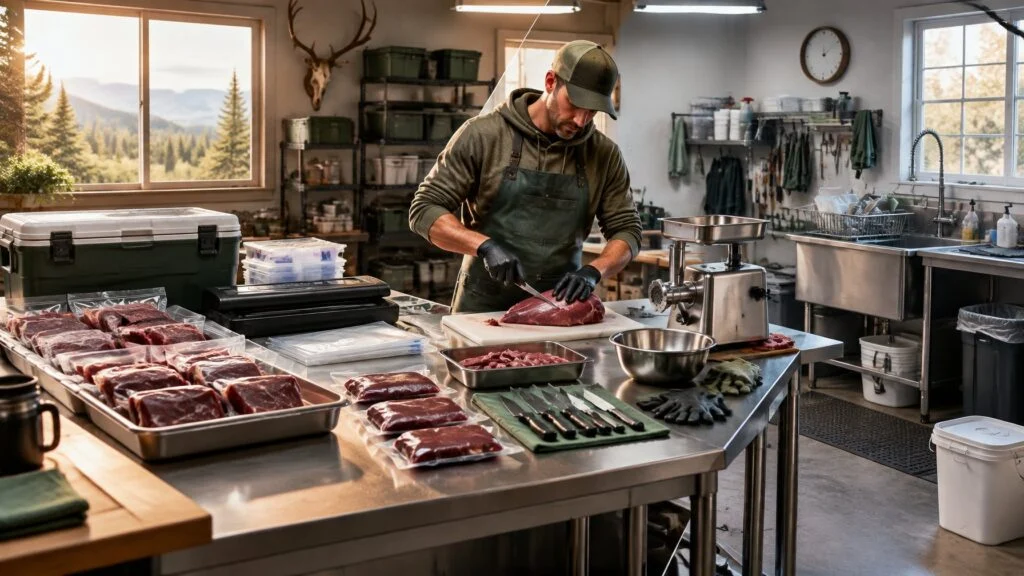
Home processing buys you three things: exact cuts, a grind you control, and packages sized for your household. It costs you a long evening, counter space, and a cleanup you cannot skip. For some harvests, a deer processor is still the right call.
Control Over Cuts, Grind, and Packaging
When processing your own deer meat, you decide what becomes steak and what becomes grind. Penn State Extension’s breakdown video shows a single carcass producing backstrap steaks, tenderloins, hind leg roasts or steaks, plus meat for stew, grind, and sausage.
At home you also control fat. Adding beef fat or pork fat to ground venison is your choice, not a shop default.
You can mix in 15% beef fat for rich burgers or 20% pork fat for fresh breakfast links. Commercial price lists show what that default looks like: one Texas shop adds 50% pork to all sausage products, and an Iowa locker builds most sausage from a half-pork, half-game mix.
Packaging is the quiet win. You can portion a pound of grind for two people instead of accepting 2 lb tubes.
The Time, Space, and Cleanup Commitment
Plan on a full evening for your first deer, plus a second session for grinding. Processing a deer takes patience, counter space, and a cleanup you cannot skip.
You need a table you can sanitize, a sink, and somewhere cold to hold meat between sessions.
Cleanup is the part people underestimate. Every board, knife, tub, and grinder part needs hot soapy water. Utah State University Extension recommends sanitizing with 1 teaspoon of household chlorine bleach per quart of water after contact with raw meat.
Plan on it taking a while. Deer & Deer Hunting estimates about three to six hours to take one deer from an unskinned carcass to packaged cuts, cleanup included. Grinding, trimming and vacuum sealing push it toward the high end. Expect your first deer to take longer than that. A helper and sharp knives make the biggest difference, and splitting the work over two sessions is common.
When a Deer Processor Is the Better Choice
Use a processor when the weather is warm and you cannot chill the carcass fast, when you have no freezer room to stage work, or when you want smoked products you are not set up to make.
Specialty items are the clearest case. Summer sausage, snack sticks, and boudin need casings, cure, a smoker, and volume minimums. One Missouri shop lists a 10-pound minimum per specialty selection and tells customers to allow three to five months for finished smoked meats.
Many shops also accept your own boneless trim. That Missouri price list charges $5.00 extra for handling carry-in trim, so you can cut at home and still order summer sausage.
How Much Does Home Deer Processing Cost?
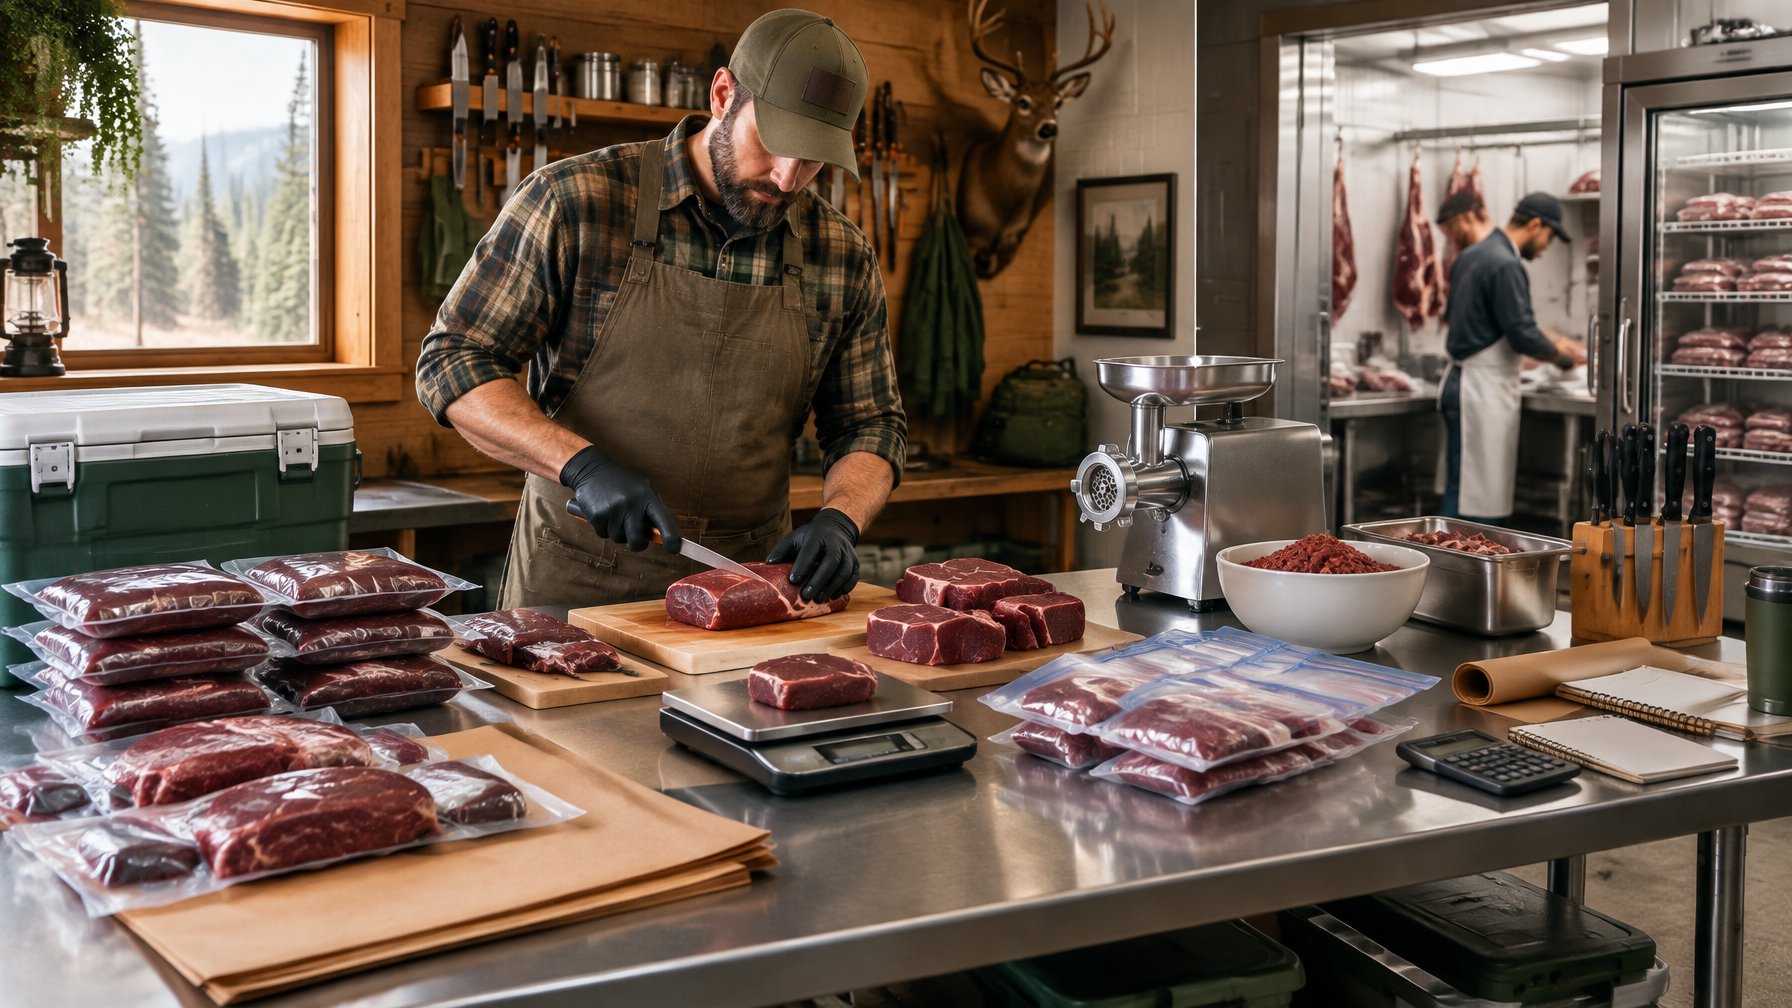
Your cost splits into gear you buy once and supplies you buy every season. Compare both against your local processor’s basic fee, then decide how many deer it takes to pay the gear off.
One-Time Equipment Costs vs. Processor Fees
Basic processing at a US shop runs roughly $110 to $130 per whitetail. Coon’s Meat Processing lists a regular process at $110.00 covering skinning, washing, de-boning, steaks, chops, and grind, vacuum-sealed and labeled. Crane’s Meat Processing charges $130.00 per deer for skinning and processing, and James Wild Game Processing lists whitetail at $125.
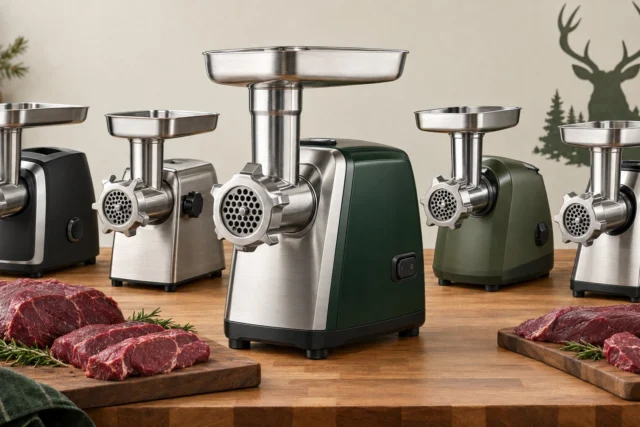
Equipment prices sit well above one deer. LEM’s #5 BigBite grinder with a 0.35 HP motor, rated to grind up to 4 lb of meat per minute, sells for $389.99. Vacuum sealers span a wide range: the FoodSaver FM2000 lists at $169.99, while LEM’s MaxVac 100 runs $109.99.
| Item | Price | Note |
|---|---|---|
| Processor, basic (Coon’s) | $110.00 | Skin, de-bone, steaks, grind, sealed |
| Processor, basic (Crane’s) | $130.00 | Skinning and processing |
| LEM #5 BigBite grinder | $389.99 | 0.35 HP, 4 lb/min |
| LEM MaxVac 100 sealer | $109.99 | Countertop |
| FoodSaver FM2000 sealer | $169.99 | Countertop |
Per-Deer Costs for Bags, Paper, Ice, and Tape
Heavy vacuum-sealed bags are the main recurring expense. LEM lists quart vacuum bags (8″ x 12″) at $23.99 to $48.99 and gallon bags (11″ x 16″) at $27.99 to $69.99, depending on count. FoodSaver’s 11″ x 16′ rolls run $44.99 for a 3-pack.
Add ice if the weather is above 41°F, freezer tape, and a marker. Penn State Extension advises taking coolers packed with bags or blocks of ice when outside temperatures climb above 41 degrees.
A Simple Break-Even Worksheet for Your Harvest
Fill this in with your own quote and your own gear picks. The answer is local, not universal.
| Line | Your Number |
|---|---|
| A. Local processor basic fee, per deer | $______ |
| B. Deer you expect to process per year | ______ |
| C. Annual processor cost (A × B) | $______ |
| D. One-time gear total (grinder, sealer, knives, boards) | $______ |
| E. Per-deer supplies (bags, tape, ice) | $______ |
| F. Annual DIY cost (D ÷ years you plan to keep gear, + E × B) | $______ |
If line F lands under line C, the gear pays for itself inside your planning window. If you take one deer a year and your processor charges $110, expect several seasons before a $389.99 grinder pays off.
What You Need Before You Start
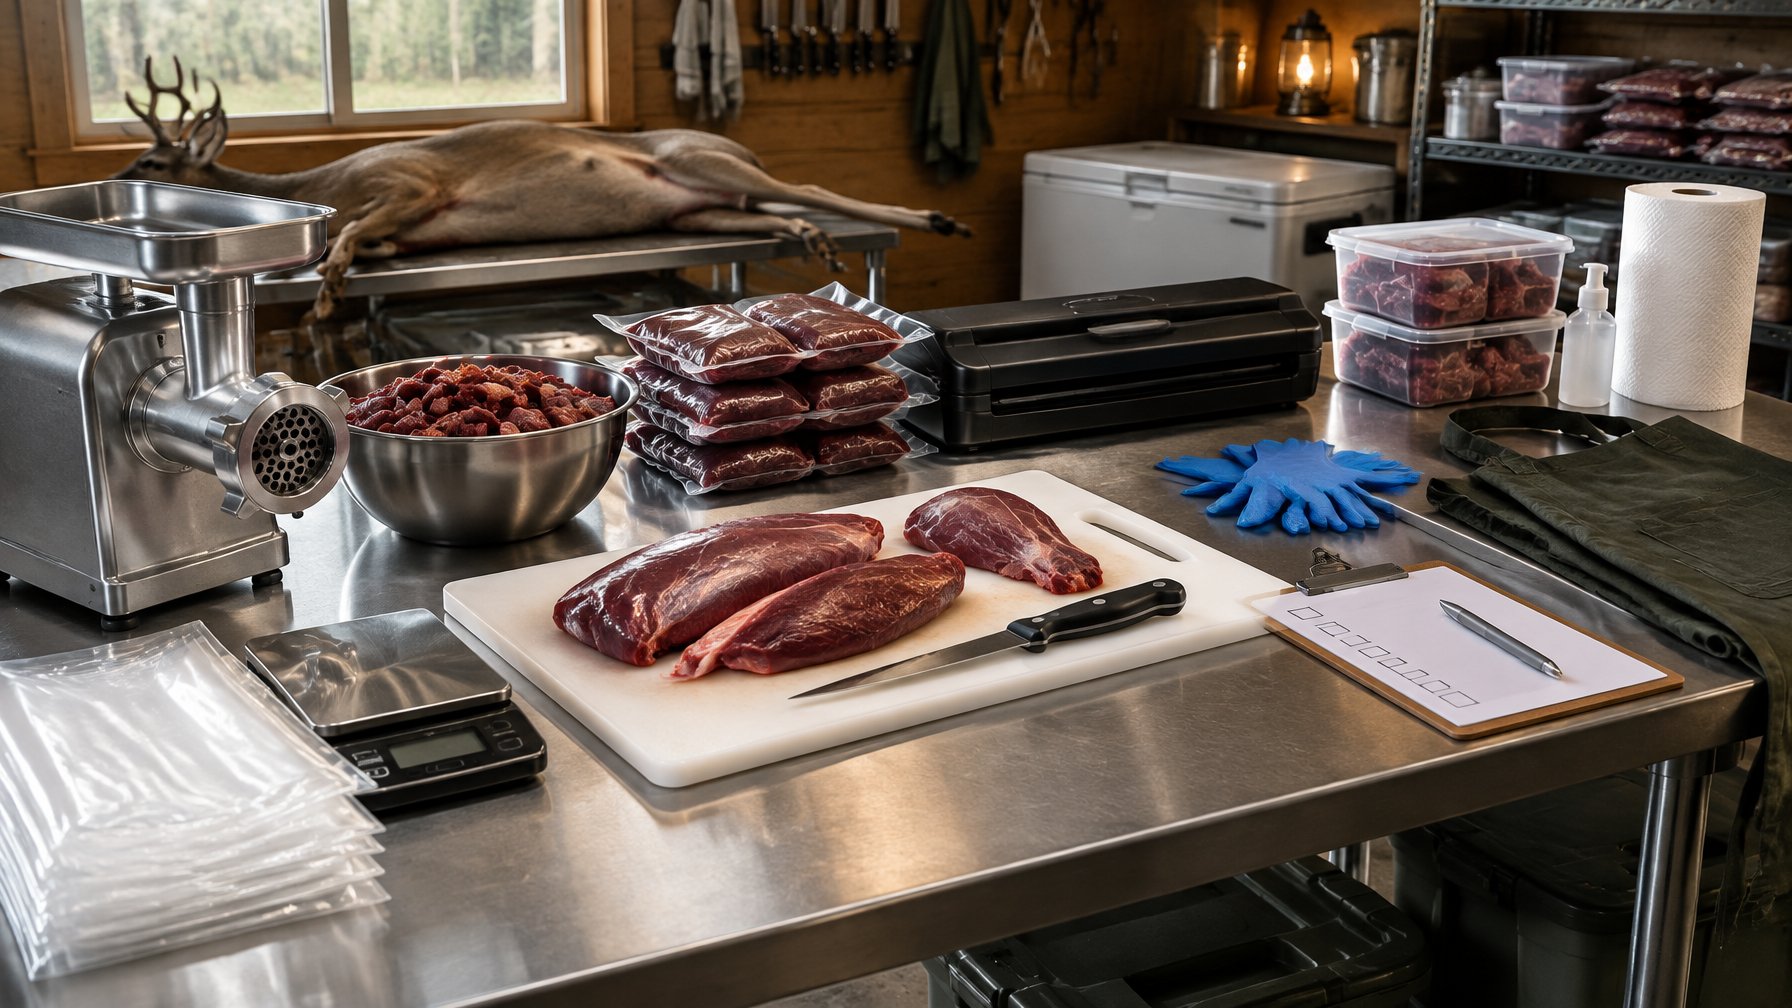
Four groups of gear cover a first deer: cutting tools you keep sharp, a cold and cleanable workspace, packaging that seals, and the optional grinder or stuffer for sausage and jerky.
Essential Knives, Saw, and Sharpening Tools
Start with a 5 to 6 inch boning knife, a skinning knife, and a honing steel. A good skinning knife separates hide smoothly without slicing into underlying meat.
Penn State Extension advises keeping boiling water available to clean your knife as you cut, since it gets dirty during the job.
Keep a meat saw or bone saw handy for the lower legs, but plan to bone out instead of sawing. A compact bone saw quickly detaches lower limbs without bone splintering. WVU Extension recommends you never cut through the bone or use deer bones for broth.
A Clean, Cold Processing Setup
You need a gambrel and hoist or a sturdy hanging point, two large cutting boards, tubs for trim, and a cooler with ice or block ice. A large, non-porous cutting board provides the stability needed for safe butchering.
Placing a damp kitchen towel beneath each cutting board prevents slipping while breaking down heavy cuts.
Oregon State University Extension advises freezing clean, empty milk cartons filled with water to make ice blocks.
Work in a clean, roomy, well-ventilated space. Wash boards, utensils, and counters with hot soapy water before and after contact with raw meat.
Packaging Tools That Prevent Freezer Burn
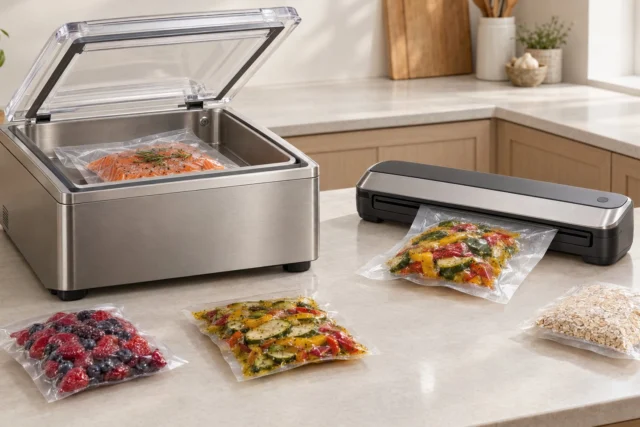
Durable vacuum-sealed bags give the longest freezer life. WVU Extension states that vacuum sealing will make the meat last the longest in the freezer without the risk of freezer burn. Freezer paper, heavy butcher paper, and freezer bags also work well when you press out air.
Penn State Extension recommends wrapping meat tightly in heavily waxed paper, freezer wrap, heavy-duty foil, or plastic freezer bags, removing all air before sealing.
Optional Gear for Sausage and Jerky
A grinder, a sausage stuffer, and a dehydrator turn trim into sausage and jerky. A dedicated sausage stuffer ensures uniform density and prevents ruptured casings. An electric meat slicer makes uniform cuts for jerky or deli meat.
If you plan to make cured venison sausage, LEM’s #22 BigBite grinder with a 1 HP motor is rated to grind up to 13 lb per minute at $759.99, and the MightyBite 5 lb vertical stuffer lists at $199.99 to $229.99.
Skip cure guesswork. Cure weights need a scale and exact math, so use a dedicated guide with lb and gram amounts before you mix anything.
How to Get a Deer Ready for the Cutting Table
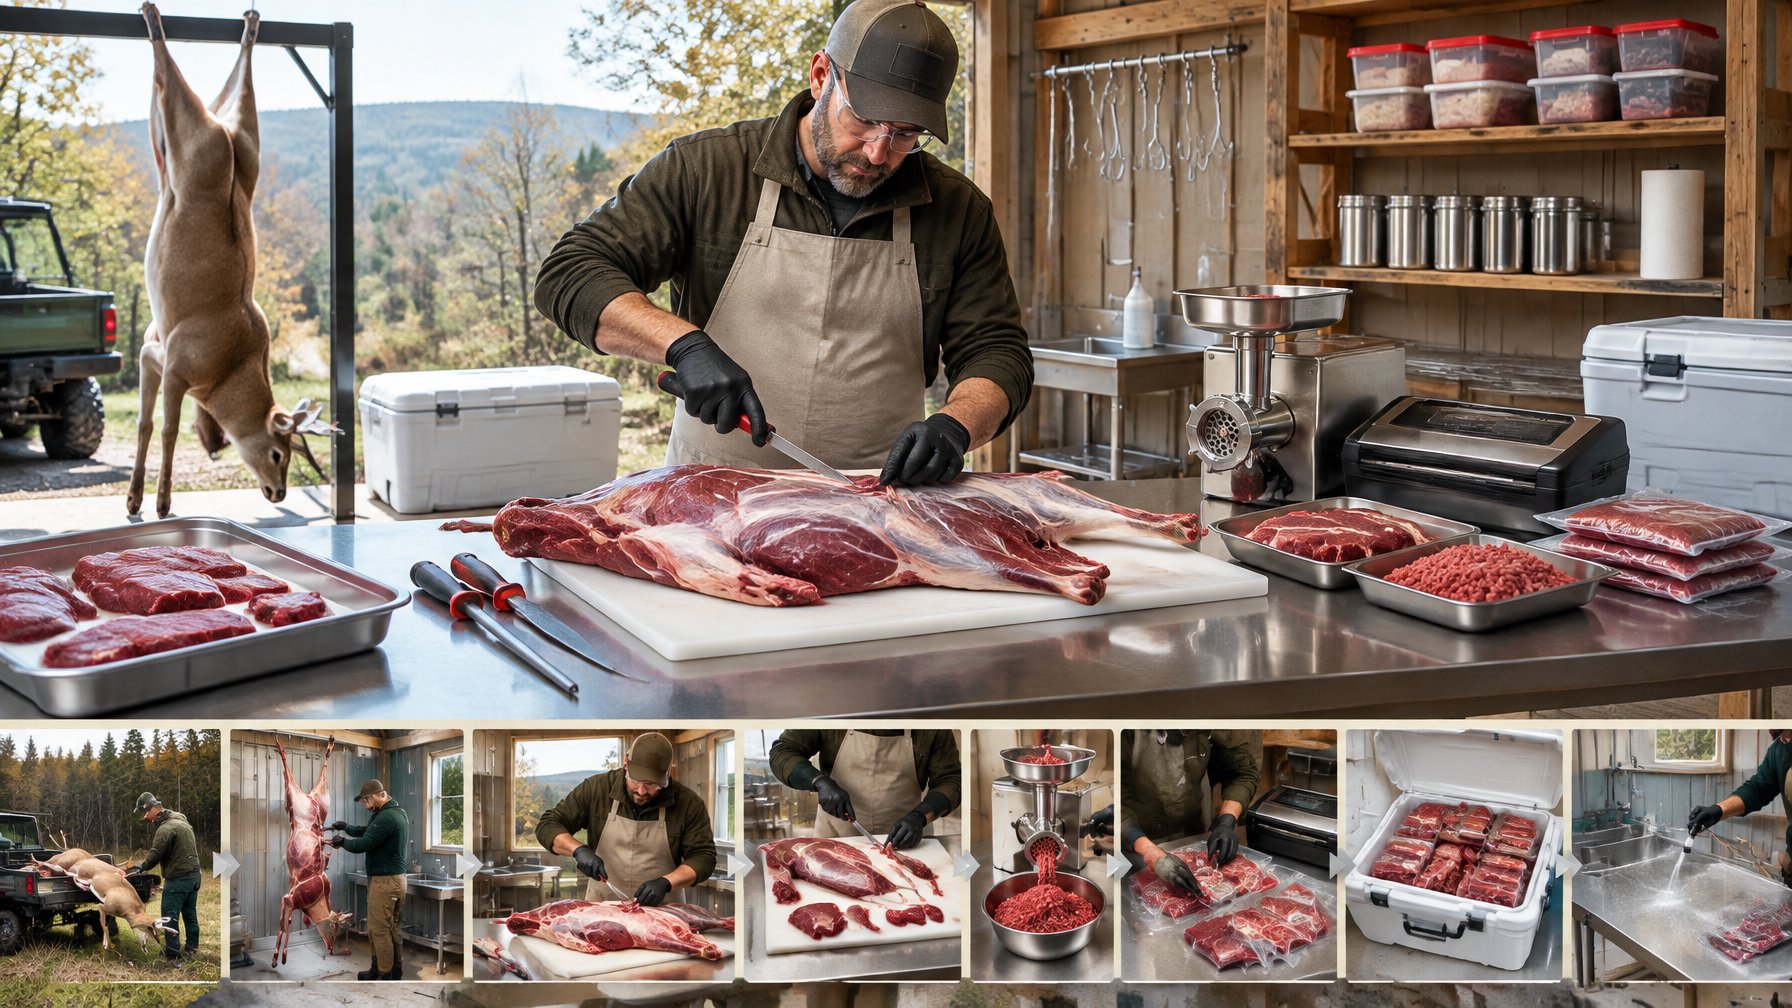
Five things happen before breaking down primal cuts: prompt field dressing, a real chill, clean skinning and quartering, an aging decision, and your CWD and safety checks.
1. Field Dress Promptly and Keep the Carcass Clean
Perform field dressing as soon as you can. Rapid field dressing initiates carcass cooling and makes the deer easier to move.
Keep a field-dressed deer elevated and shaded whenever possible to start dumping body heat. Lay down paper towels or a plastic drop cloth as a barrier between the ground and your tools to cut cross-contamination.
Slip quarters into breathable game bags to keep dirt and flies off the meat during transport.
2. Chill the Meat Before Processing
Cool the meat fast and keep it cold. Getting a field-dressed deer chilled promptly preserves taste and tenderness.
Oregon State University Extension sets the goal at an internal temperature of 40 degrees or lower within 24 hours, then avoiding temperature swings after that.
Penn State recommends quickly cooling the carcass to 35° to 40°F. Never wrap a warm carcass in plastic or a tarp; that traps heat and holds the meat in the danger zone.
3. Skin and Quarter Without Contaminating the Meat
Hang the carcass from a gambrel and hoist so nothing touches the ground. Hanging off the ground is the best way to keep the meat clean.
If the air is above 42°F, quarter the deer and put it in a cooler or freezer instead of hanging it outside. WVU Extension frames hanging outside as an option only below that temperature.
Avoid the metatarsal glands on the insides of the hind legs. Their secretions can spread to the meat on your hands or knife.
4. Decide Whether to Age or Process Promptly
Aging means holding a carcass or cuts at controlled cold temperatures for several days to improve tenderness and flavor.
Oregon State Extension lists a maximum of seven days of aging for deer, and only when the animal was taken with minimum stress and moved to a 34-degree cooler on the day of the kill. Penn State says aging 5 to 7 days should improve tenderness without undue spoilage, at a temperature below 40°F.
Skip aging entirely for meat headed to grind, cure, or sausage. Those processes tenderize on their own, and unaged meat makes higher quality ground meat.
Food-Safety and CWD Checks Before Butchering
SAFETY: Consistent food safety is critical during butchering. Bacteria grow fastest between 40°F and 140°F, the temperature danger zone described by Penn State Extension.
Cut the carcass within seven days of harvest if it was chilled fast, sooner in warm weather. The CDC advises hunters not to shoot, handle, or eat animals that look sick, to wear latex or rubber gloves when field dressing, to avoid handling internal organs, and to strongly consider CWD testing before eating the meat. Do not use your kitchen knives for that work. Cook all ground venison to 160°F.
CWD has been reported in wild deer in 36 US states, and once established the prions can stay in soil for years. Check your state wildlife agency for testing and carcass disposal rules before you hunt. If you hunt a CWD zone, the National Deer Association recommends waiting for satisfactory test results before eating the venison.
How to Turn a Deer Into Useful Freezer Cuts
Carving the carcass into manageable primal cuts simplifies home processing. Five moves get you from hanging carcass to labeled packages: tenderloins and backstraps first, hindquarters along their seams, a use decision for shoulders and shanks, trimming, then grind and pack.
1. Remove the Tenderloins and Backstraps First
Take the tenderloins and backstraps early. They are the most valuable cuts and the easiest to damage by waiting.
Penn State’s demonstration makes one long cut along each side of the spine, from near the tail toward the base of the neck, keeping the knife tight to the vertebrae to leave as much meat as possible on the backstrap. Tenderloins sit along the underside of the spine and need very little trimming.
2. Separate Hindquarters Along Natural Seams
Free the ball joint of the femur from the pelvis, staying tight to the hip bones so more meat stays on the leg.
Then bone out the femur and split the large muscle groups along their seams. Top round, bottom round, and rump each become roasts or steaks, or get cut down for stew meat and trim.
The eye of round cuts into tender medallions or uniform strips for jerky. Each section of the round separates cleanly with gentle pressure from your fingers.
3. Choose the Best Use for Shoulders, Neck, Ribs, and Shanks
Front shoulders are held on by muscle and connective tissue, not a joint, so they pull away along a natural seam. Shoulder meat goes to stew meat, grind, sausage, or trim.
Braised neck meat makes delicious shredded roasts, or you can cube it for burger trim along with the flanks. Slow cooking breaks down the collagen in tough neck meat for tender barbacoa or pot roast.
| Cut | Best use |
|---|---|
| Backstrap | Steaks or roasts |
| Tenderloin | Quick-cooked whole |
| Top and bottom round | Roasts, steaks, jerky slices |
| Front shoulder | Stew meat, grind, sausage |
| Neck and rib meat | Grind or slow-cooked roast |
| Shank | Braise whole or grind |
4. Trim Silverskin, Fat, and Damaged Meat
Pull off silverskin, heavy connective tissue, large fat, and any bruised or bloodshot tissue as you go. Connective tissue does not break down in a burger, and damaged meat spoils faster.
Sliding your blade under the thin silver skin on whole roasts and steaks will prevent curling during cooking. Work your knife flat against the meat to peel tough silver skin cleanly without wasting good venison.
Remove the heavy ligament along the top of the backstrap if you want, but do not trim away good meat chasing it.
5. Grind, Package, Label, and Freeze the Venison
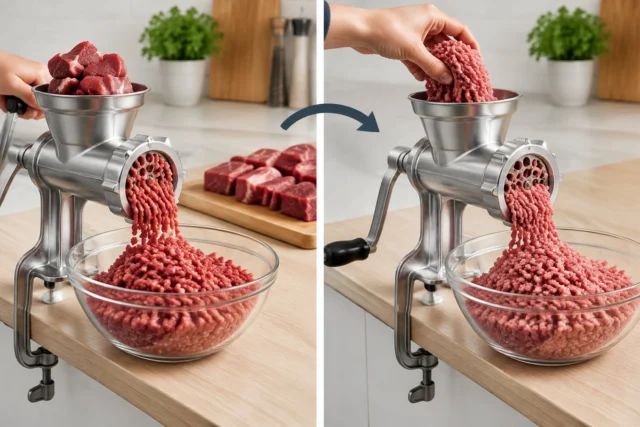
Chill trim to near-freezing before grinding, and chill the grinder head too. Cold meat cuts cleanly; warm meat smears.
Keep the batch cold so your ground meat extrudes smoothly without turning mushy. Portioning ground meat into flat packages makes thawing fast and easy later.
Package meal-size portions, remove all air, and label each package with the cut and date. Proper freezer storage keeps cuts tasting great for months.
Space packages in the freezer so air circulates and the meat freezes fast, then restack once solid.
Penn State Extension notes properly wrapped venison stores 9 to 12 months in the freezer. For flavor, one extension educator recommends limiting fresh venison to eight months of frozen storage and seasoned or cured venison to four months.
Common Problems That Erase the Value of DIY Processing
Five mistakes turn a saved processor fee into wasted meat: missed cooling windows, dull knives, an oversized grind pile, weak seals, and a disorganized freezer.
Warm Meat and Missed Cooling Windows
Meat held above 40°F breeds bacteria fast, sometimes doubling in number every 20 minutes in the danger zone. That is the single most expensive mistake on this list.
Get a cooler with block ice on the truck before you hunt. Pack the body cavity with bags of ice if you cannot get the carcass to a cold space quickly.
Dull Knives and Ragged Cuts
A dull blade tears seams instead of following them, and you leave meat on the bone. Touch the edge up on a honing steel every 10 to 15 minutes of cutting.
Keep a second knife going so you never cut with a tired edge while the first one waits.
Too Much Meat Sent to the Grind Pile
Whole muscles from the hindquarter make good roasts and steaks. Grinding them because seam work feels slow is the quiet loss most first-timers take.
Set aside anything larger than your fist as a potential roast before you decide. You can always grind it later.
Wet Packages, Weak Seals, and Freezer Burn
Vacuum sealers fail on wet meat. Pat each portion dry, keep the bag mouth clean, and check the seal strip before it goes in the freezer.
Freezer burn is dehydration on the surface of frozen meat, caused by air contact through weak packaging or trapped air pockets. Butcher paper and freezer paper both work as a backup wrap over a sealed bag.
Poor Labels and an Overfilled Freezer
Unlabeled packages become mystery meat by February, then get thrown out. Write the cut, the weight, and the date on every package.
Overfilling blocks air circulation, which slows freezing and hurts quality. Leave gaps until packages are solid, then restack tight.
Sealer and bag failures show up often in owner forums. In one barbecue forum thread, owners whose packages lost vacuum in the freezer blamed sharp bones, scratches from shifting packages, and small wrinkles or dirt in the seal. Hunters report the same bone and wet-seal problems with game meat. A separate grilling-forum thread traced weak suction to stiff, worn gaskets that were cheap to replace. Pad bone edges, keep the seal area dry, and check each seal before freezing.
Frequently Asked Questions
Five things hunters ask most: whether DIY saves money, how long it takes, yields, hang time, grinder-free options, and packaging.
Is it cheaper to process your own deer than use a processor?
Per deer, yes, once your gear is paid off. Basic processing costs $110 to $130 at the shops surveyed, while per-deer supplies at home are mostly bags and ice. A LEM #5 grinder at $389.99 plus a $109.99 sealer means several seasons of deer before you break even at one animal per year.
So is it worth processing your own deer financially? If you harvest multiple deer each year, the equipment quickly pays for itself while giving you unmatched quality control.
How long does it take a beginner to process a deer?
Budget a full evening for cutting and a second session for grinding and packaging. A first deer takes longer because you are learning seams, and the cleanup adds time. Splitting the job across two days works well when you have a cold place to hold quarters between sessions.
How much meat will a 100 lb deer yield?
Utah State University Extension reports that one carcass generally yields only 20 to 25 percent boneless meat as steaks, roasts, and ground trim. Yield drops with shot damage, bone splinters, and fat that gets trimmed away. Crane’s Meat Processing notes that fatter deer produce heavier carcasses but more trimmed fat, and that chilling deer lose moisture and weight.
How long can a deer hang before butchering?
Oregon State University Extension lists seven days as the maximum aging time for deer, and only when the carcass reached a 34-degree cooler on the day of the kill. Penn State recommends cutting within seven days of harvest if the carcass was chilled quickly, sooner in warm weather. Any mold, slime, or off odor means cut and freeze immediately.
Can I process a deer at home without a meat grinder?
Yes. Backstraps, tenderloins, hindquarter roasts, and steaks all come off with a boning knife alone. Cube shoulder and shank meat for stew, or can it in a pressure canner. You can also carry clean boneless trim to a processor; one Missouri shop makes its regular venison products from carry-in trim for $5.00 extra.
What is the best way to package venison for the freezer?
Vacuum sealing gives the longest freezer life without freezer burn, according to WVU Extension. Freezer paper, freezer wrap, heavy foil, and plastic freezer bags all work when you press out every bit of air. Package meal-size portions, label with cut and date, and expect 9 to 12 months of good quality.
This is general guidance based on USDA recommendations. When in doubt, follow the USDA FSIS source linked above.