
As an Amazon Associate I earn from qualifying purchases.
Buy for your largest batch, not your average week: a #8 grinder handles 3 to 5 lbs per minute and suits burgers and small sausage runs, while a #12 with metal gears moves around 11 lbs per minute and fits a whole deer or a half beef. Head size, not peak wattage, sets your real throughput.
Finding the best meat grinder comes down to sizing the machine to your actual workload. Whether shopping for a versatile meat mincer or an electric machine, efficient meat grinding relies on cold temperatures, plate sizes, and steady feed rates from hopper to freezer.
This meat grinder buying guide covers batch math, plate diameters, replacement parts, and the cleanup routines that keep equipment running smoothly for seasons to come. While commercial butcher shops rely on high-capacity floor units, home cooks can achieve identical results with the right home setup.
Start With the Meat You Actually Plan to Grind
Your biggest single processing day sets the size, and the meat itself sets the plates and the fat handling. Burger and weekly meal prep, seasonal venison and pork, and sausage work each pull the decision in a different direction.
Choose for Your Largest Batch, Not Your Average Week
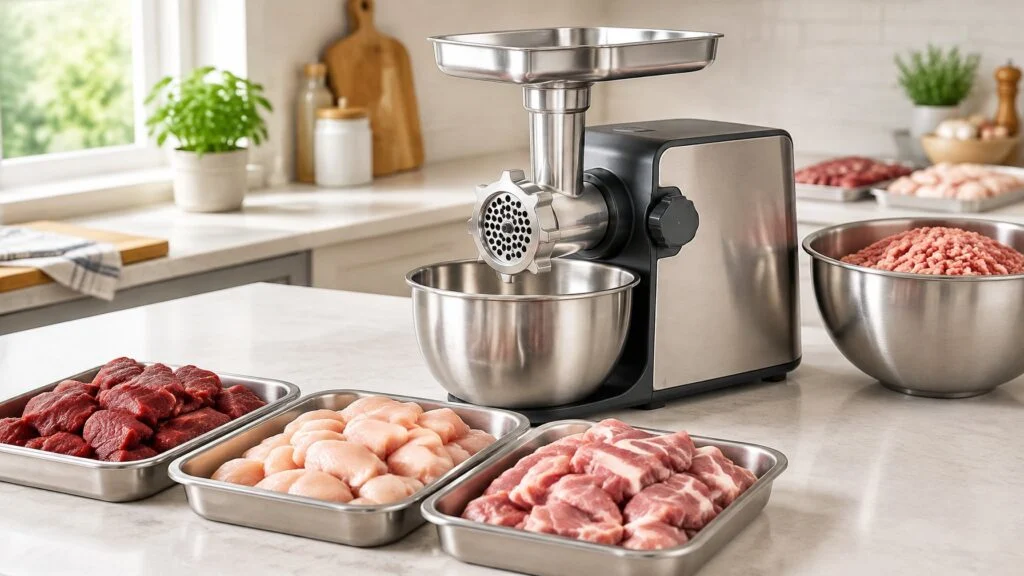
A grinder sized for a 5 lb burger night will punish you on a 60 lb deer. Size for the peak day and the small days take care of themselves.
Head size directly dictates grinding capacity. Work out your peak in pounds of trim, then divide by the machine’s rated throughput.
| Your biggest single batch | Practical head size | Rated throughput example |
|---|---|---|
| 5 to 15 lbs | #8 | 3 lbs/min (575W countertop), 4 to 5 lbs/min (aluminum #8) |
| 30 to 100 lbs | #12 | About 11 lbs/min at 0.75 HP |
| 100 lbs and up, yearly | #22 or #32 | 13 lbs/min (#22), 17 lbs/min (#32) |
Those figures come from LEM’s published specs for its #12 BigBite grinder at 0.75 HP and its #8 575-watt countertop model. Rated speeds assume cubed, chilled meat.
Burgers, Meal Prep, and Small Batches
For 5 to 20 lbs of chuck roast or pork butt at a time, a #8 electric does the job in under 10 minutes. That covers burger patties, meatballs, tacos and chili for a month of meal prep.
Dialing in the right fat content is crucial for tender results. Chuck roast at roughly 80/20 lean to fat yields flavorful burger meat that holds together on a grill. Pork shoulder lands near 75/25 and suits meatballs, giving a juicy mince that does not dry out. Whether preparing fine mince for savory pies or coarse blends for tacos, home grinding provides complete control over texture.
Controlling texture is the true advantage of home meat grinding over store-bought packs. Balancing overall fat content ensures game sausages and burgers retain moisture on the grill.
Blending beef, pork, and veal produces an exceptionally tender meatball or burger texture. Rich cuts like duck breast also benefit from chilled processing to keep soft fat from melting during the grind.
Venison, Pork, and Seasonal Game Processing
Hunters grinding a whole deer face 30 to 60 lbs of trim in one sitting. For seasonal meat processing, a #8 will finish it with cooling breaks, while a #12 finishes without stopping.
For avid hunters processing game each autumn, choosing the best meat grinder with metal gears prevents unexpected breakdowns mid-season. Many hunters also favor units with broad feed openings to quickly handle whole quarters of wild game.
Venison is lean, so most people add 15 to 20 percent pork fat or pork butt by weight. Grind the lean and the fat together on a coarse plate, then again on a fine plate for even distribution.
Plan your grinder size around real yields. Ohio’s Division of Wildlife weighed 115 whitetails and found that the average deer gave about 52 pounds of venison, roughly 48 percent of its 108-pound field-dressed weight. Elk produce far more. In a University of Wyoming study, cows averaging 339 pounds field-dressed gave about 169 pounds of boneless lean. A big share of either animal can end up as grind, so a deer is a small batch and an elk is a long session.
Sausage Making and Double Grinding
Double grinding means running meat through a coarse plate first, then a finer plate, to mix lean and fat evenly and improve texture.
Homemade sausage almost always needs two passes. A coarse grind at 10mm works well for chorizo and chili. A fine grind at 4.5mm suits breakfast and Polish sausage, while hot dogs drop down to 3mm.
Starting your batch with a coarse grind breaks down tough muscle fibers without crushing fat. Passing meat through a fine grind on the second run ensures seasonings and emulsified fats blend uniformly.
Choose the Right Grinder Type for the Job
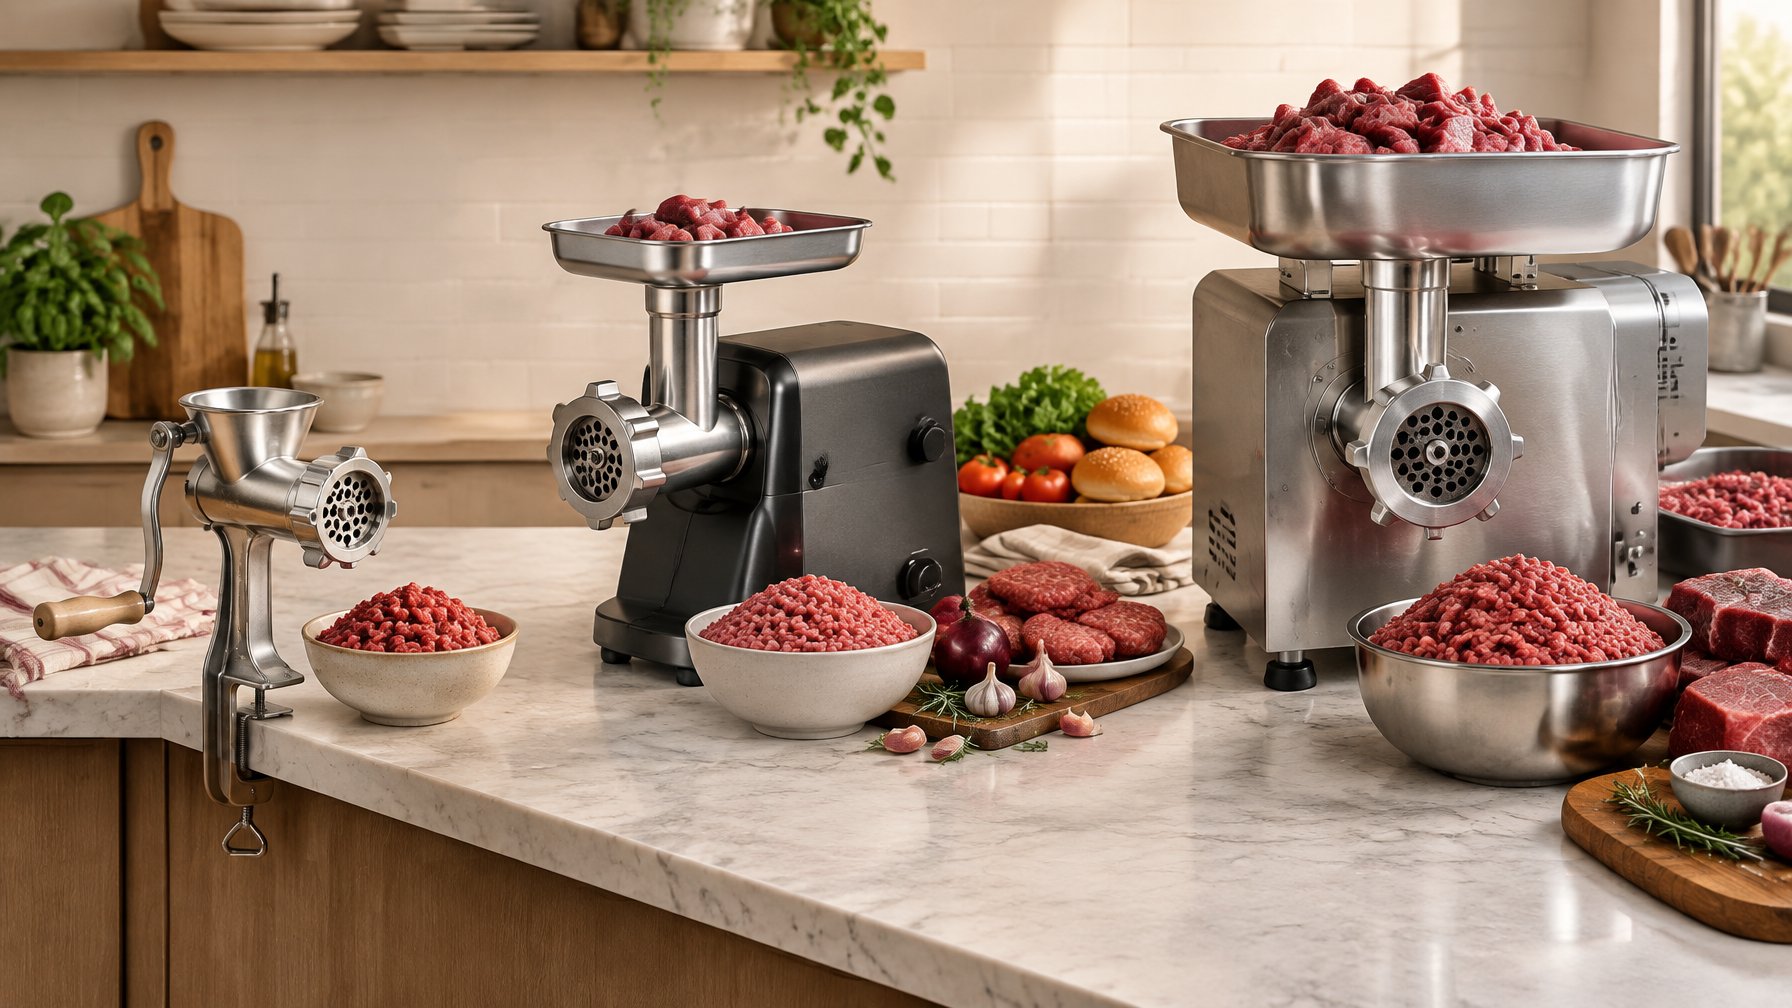
Four types cover nearly every home setup: hand-crank, countertop electric, a stand mixer attachment, and a commercial-style heavy-duty machine. Each has a batch size where it stops making sense.
When a Manual Grinder Makes Sense
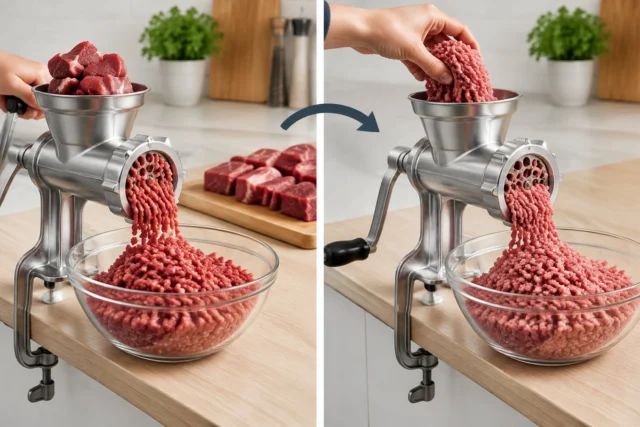
A manual meat grinder or traditional hand grinder earns its place at camp and nowhere else for volume work. No cord, no motor to burn out, and it clamps to a table.
The trade is labor. Cranking a pound or two is fine. Cranking 40 lbs of venison trim is a long afternoon, and hand cranking works air into the meat.
For occasional small batches or off-grid prep, choosing a sturdy manual meat grinder ensures you can always process trimmings without electricity. Many hunters keep a manual meat grinder in deer camp as a reliable backup when generators or power outlets are unavailable.
When an Electric Meat Grinder Is Worth It
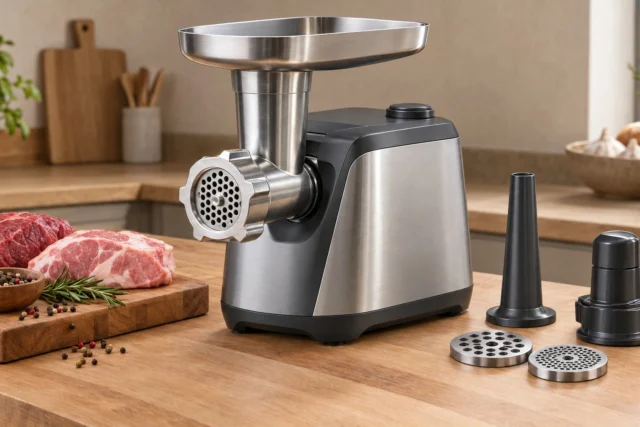
A budget meat grinder or compact electric meat grinder pays for itself in time and shoulder strain once batches pass 10 lbs. Entry-level brands like Cuisinart offer compact convenience, while a 575W #8 unit runs 3 lbs per minute to clear 15 lbs in minutes.
Keep the motor noise level in mind, as high-speed compact motors can whine loudly under load. A moderate noise level often signals a heavier motor base with precision internal gears.
Look for a reverse function and a reset button. Both let you clear a jam without taking the head apart mid-batch.
A responsive reverse function prevents motor burnouts when stubborn sinew wraps around the auger.
Is a KitchenAid Attachment Enough?
A meat grinder attachment designed for a KitchenAid stand mixer works well for burgers, hard cheese, and bread crumbs. It ships with fine and coarse grinding plates and a food pusher, making it a reasonable starting point if you already own the appliance.
It runs directly off the KitchenAid stand mixer motor, which is doing double duty. For the KitchenAid stand mixer, sinew-heavy venison and long sessions are where owners report slowdowns and clogging.
When to Step Up to a Heavy-Duty Grinder
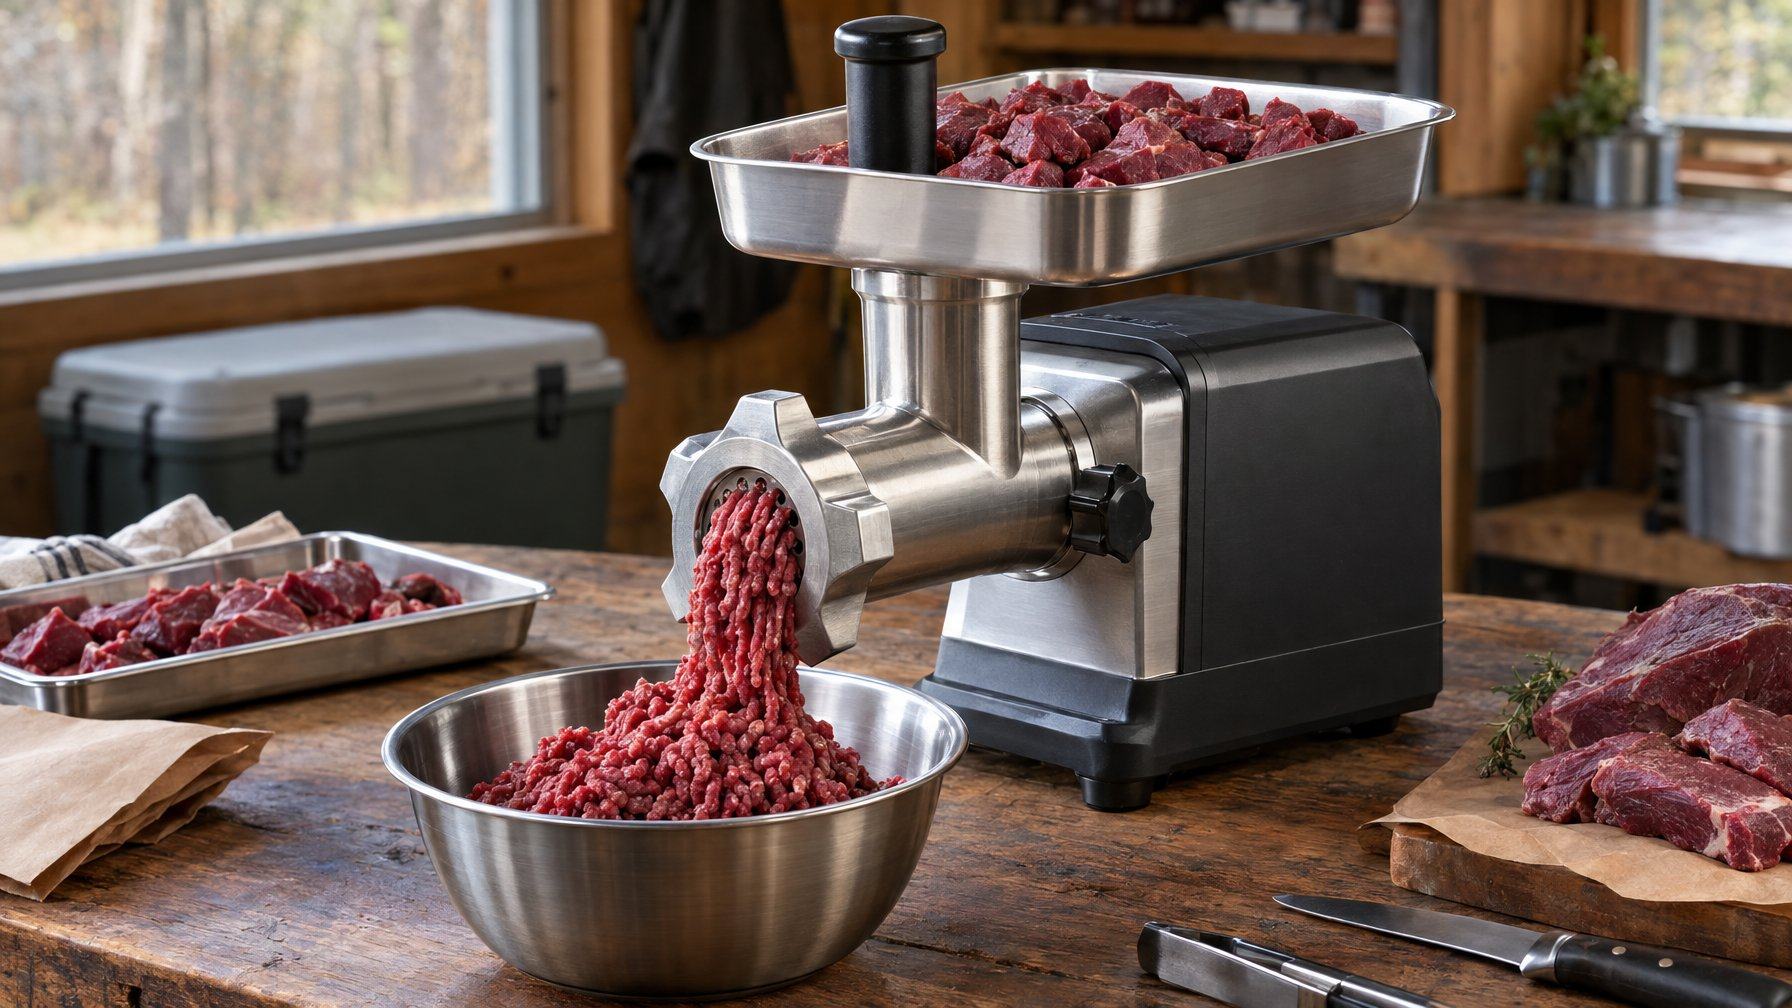
A heavy-duty meat grinder means stainless steel housing, all-metal gears with roller bearings, and half a horsepower or more. These pull meat down from the pan without a stomper.
Investing in a heavy-duty meat grinder ensures dependable longevity across years of high-volume work. Workhorse units like the Weston #12 electric meat grinder deliver the torque needed to power through cold trim without bogging down.
If you process multiple animals each season, stepping up to a commercial meat grinder prevents motor strain. Warranty length tells you what the maker expects: LEM backs its BigBite grinders with a five-year warranty.
While a high-capacity commercial meat grinder is common in processing shops, serious homesteaders often invest in one for uninterrupted all-day capacity.
Match Size, Power, and Construction to Your Workload
Head number, plate diameter, gear material, and parts availability tell you more about a grinder’s life than a wattage sticker does. Cleanability decides whether you keep using it.
What Do #8, #12, and Larger Grinder Heads Mean?
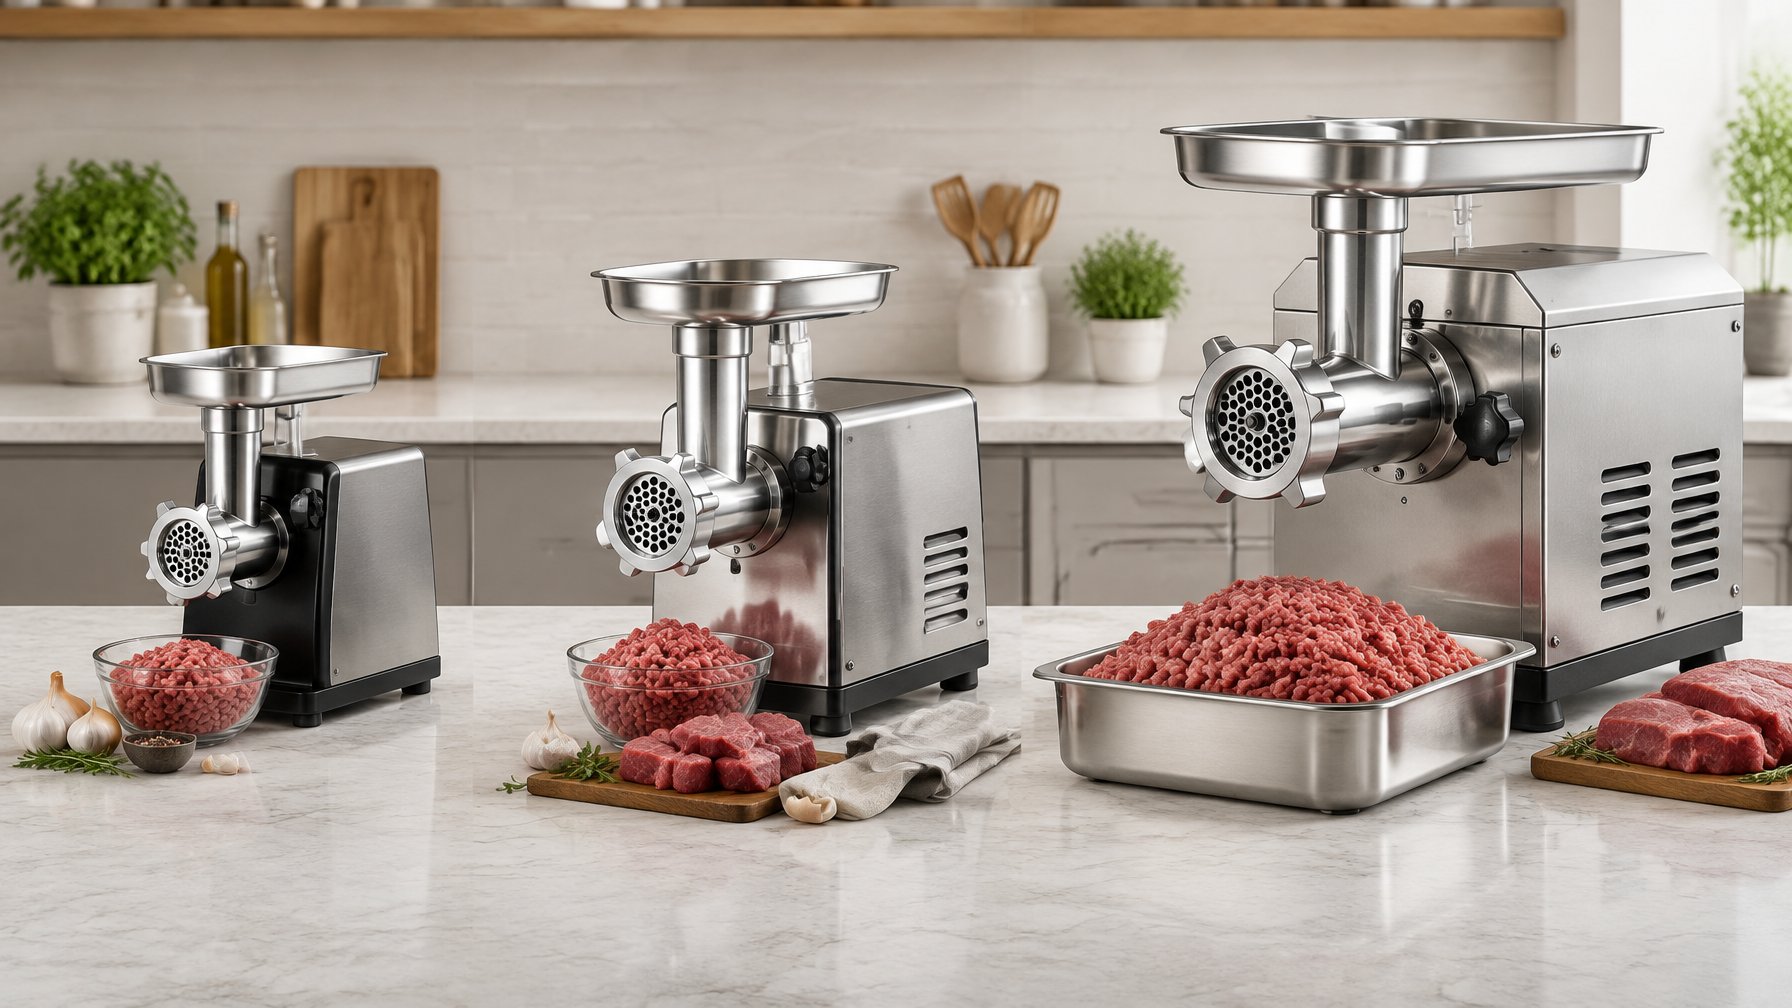
The grinder head number is an industry sizing standard that sets the plate diameter, knife size, and feed-throat opening for interchangeable parts.
Choosing the correct grinding head dictates your production speed and plate compatibility across brands.
Parts suppliers publish the dimensions. A #8 grinder plate measures 2-7/16 inches across, a #12 plate 2-3/4 inches, a #22 plate 3-1/4 inches and a #32 plate 3-7/8 inches.
| Head size | Plate diameter | Knife tip-to-tip |
|---|---|---|
| #5 | 2-1/16″ | 1-3/16″ |
| #8 | 2-7/16″ | 2-3/16″ |
| #10/12 | 2-3/4″ | 2-7/16″ |
| #22 | 3-1/4″ | 2-7/8″ |
| #32 | 3-7/8″ | 3-9/16″ |
Why Plate Size and Feed-Throat Size Matter
More plate area means more meat exits per turn, so the auger is not fighting a backup. The surface area of each grinder plate determines how freely meat exits the cutting chamber.
A generous feed hopper paired with a wide grinding head allows continuous flow without backups. The throat opening controls how big your cubes can be.
LEM lists a 1.5-inch throat opening on its #8 countertop grinder and 2.25 inches on the #12 BigBite. That difference is the gap between cutting careful strips and dropping in fist-sized chunks.
How to Read Wattage and Horsepower Claims
When assessing motor power, treat peak wattage as marketing and rated throughput as the number that matters. Some makers quote a stall figure that the motor reaches for a second before it trips.
Reliable motor power keeps the auger turning at steady RPMs even when cold, stiff fat enters the feed throat.
STX International lists its STX Turboforce 3000 at 800 watts under no load and 800 to 1,200 watts under load, with a 175 to 225 lbs per hour grind rate. Reputable brands like STX International clearly disclose these operational ranges, making continuous draw and pounds per minute the honest numbers to watch.
Look for Metal Gears, Overload Protection, and Available Parts
Metal gears and a built-in circuit breaker separate a machine you can repair from one you replace. Plastic gears strip under frozen chunks or a sinew jam.
Check these before you buy:
- All-metal gears, listed in the specs, not implied by a stainless exterior.
- A circuit breaker, overload protection, or built-in thermal protection, so excessive heat trips the machine before the motor burns out.
- Replacement knives and plates sold in your head size, at prices like $14.39 for a #8 knife or $15.09 for a #12.
- A stated warranty term in years, not “limited”.
Prioritize Cleanable Materials Over Shiny Finishes
Stainless parts provide superior rust resistance and wash easily; polished cast aluminum does not survive a dishwasher. Premium stainless steel blades and stainless steel grinding plates maintain an edge longer and handle routine washing without corroding.
Durable stainless steel blades resist dulling from acidic marinades and stay sharp through extensive meat processing sessions.
Consider overall ease of cleaning before purchasing, as intricate internal cavities trap sticky animal fat. Prioritizing ease of cleaning saves substantial time after grinding sessions. STX states plainly that aluminum head parts and tempered steel plates should never enter a dishwasher, but should be towel dried immediately. LEM’s #8 stainless plates are hubless, so you can use both sides.
Pick Plates and Attachments You Will Actually Use
Two plate sizes cover most home grinding, and the stuffing hardware in the box has real limits. A dedicated stuffer solves those limits if you make sausage often.
Coarse and Fine Plates for Burger and Sausage Texture
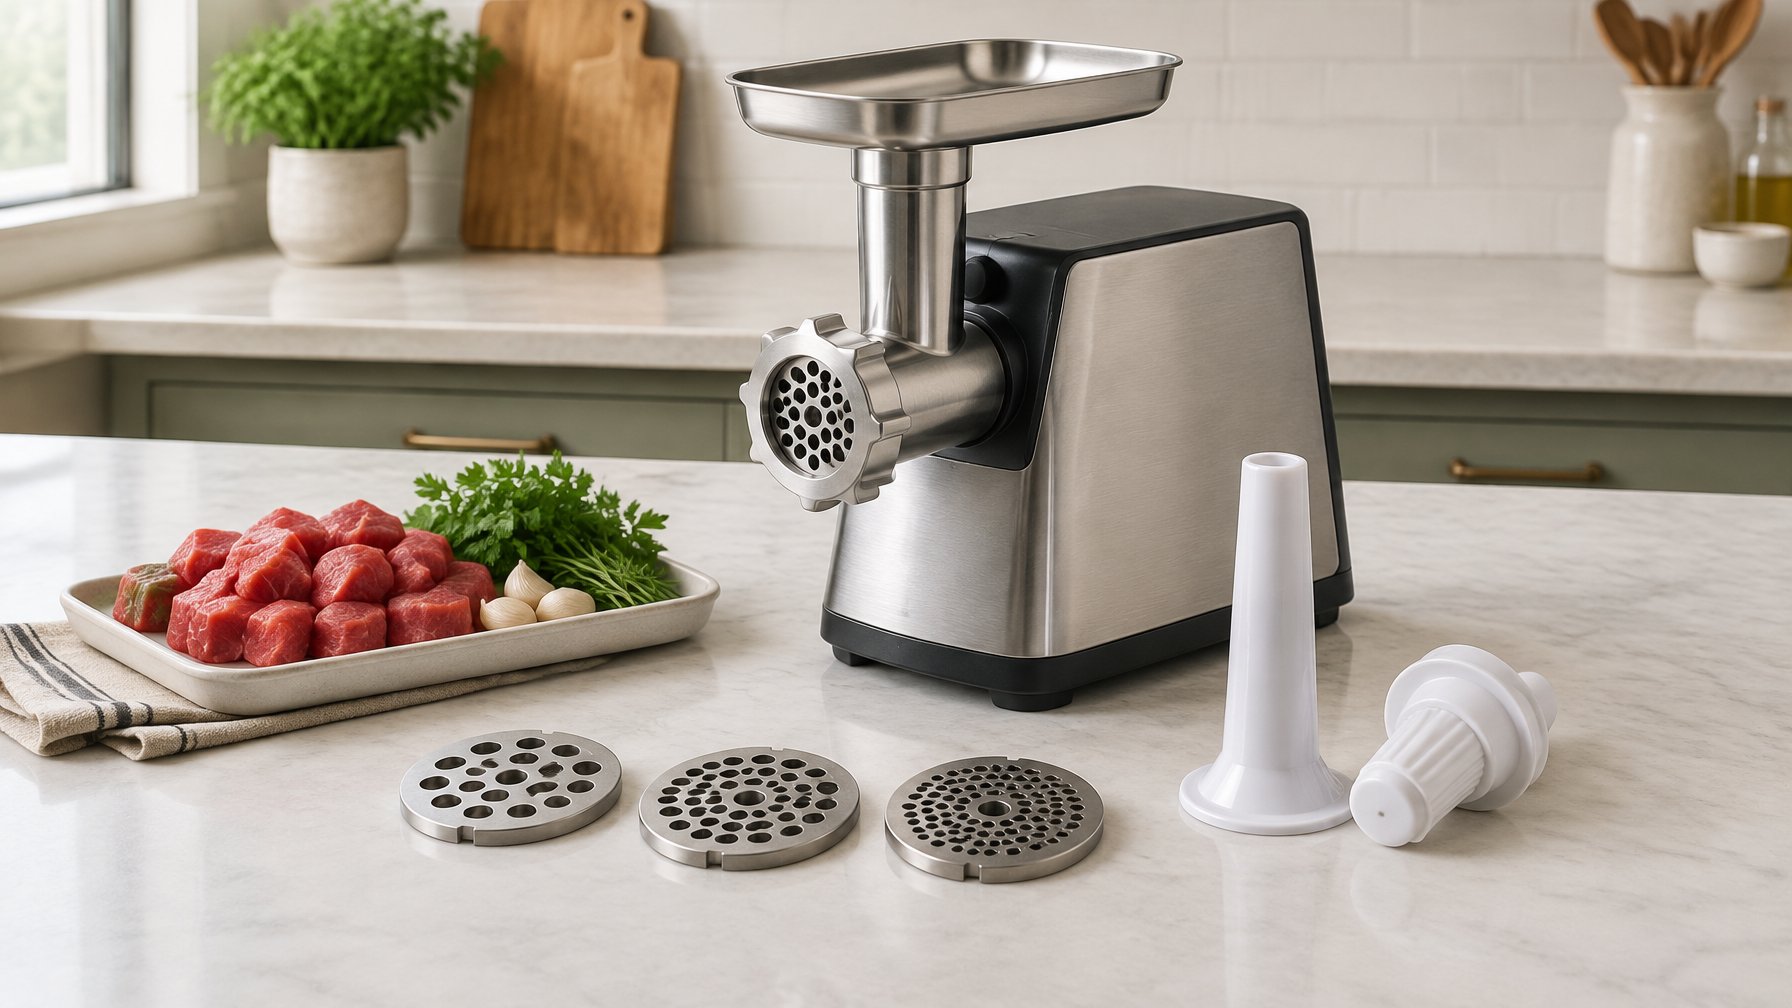
Most machines include standard cutting plates with varied hole sizes to tailor your grind. Using a coarse grinding plate for the first pass and a fine grinding plate for the second pass will cover burgers, sausage and chili. Everything else is refinement.
LEM’s #8 stainless plate lineup matches hole size to job: 3mm for hamburger, bologna and jerky; 4.5mm for a second grind and breakfast or Polish sausage; 6mm for summer sausage, salami and snack sticks; 10mm for the first grind, chili and chorizo; 12mm for coarse chili and stew meat.
High-grade stainless steel grinding plates resist corrosion from meat salts and can be soaked in sanitizing solutions without pitting. They also maintain flat mating surfaces against the rotating knife for cleaner shearing.
| Hole size | Common name | Best use |
| 3mm (1/8″) | Fine | Hamburger, bologna, hot dogs, jerky |
| 4.5mm (3/16″) | Fine second grind | Breakfast, Polish, German sausage |
| 6mm (1/4″) | Regular | Summer sausage, salami, snack sticks |
| 10mm (3/8″) | Coarse | First grind, chili, chorizo |
| 12mm (1/2″) | Coarsest | First grind, coarse chili, stew meat |
Change the cutting knife and the grinder plate together. A new grinder plate against a dull cutting blade still smears meat. Inspecting each cutting blade for nicks before grinding preserves sharp shearing performance.
What Sausage Stuffing Attachments Can and Cannot Do
Using a sausage attachment with grinder sausage stuffing tubes works for small runs of fresh sausage. The KitchenAid Sausage Stuffer Kit includes stuffing tubes in a 3/8 inch size for breakfast links and a 5/8 inch size for bratwurst, Italian or Polish sausage, and attaches to the food grinder.
Carefully threading delicate natural or collagen sausage casings onto sausage stuffing tubes takes patience. Selecting suitable stuffing tubes prevents tearing thin sausage casings during extrusion.
A standard sausage attachment lets you experiment with fresh links before investing in specialized gear. When setting up your machine with a sausage attachment, keeping the ground mixture well-chilled prevents fat separation during casing fill.
Take the cutting knife out when you stuff. STX is explicit about this: with the stuffing plate in place and no blade, the meat extrudes instead of being re-cut.
Useful Extras and Extras You Can Skip
Keep the meat stomper and the stuffing plate. A stuffing plate is a solid disc that centers the auger and lets ground meat flow through without being cut again.
The kibbe attachment or kubbe maker, burger press and meat claws bundled with some kits are pleasant, not necessary. While some brands advertise processing firm vegetables, a dedicated food processor handles vegetables far better. Skip claims about puréeing vegetables or churning nut butter when picking a meat grinder.
Why a Dedicated Sausage Stuffer May Be Better
Grinding and stuffing in one pass smears fat and traps air. LEM says outright that grinding and stuffing at the same time does not produce satisfactory results and is not recommended.
A separate sausage stuffer pushes pre-ground meat with a piston, so links fill evenly and the meat stays cold. If you make more than 20 lbs of link sausage a year, a vertical sausage stuffer is the better second purchase.
Set Up, Grind, and Clean Safely
Cold meat, cold steel, correct assembly and fast cleanup are what separate a clean grind from a pasty one. The steps below run from prep through troubleshooting.
What You Need Before You Start
Gather everything before the meat leaves the refrigerator. Once the trim is out, you are on a clock.
- Grinder with knife, coarse plate and fine plate
- Meat stomper or food pusher
- Two sheet pans or meat lugs, chilled
- Bowl of ice, or freezer space for the head and auger
- Instant-read thermometer
- Sharp boning knife and cutting board
- Dish soap, hot water, clean towels
- Freezer bags or vacuum bags, labeled with the date
Prepare Meat and Chill the Grinder Parts
Cut meat into strips or cubes that clear your throat opening, then get everything to 32 to 34°F. Semi-frozen meat cuts cleanly; warm meat smears.
Put the head, auger, knife and plate in the freezer for 30 minutes before you start. Warm steel melts fat on contact.
SAFETY: Strict food safety standards prevent bacterial growth. USDA FSIS puts the danger zone at 40 to 140°F and says to keep ground beef at 40°F or below and use it within 1 to 2 days, or freeze it. Grinding spreads surface bacteria through the whole batch, so cook ground meat to an internal 160°F, measured with a thermometer. Never leave trim at room temperature for more than 2 hours, or 1 hour above 90°F.
Following basic food safety guidelines also means sanitizing all cutting surfaces and keeping raw batches well chilled.
Assemble the Knife, Plate, and Auger Correctly
Order matters, and a backward knife grinds nothing.
- Slide the auger into the head, long end first. It drives everything.
- Push the knife onto the auger stem with the flat cutting edges facing out, toward the plate. Beveled side in means the blade never meets the plate.
- Seat the plate against the knife, lining up the pin or notch. This keeps it from spinning.
- Thread the collar on and hand-tighten until snug. Too loose leaves a gap and mush; too tight binds the motor.
- Mount the head to the motor housing and lock it. A loose head wobbles and leaks.
- Set the pan on top and put a chilled bowl under the outlet.
Use the Forward and Reverse Controls Without Forcing a Jam
Feed steadily and let the auger set the pace. Keeping meat organized in the top hopper allows cubes to drop smoothly without packing the throat. Avoid overfilling the hopper tray, as piling meat too high hinders quick feeding.
If output slows or stalls, stop and run the reverse function for two or three seconds to back the obstruction out. On the STX Turboforce 3000, an overload trips the motor to a stop, and you unplug, clear the head, reattach, then press the stop/reset button before restarting.
Clean, Dry, and Store the Grinder After Every Batch
Clean while the fat is still soft. Dried fat on a plate takes three times as long to remove.
Run a slice of stale bread through at the end to push out trapped meat. Then hand wash the head, auger, knife and plates in hot soapy water, rinse, and towel dry right away. FSIS recommends sanitizing food-contact utensils with one tablespoon of unscented liquid chlorine bleach per gallon of water after cleaning, then rinsing and air drying.
Commercial-grade stainless steel grinding plates simplify sanitation, as they do not require immediate mineral oil seasoning to prevent surface rust. In contrast, carbon steel components require thorough drying and an immediate oil coat.
Proper meat grinder maintenance includes oiling moving interfaces. Coat carbon steel plates and knives with food-grade oil before storage. Stainless can go straight into a dry drawer.
Troubleshooting Smearing, Clogs, Slow Output, and Overheating
Four problems account for most bad grinds.
| Problem | Likely cause | Fix |
|---|---|---|
| Pasty, smeared texture | Meat above 40°F or warm head | Re-chill meat to 32 to 34°F, freeze the head 30 minutes |
| Clogging at the plate | Silverskin and sinew wrapping the knife | Stop, disassemble, trim connective tissue before grinding |
| Slow output, motor straining | Dull knife, collar too tight, chunks too big | Replace knife and plate as a pair, loosen a quarter turn, cut smaller |
| Motor hot or cutting out | Continuous run past its duty cycle | Rest 10 to 15 minutes, chill the head, resume |
Few makers print a hard duty cycle, but LEM does. Its grinding FAQ says to unplug for a 5 to 10 minute break after every 20 minutes of grinding boneless meat, and every 10 to 15 minutes with bones. LEM’s Big Bite manuals add that a built-in circuit breaker shuts the motor off when it overheats; you wait a minute or two, then press reset. When your grinder’s manual gives no number, LEM’s schedule is a sensible default.
Frequently Asked Questions
Sizing, wattage, attachments, bones, and stuffing come up most when people are choosing a grinder.
What should I look for when buying a meat grinder?
As outlined in this meat grinder buying guide, match head size to your biggest batch, then check gear material, overload protection, and parts availability. All-metal gears and a circuit breaker keep the machine repairable.
Confirm replacement knives and plates are sold in your head size before buying. Finding the best meat grinder also depends on warranty length: one year suggests light duty, while five years suggests commercial-grade internals.
Is a #8 or #12 meat grinder better for home use?
A #8 suits households grinding 5 to 20 lbs at a time, at roughly 3 to 5 lbs per minute. Choose a #12 if you process a whole deer or buy beef in bulk. LEM’s 0.75 HP #12 grinds about 11 lbs per minute with a 2.25-inch throat, so you drop in chunks instead of cutting strips.
How many watts should a good meat grinder have?
Judge continuous draw and pounds per minute, not peak wattage. STX rates its #12 Turboforce 3000 at 800 watts unloaded and 800 to 1,200 watts under load, grinding 175 to 225 lbs per hour. LEM’s #8 countertop unit runs a 575W motor at 3 lbs per minute. Compare throughput figures across machines instead of headline wattage numbers.
Can a KitchenAid meat grinder attachment handle venison?
It grinds venison in small batches, using the mixer’s motor and the fine and coarse plates in the box. For a full deer of 30 to 60 lbs of trim, owners report clogging on sinew-heavy cuts and long sessions. Trim silverskin closely, keep meat near 32°F, and work in 5 lb batches, or step up to a #12.
Can I grind bones in a home meat grinder?
Most home grinders cannot. STX states its Turboforce 3000 will not grind bones. LEM’s warranty covers raw chicken bones only on select heavy-duty units like its #12, #22 and #32 BigBite grinders, which handle soft poultry parts. Feeding hard or unapproved chicken bones into a lighter machine strips gears and immediately voids the warranty.
Is a grinder good enough for stuffing sausage?
For small fresh-sausage runs, yes, using a sausage attachment and a stuffing plate with the knife removed. LEM advises against grinding and stuffing in one pass because results are unsatisfactory. Above about 20 lbs of link sausage a year, a piston stuffer fills casings more evenly and keeps the meat colder, with less trapped air in the links.
Next, read how we research gear before you shop. This is general guidance based on USDA recommendations. When in doubt, follow the USDA FSIS source linked above.