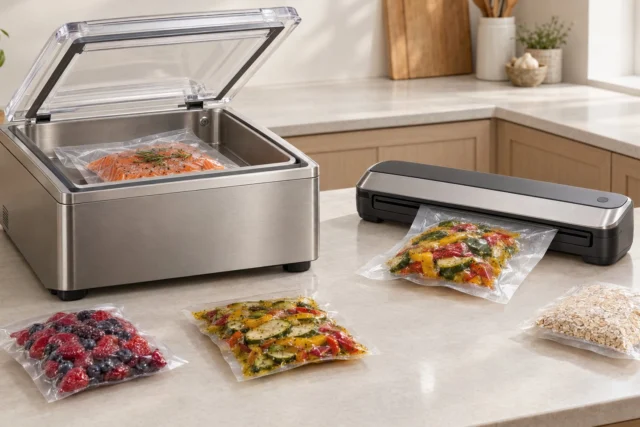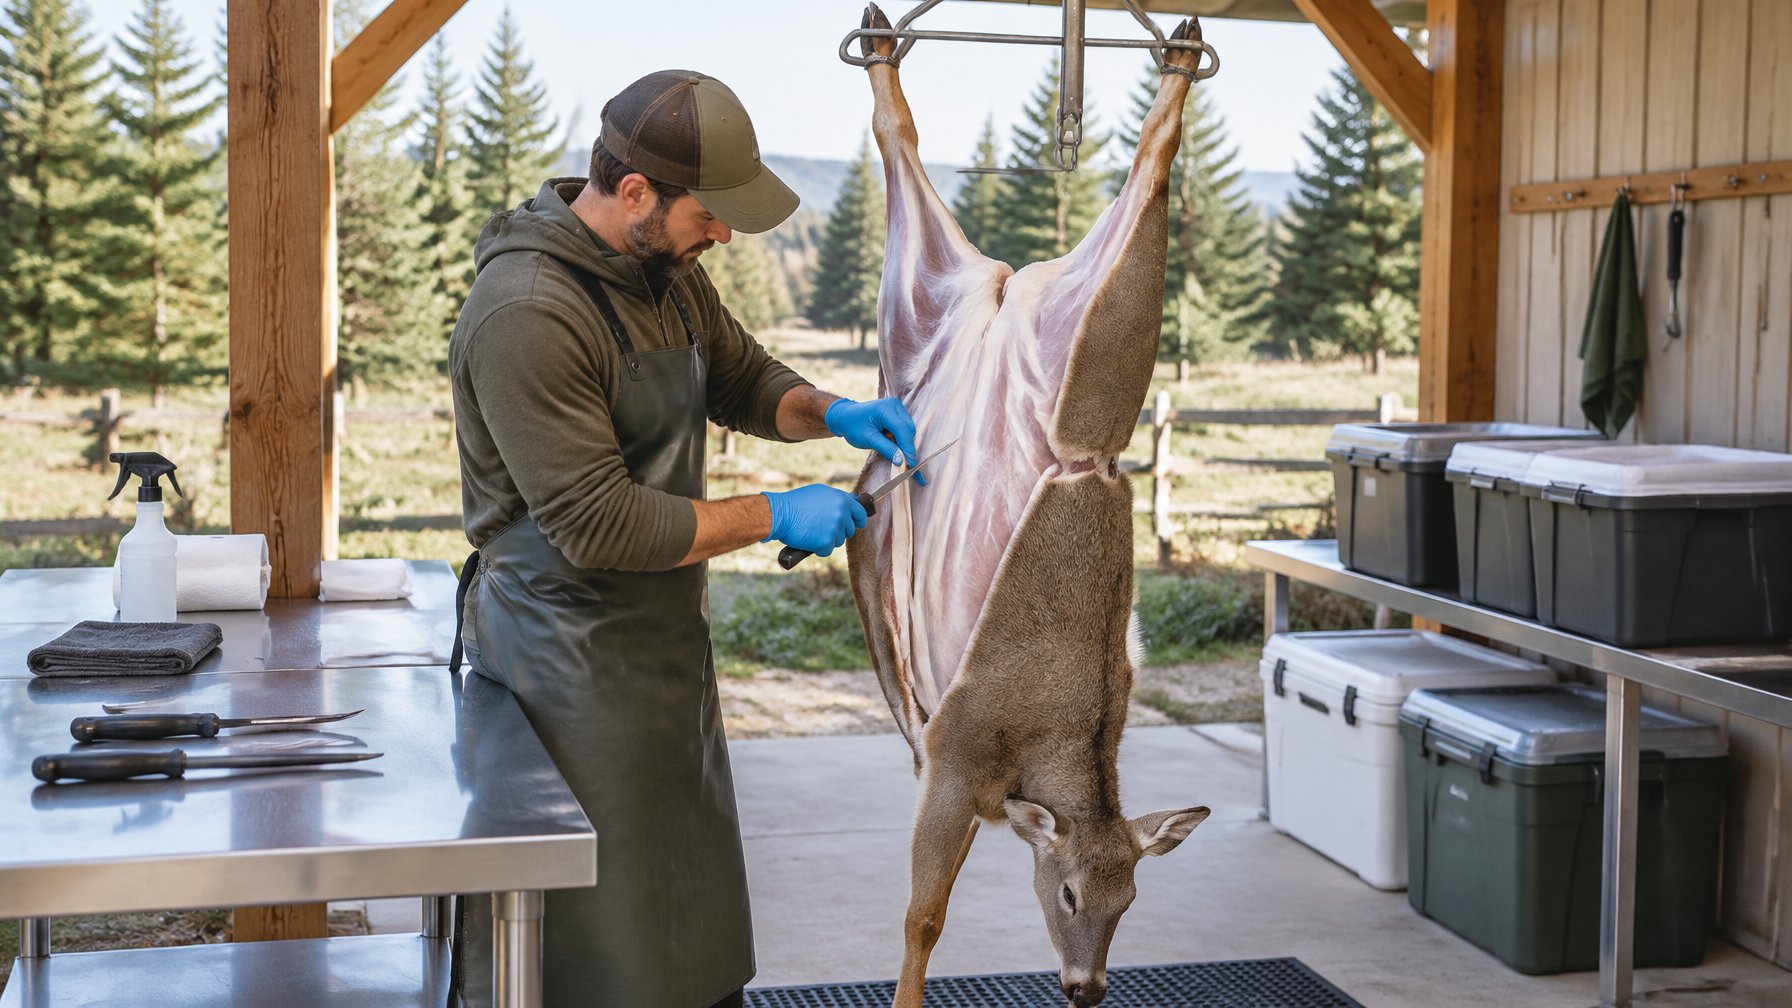

Write four things on every package: the meat, the cut, the weight, and the date you packed it. Add ingredients for sausage or seasoned meat. Write the label before freezing and press it onto clean, dry packaging, then store the meat at 0°F. Cold, wet plastic is where most labels peel or smear.
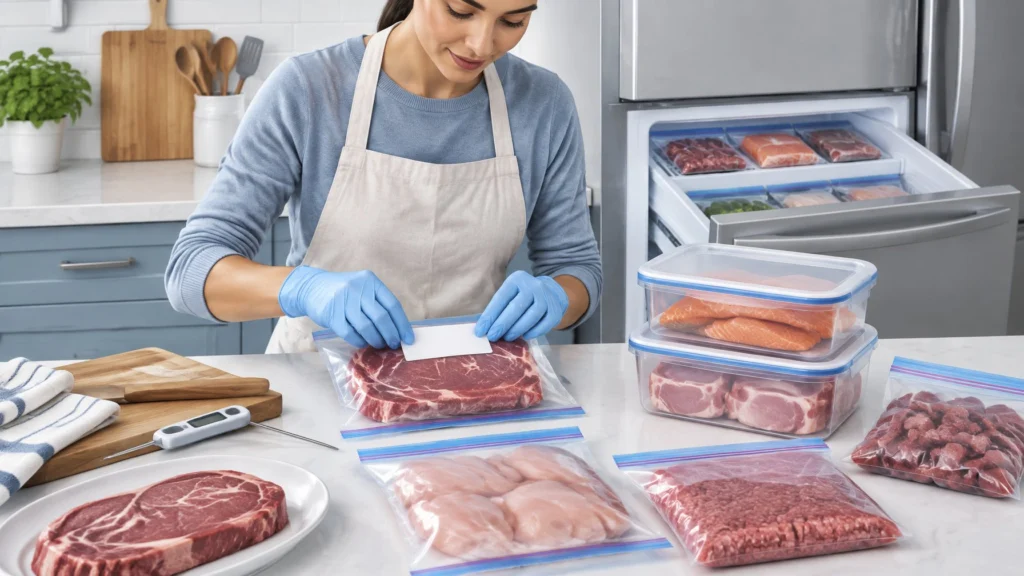
After reading, you can pick label supplies that stay put in the freezer and write a label anyone in your house can read. Reliable frozen food labels protect against mystery cuts while promoting household food safety. The guidance covers what home labels need, which differs from retail rules, and how to fix the four failures owners report most.
How to Label Frozen Meat ? What You Need
You need three basic supplies: a writing surface, a way to stick it on, and a marker that holds up in the cold. The right label material and adhesive decide whether that writing survives, and printed stickers only pay off for larger batches.
Freezer Tape, Labels, and a Permanent Marker
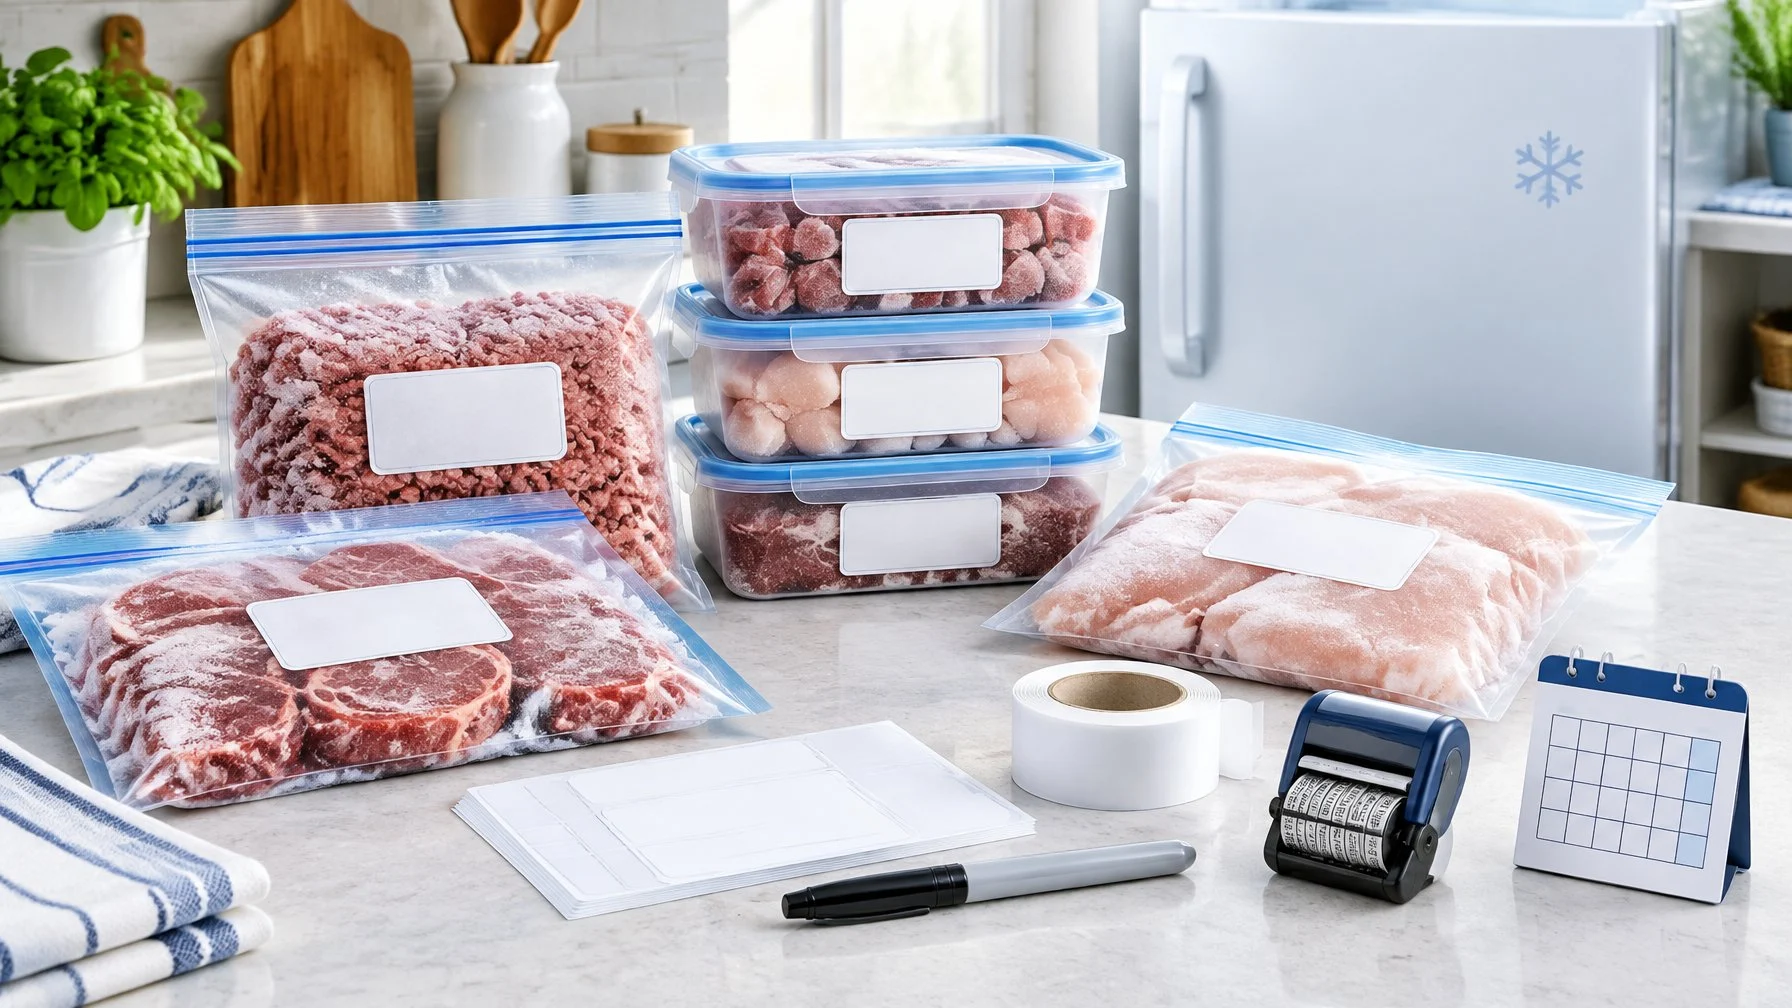
A basic kit fits in a drawer by your cutting table. Keep these on hand before you start a processing session:
- Freezer tape: paper tape with a cold-rated adhesive. You write on it and use it to seal butcher paper.
- Freezer labels: pre-cut stickers rated for frozen storage. Good for vacuum bags and plastic.
- Permanent marker: a fine or medium tip. Keep two, since a dry marker stalls the line.
- A clean towel: to dry each package before the label goes on.
Freezer tape does double duty on paper-wrapped cuts. It closes the wrap and carries the label in one strip.
How to Choose Label Materials and Adhesives
Pick the label by the surface it goes on. A label that works on butcher paper can fall off a slick vacuum bag.
| Supply | Best surface | Strength | Weak point |
|---|---|---|---|
| Freezer tape | Butcher or freezer paper | Seals and labels at once | Grips poorly on wet plastic |
| Freezer-rated stickers | Vacuum bags, zip bags, containers | Clean, neat, cold adhesive | Peels if applied to a cold, damp bag |
| Plain masking tape | Short-term only | Cheap | Adhesive weakens in the cold |
| Writing on the bag | Vacuum and zip bags | Nothing to fall off | Hard to read on clear, wrinkled plastic |
Look for labels and tape that state a freezer or low-temperature rating. Standard label adhesives fail in subzero air, but cold-temp adhesives maintain their bond. Paper or matte stock takes marker ink better than glossy stock, preventing smudges.
In a commercial kitchen, a label that falls off in the walk-in turns a known product into a mystery. Everyday food labels lack cold endurance, so freezer-grade supplies are worth the small extra cost.
Durable frozen food labels resist frost and maintain their grip through long-term storage. Using specialized frozen food labels ensures packages never lose their markings when temperatures drop.
When Are Printed or Custom Stickers Worth It?
Printed stickers pay off when you pack many of the same item. A half cow or a full deer can mean dozens of packages with the same cuts.
A clean label design speeds up the packaging line. Pre-printed blanks with fields for cut, weight, and date keep every label in a uniform layout.
A functional label design also leaves enough space for fast handwriting. While custom stickers with logos look neat, smart label design prioritizes quick readability in a dim chest freezer.
Extension guides recommend supplies made for the cold. The National Center for Home Food Preservation lists freezer tape, marking pens or crayons, and labels made for freezer use. NDSU Extension adds that freezer tape’s adhesive keeps working at low temperatures. South Dakota State Extension says to write with a permanent marker, and if you use adhesive labels, they should be freezer grade.
What Should You Write on Each Package?
Every package needs enough detail to pick the right one without opening it. That means the meat, cut, weight, and date, plus ingredients and a batch number when they help, and none of the rules that apply to meat sold in stores.
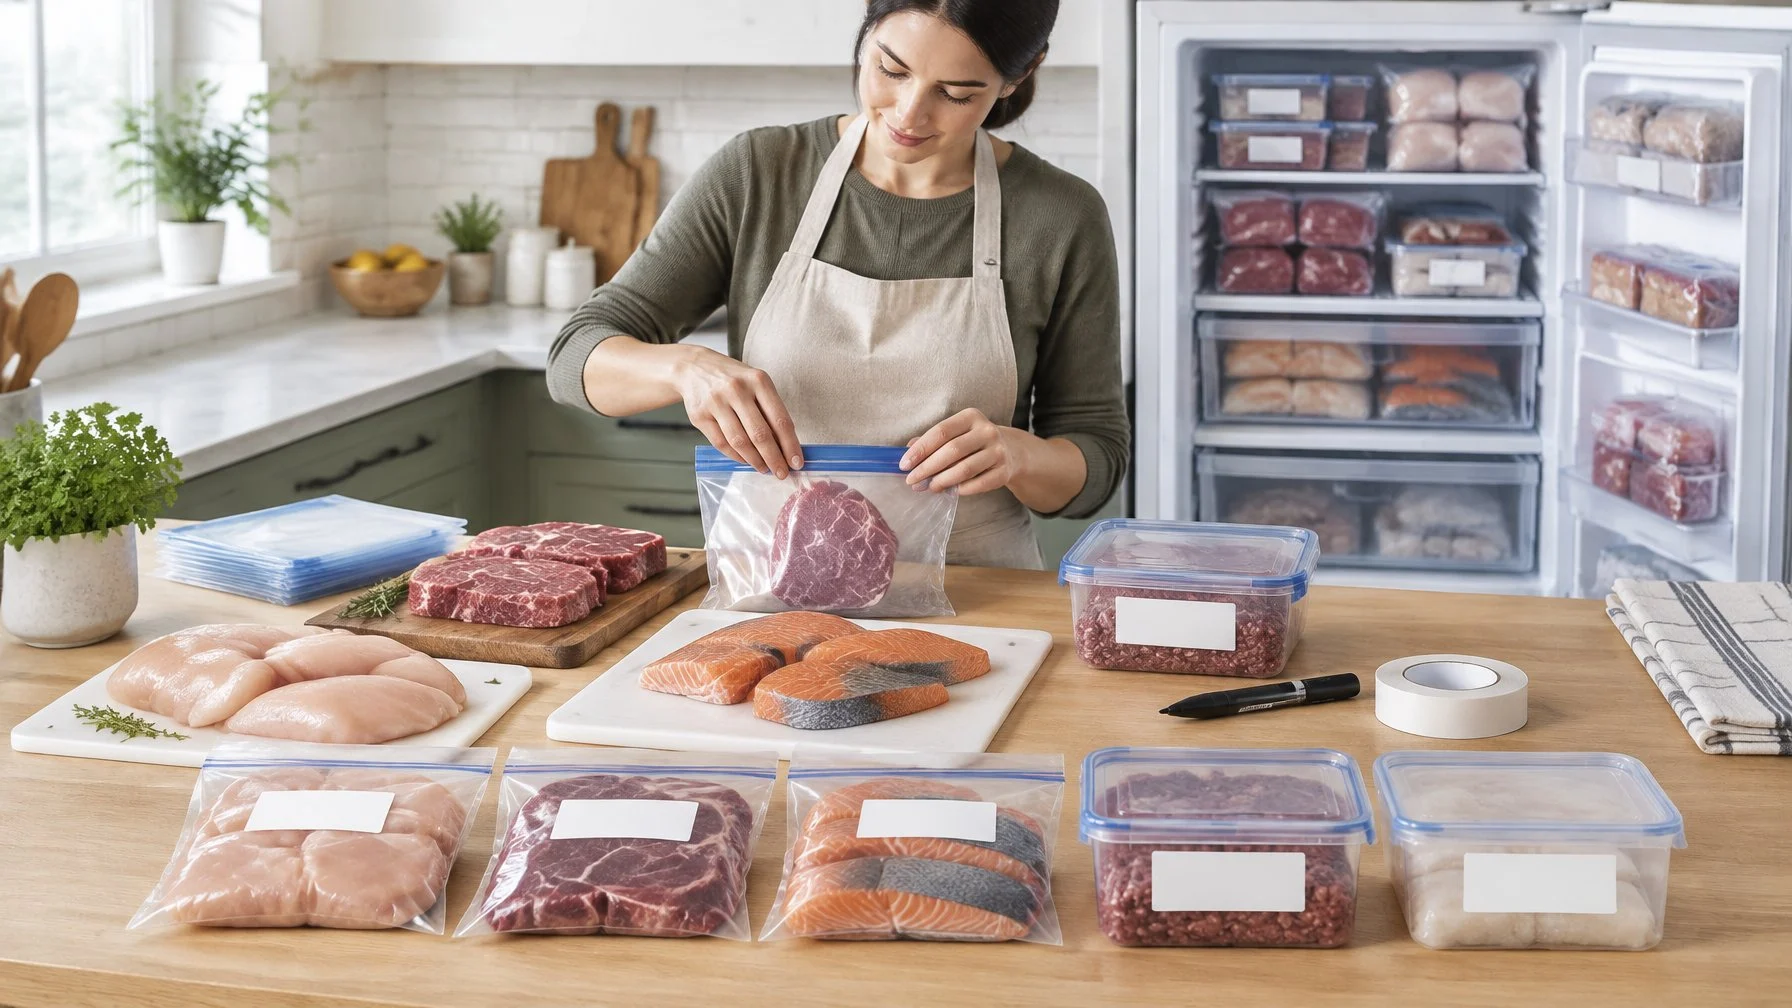
Record the Meat, Cut, Weight, and Packaging Date
Start with the four core fields. They answer the questions you ask when you stand at an open freezer. Clear meat labels make it easy to spot the cut you need at a glance.
- Meat: venison, beef, pork, chicken, elk.
- Cut: backstrap, chuck roast, ground, stew meat, thighs.
- Weight: 1 lb, 2 lb, or count (for example, 4 chops).
- Packaging date: month, day, and year.
A packaging date is the day you wrapped and froze the meat, used to track quality and rotate stock, not to judge safety. Always include the year. A label reading “11/14” means little when you pull it out two seasons later.
Write the meat and cut first and largest. That is what you scan for.
Add Ingredients and a Batch Number When Useful
Seasoned meat needs more detail. Breakfast sausage, brats, and marinated cuts should list key ingredients, heat level, and any allergens such as milk powder or soy.
A short batch code helps when you make several runs. Something like “SAUS-B2” ties packages to notes in your recipe book. If a batch tastes off, you can find every package from that run. Owners who track sausage making batches find this most useful.
Distinct poultry labels and seafood labels are also important. Marking chicken cuts and delicate fish fillets clearly prevents confusion and reduces cross-contamination risks when organizing shelves.
Keep Home Freezer Labels Separate From Retail Requirements
Home labels are notes for your household. Commercial labeling requirements follow strict federal rules that do not apply to meat stored in your home freezer.
Even so, understanding retail labeling requirements helps you decide what details matter most. Meat labels sold under USDA inspection follow specific guidelines for dating, weights, and processing data.
Whether for retail cuts or home processing, descriptive meat labels keep food organized and prevent waste over time.
For meat sold under USDA inspection, dates are voluntary. When a seller does add one, FSIS rules for frozen products call for the month, day, and year, with a phrase such as “Best if Used By” beside it. That page also states that, except for infant formula, product dating is not required by federal law.
Commercial labels also carry items like ingredient statements, inspection marks, and country of origin. The FSIS guide to labeling basics covers those for producers. If you plan to sell meat, that is your starting point.
Label and Freeze Meat in Four Steps
The process runs in four actions: package and dry, write warm, press flat, then freeze at 0°F with an inventory. Each step has one reason behind it.
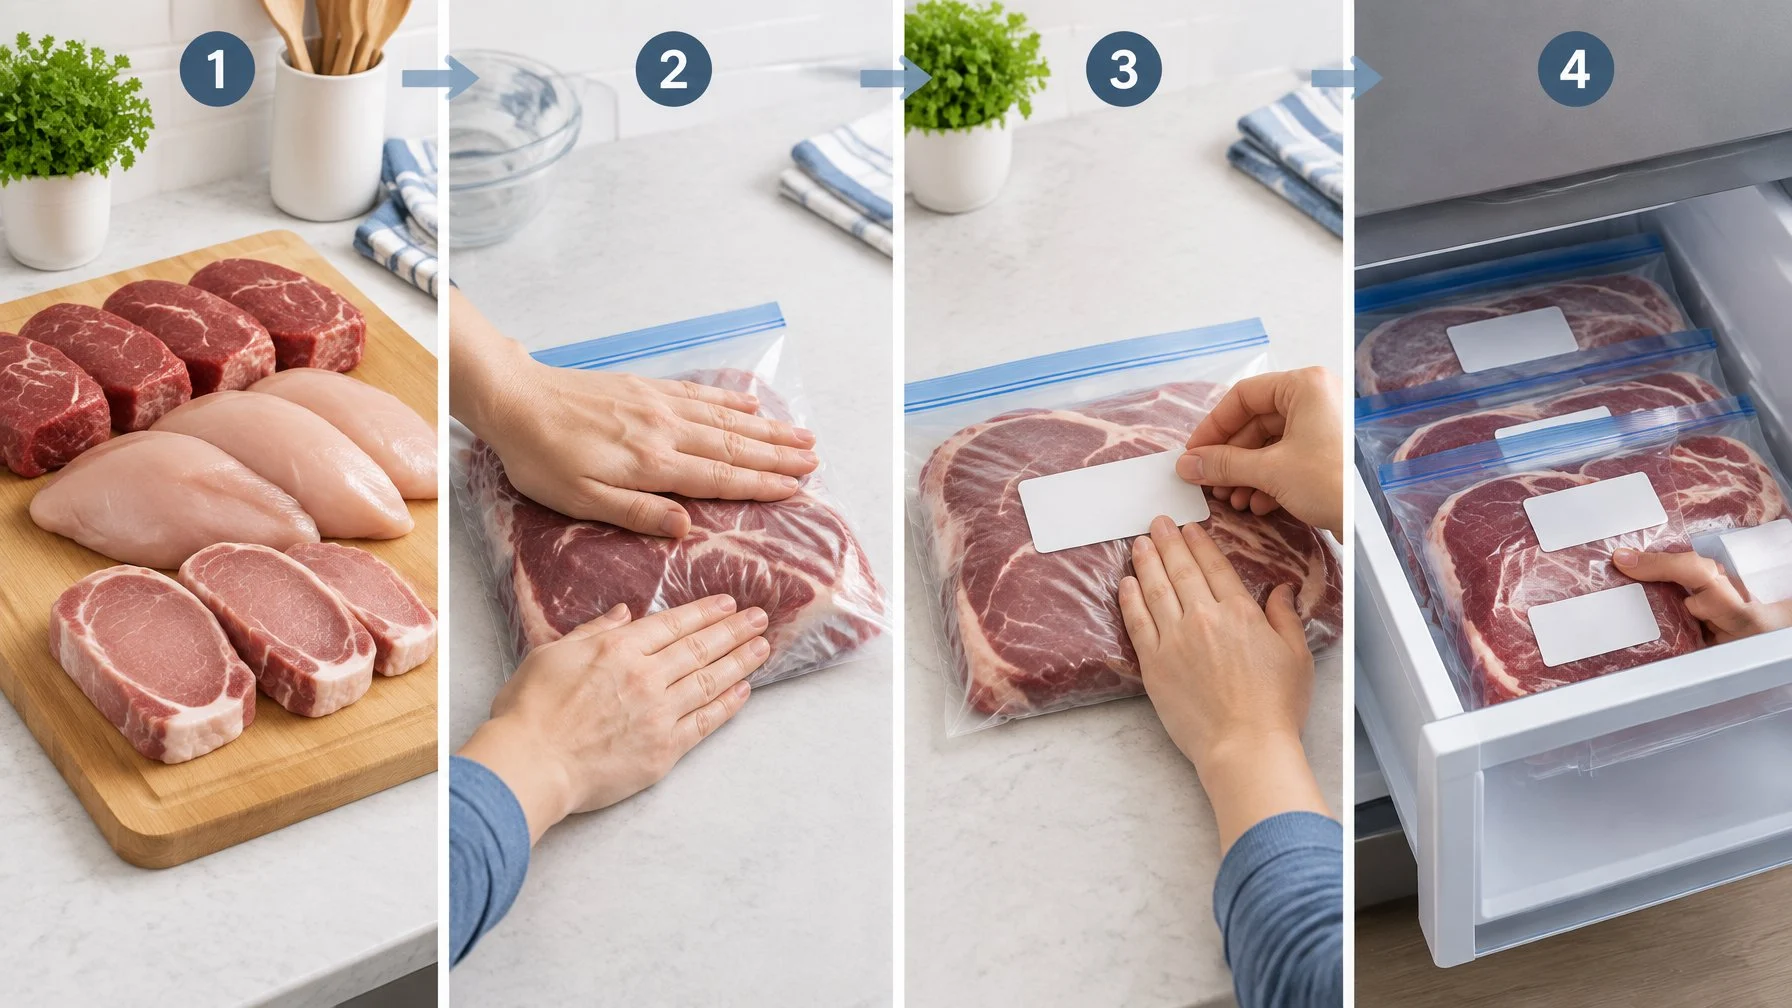
Here is the full sequence at a glance:
- Package the meat and dry the outside.
- Write the label before the package gets cold.
- Press the label onto a clean, flat surface.
- Freeze at 0°F and keep a simple inventory.
1. Package the Meat and Dry the Outside
Seal the meat, then wipe the outside dry. Adhesive cannot grip through water, blood, or fat.
Vacuum bags, freezer paper, and zip bags all work. Keep a clean towel at the station and wipe each package as it comes off the sealer. If you are working through a large job such as how to butcher a deer, set up a separate dry zone for labeling so wet hands do not touch finished packages.
2. Write the Label Before the Package Gets Cold
Write on the label or tape at room temperature. Ink flows better and frost cannot form on the surface.
Many people write labels ahead in a stack, then apply them as packages come off the line. That keeps the pace steady and the handwriting neat.
3. Press the Label onto a Clean, Flat Surface
Place the label on the flattest part of the package, away from seams and folds. Press firmly from the center out for a few seconds.
On vacuum bags, avoid the wrinkled edge near the seal. On paper wrap, run the tape across the fold so it seals and labels at once.
4. Freeze at 0°F and Keep a Simple Inventory
Freeze packages in a single layer until solid, then stack them. Keep a list on the freezer lid or a phone note with cut, count, and date.
Cross items off as you use them. Oldest dates go to the front or top. A freezer thermometer confirms you are holding 0°F or colder.
The University of California Cooperative Extension suggests posting a freezer inventory list near the freezer. Update it each time food goes in or comes out. Here is a simple sample layout you can copy for a deer.
| Cut | Animal/source | Date packed | Weight or count | Qty in | Qty used (tally) | Freezer/shelf |
|---|---|---|---|---|---|---|
| Ground venison (80/20 with beef fat) | Deer #1, 2026 season | 11/18/2026 | 1 lb each | 20 | ||| | Chest freezer, left basket |
| Backstrap steaks | Deer #1, 2026 season | 11/18/2026 | 2 steaks | 6 | | | Chest freezer, top tray |
| Hindquarter roast | Deer #1, 2026 season | 11/18/2026 | about 3 lb | 4 | Chest freezer, bottom right | |
| Stew meat | Deer #1, 2026 season | 11/19/2026 | 1 lb each | 8 | || | Chest freezer, left basket |
SAFETY: USDA FSIS states that food stored constantly at 0°F will always be safe; only quality declines with long storage. Freezing does not kill bacteria, and home freezing cannot be relied on to destroy trichina. A label records what you did. It does not make meat safe that was mishandled before freezing. Thaw in the refrigerator, cold water, or microwave, and cook to safe internal temperatures.
FSIS also says it is safe to freeze meat in its original store packaging, though that wrap lets air through. Overwrap it for long storage, then label the outer layer.
How Do You Fix Labels That Fail?
Most label failures trace back to four problems: peeling, smudging, unreadable dates, and packages with no label left. Each one has a direct fix.
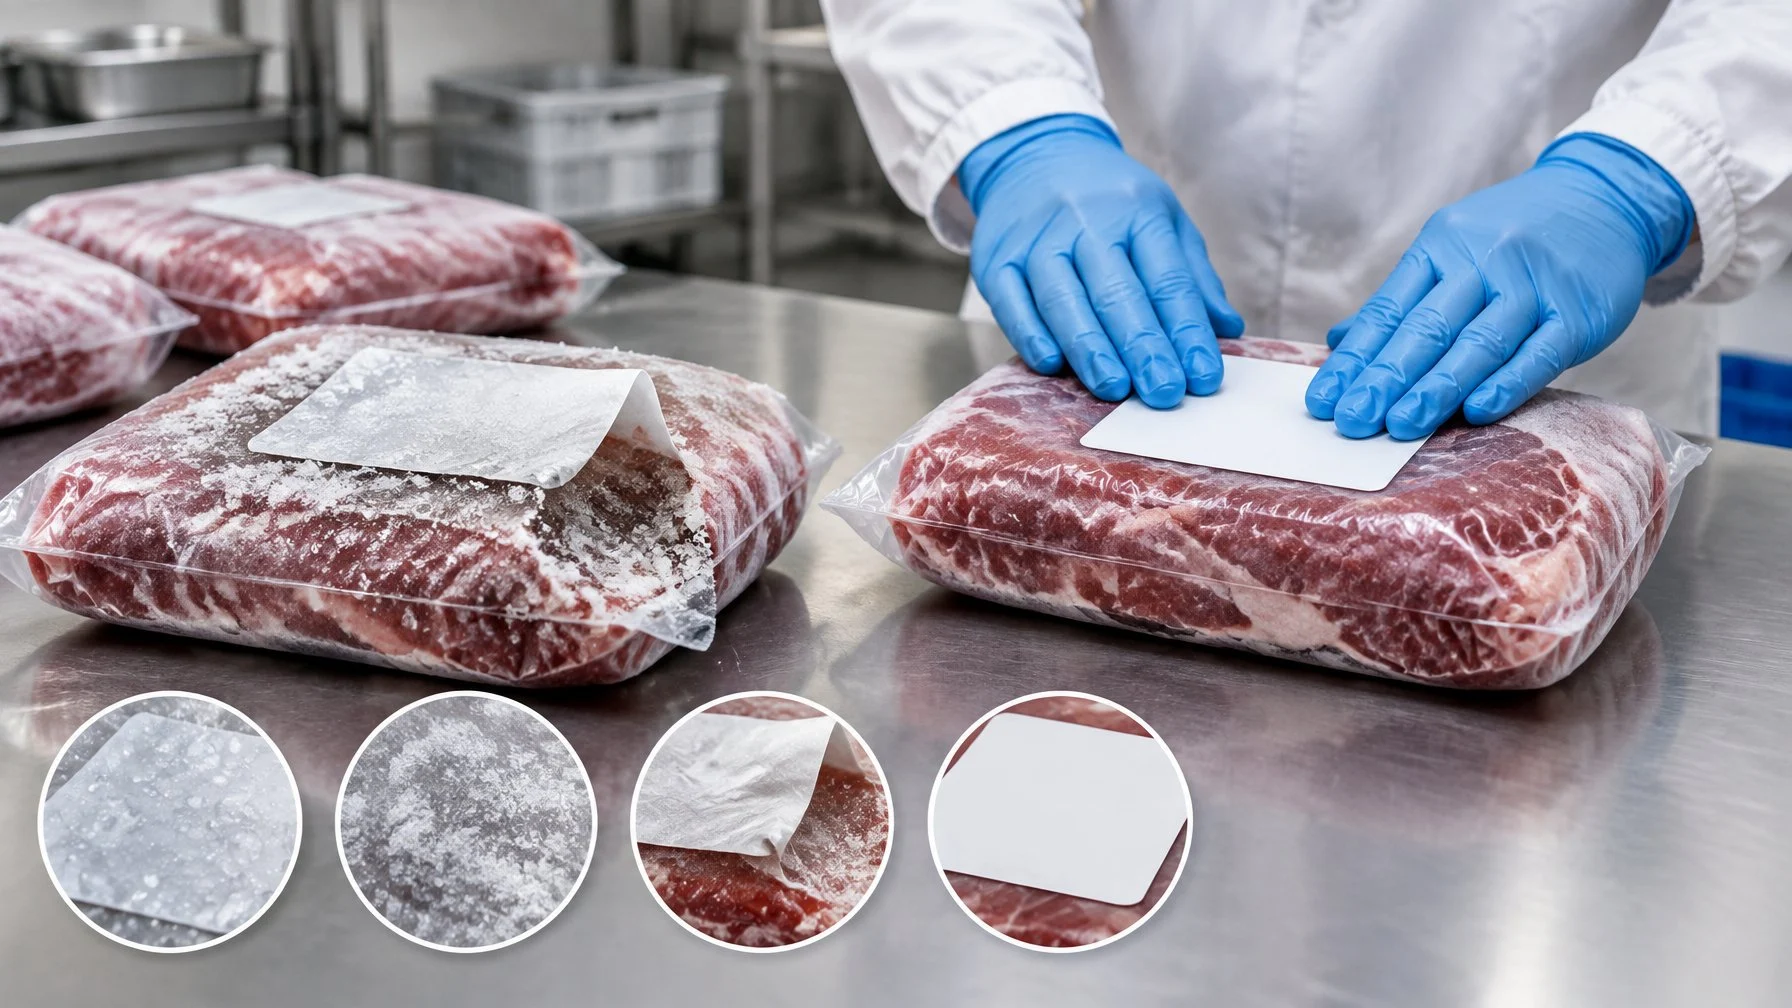
Peeling Labels: Switch Adhesive or Dry the Package
Peeling comes from moisture or the wrong adhesive. Check both.
- Wipe each package dry before labeling.
- Apply labels before the package goes into the freezer.
- Switch to stickers or tape rated for freezer use.
- On slick vacuum bags, stick the label to a flat area, not a crease.
If a label lifts on an already frozen package, wipe off the frost and add a strip of freezer tape over it.
Smudged Writing: Change the Marker or Label Stock
Smears mean the ink never set or the stock is too glossy. Use a permanent marker and let the ink dry for a few seconds before stacking.
Matte paper labels and freezer tape hold ink better than shiny stickers. Replace markers that start to skip; a dry tip leaves faint lines that rub off.
Unreadable Dates: Use a Larger, Simpler Format
Write the date in one consistent format, such as 11/14/26 or Nov 2026. Make it large enough to read through frost.
Put the date in the same spot on every package, such as the top right corner. When you scan a stacked freezer, you will know where to look.
Unidentified Packages: Check Records Before Using
Check your inventory list first. Count, weight, shape, and wrap type often match a logged batch.
If you still cannot place it, thaw it in the refrigerator and judge it by sight and smell after thawing. Since meat held at 0°F stays safe, the unknown is quality and identity, not safety. Use it in a dish where the exact cut does not matter, like chili or stew.
Frozen Meat Labels: Quick Answers
Can I use freezer tape instead of freezer labels?
Yes, freezer tape works well, especially on butcher paper, where it seals the wrap and holds your writing in one strip. It grips less well on slick or damp plastic. For vacuum bags, freezer-rated stickers stick better, or you can write directly on a dry bag with a permanent marker.
Can I label meat after it is already frozen?
Yes, but wipe away frost first and press the label firmly onto a dry spot. Adhesive struggles on cold, icy surfaces, so freezer tape wrapped fully around the package holds best. Writing labels at room temperature before freezing is easier and more reliable, so plan to label during packaging whenever you can.
Should I label meat frozen in its original packaging?
Yes. Store labels show a sell or use date, not the day you froze it. USDA FSIS says freezing in original packaging is safe, but the wrap lets air through, so overwrap it for long storage. Put your label on the outer layer with the cut, weight, and the date you froze it.
Is the date on a freezer label an expiration date?
No. A freezer label date records when you packaged and froze the meat. Food held at a steady 0°F stays safe indefinitely according to USDA FSIS, and only quality drops over time. Use the date to rotate stock and eat older packages first, not as a cutoff for safety.
What if I forgot to date a package of frozen meat?
Check your freezer inventory or batch notes first, since weight and wrap type often match a logged session. If you cannot place it and it stayed frozen at 0°F, it is safe. Thaw it in the refrigerator, check for heavy freezer burn, and use it in a stew or chili.
For the next step in your freezer setup, see how long to freeze meat before grinding in our how long to freeze meat before grinding guide, or browse the storage section.
This is general guidance based on USDA recommendations. When in doubt, follow the USDA FSIS source linked above.