
To cure bacon, weigh the belly, then rub it with 2.5% kosher salt, 1% sugar and 0.25% Cure #1 by weight, bag it, and hold it at 40°F or below for about 7 days. Thicker bellies take longer. Belly thickness and the verified recipe you follow set your final timing. After curing, rinse, dry, smoke or oven-cook, then chill.
Understanding how to cure bacon is one of the best introductions to curing pork at home. You will be able to calculate a safe cure for any belly weight in grams or pounds and finish homemade bacon without guessing.
Many recipes rely on inaccurate spoon measures. Here you get the visible weight math, USDA temperature guidelines, and clear fixes for the problems that come up most when curing bacon at home.
What You Need Before You Start
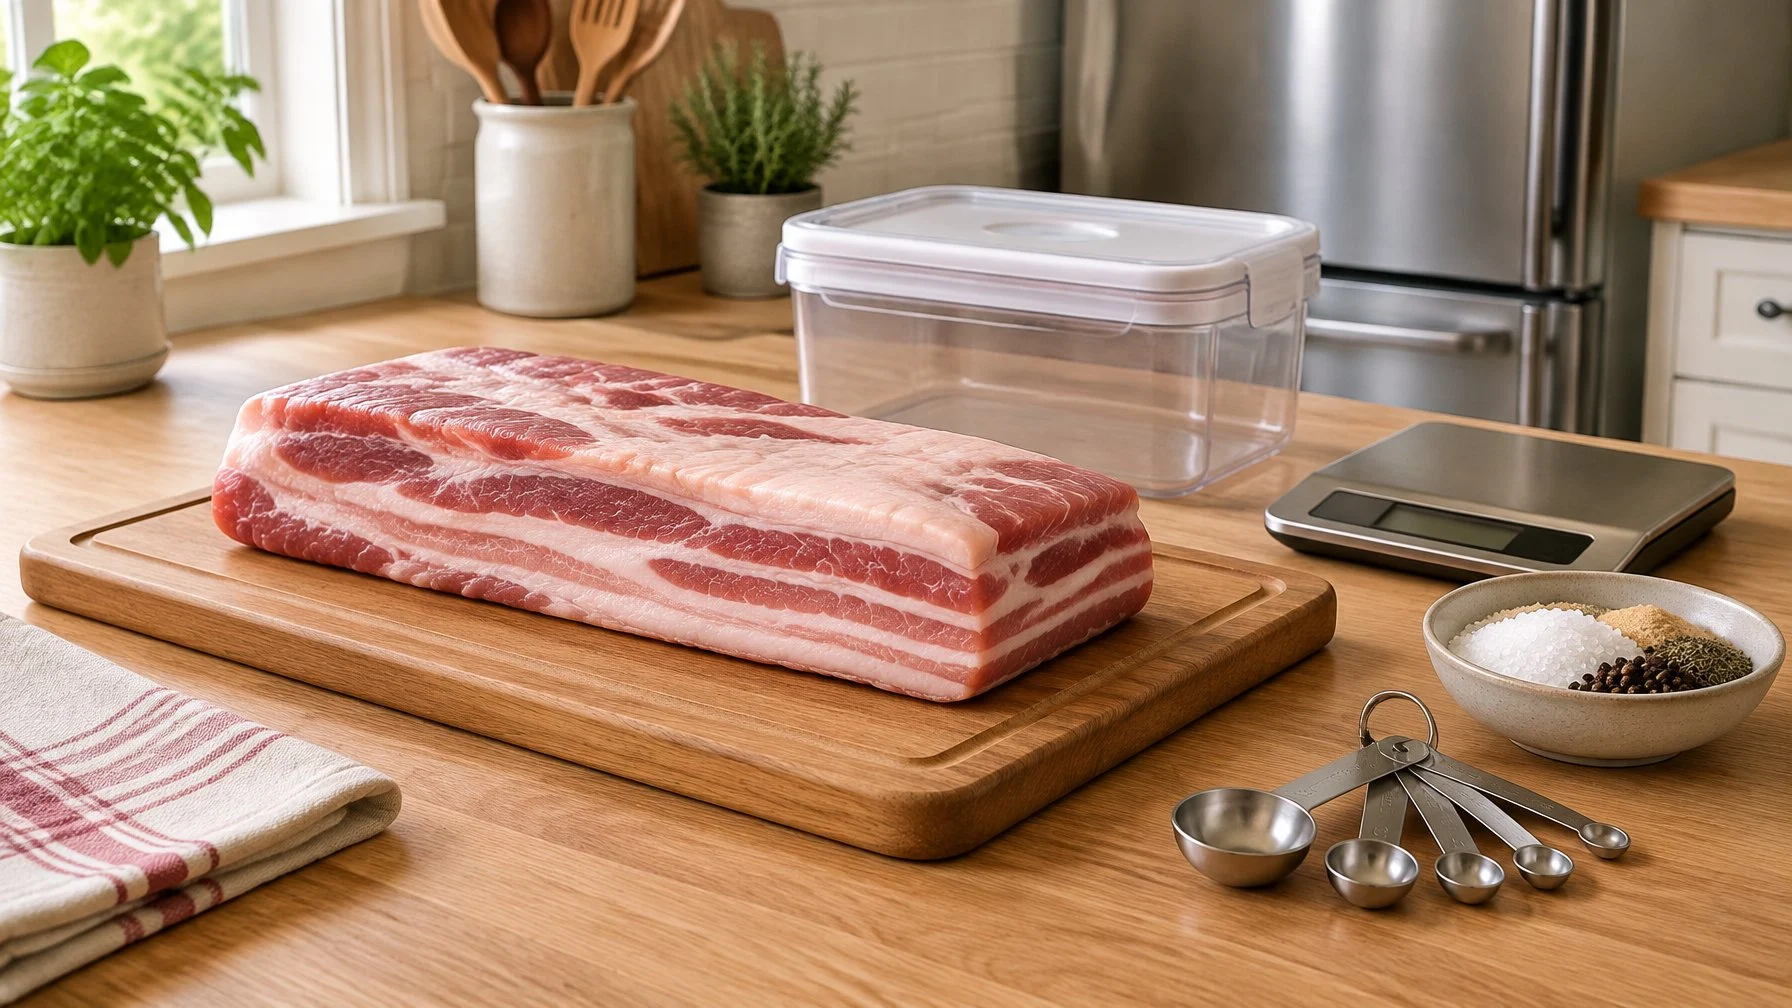
You need four things in place: a weighed belly, salt and Cure #1 measured as a percent of that weight, basic gear, and flavorings that leave the cure amounts alone.
Choose and Weigh the Pork Belly
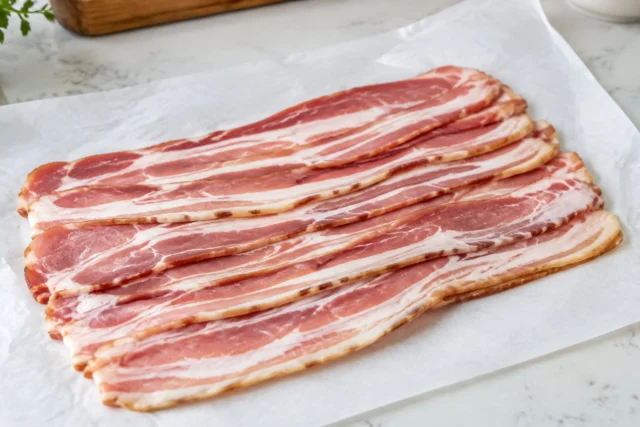
Buy a fresh, skin-off pork belly between 1 and 2 inches thick. Even thickness cures evenly.
When curing pork, starting with a uniform slab ensures consistent salt absorption. Crafting homemade bacon at home lets you choose the exact thickness you prefer.
Square off ragged edges with a sharp knife. Trimmed pieces cure at the same rate as the slab, and loose flaps over-salt. Our butchery guides cover knife choice for this kind of trim.
Weigh the trimmed belly in grams. Write the number down. Every ingredient amount comes from it.
Start cold. Oregon State’s PNW784 says to cure in the refrigerator at 40°F.
Measure Salt and Cure #1 by Weight
Curing salt for bacon means Cure #1, a blend of regular salt and 6.25% sodium nitrite, dyed pink. It is also sold as pink curing salt or Prague Powder #1. For what Cure #2 adds and why it is not for bacon, see Prague Powder #1 vs #2.
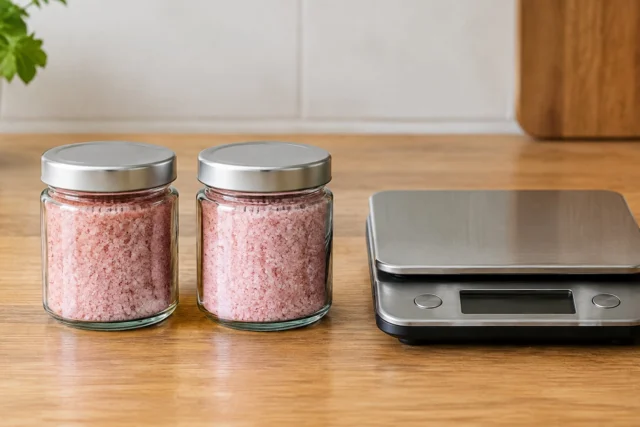
Weigh everything carefully. Measuring pink curing salt by weight rather than volume keeps your cure safe and accurate.
A teaspoon of kosher salt varies by brand and crystal size, and a teaspoon of cure varies by how you pack it.
| Ingredient | Percent of belly weight | Per 1 lb belly (454 g) | Per 5 lb belly (2,268 g) |
|---|---|---|---|
| Kosher salt | 2.5% | 11.3 g | 57 g |
| Brown sugar | 1.0% | 4.5 g | 23 g |
| Cure #1 | 0.25% | 1.1 g | 5.7 g |
Here is the math for a 5 lb belly:
- Convert pounds to grams: 5 × 453.6 = 2,268 g.
- Salt: 2,268 × 0.025 = 57 g.
- Sugar: 2,268 × 0.01 = 23 g.
- Cure #1: 2,268 × 0.0025 = 5.7 g.
- Nitrite check: 5.7 g × 0.0625 = 0.35 g of sodium nitrite. Divide 0.35 by 2,268 and you get about 156 parts per million (ppm).
That 156 ppm sits under the federal cap. Dry-cured bacon can carry no more than 200 ppm of added sodium nitrite.
Gather a Scale, Bag or Container, Rack, and Thermometer
You need:
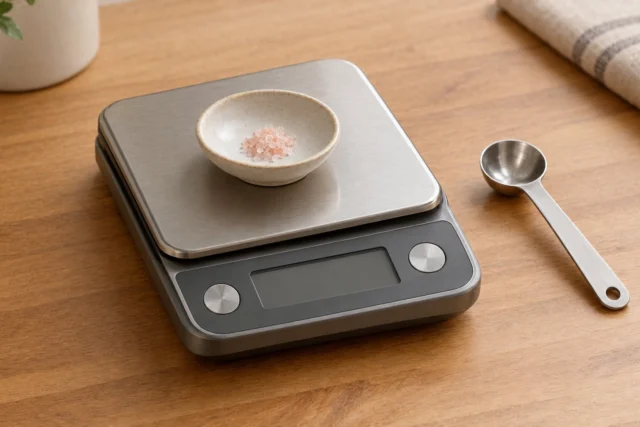
- Digital scale reading to 0.1 g. A kitchen scale in 1 g steps cannot measure 1.1 g of cure accurately.
- Gallon zip-top bag or a nonreactive lidded container. Use food-grade plastic, glass or stainless. The bag holds the brine against the meat.
- Wire rack and sheet pan. These let air reach all sides during drying.
- Appliance thermometer for the fridge. Many fridge dials are not accurate.
- Probe thermometer for the meat. This tells you when cooking is done.
- Nitrile gloves. They keep cure off your hands and your hands off the meat.
In a commercial kitchen, the scale is the tool cooks skip and regret. Treat a 0.1 g scale as part of the recipe.
Choose Flavorings Without Changing the Cure Amounts
Flavorings go on top of the base cure. Keep the salt and Cure #1 percentages fixed.
For an earthy flavor, crush juniper berries and blend them with dried sage and thyme. If you want heat, coarse black pepper creates a bold crust on the meat.
Sweet cures often incorporate maple syrup in place of granulated sugar for added depth.
| Style | Add to the base cure (per 5 lb belly) |
|---|---|
| Maple bacon | Swap brown sugar for 30 g maple syrup |
| Peppered bacon | 2 tbsp coarse black pepper, pressed on after rinsing |
| Herb bacon | 1 tbsp crushed juniper berries, 1 tsp dried sage, 1 tsp dried thyme |
| Honey bacon | Swap brown sugar for 25 g honey |
| Spicy bacon | 1 to 2 tsp red pepper flakes or cayenne |
Sugar and honey burn faster. Keep sweet bacon on lower heat when you cook it.
Dry-Cure the Belly Step by Step
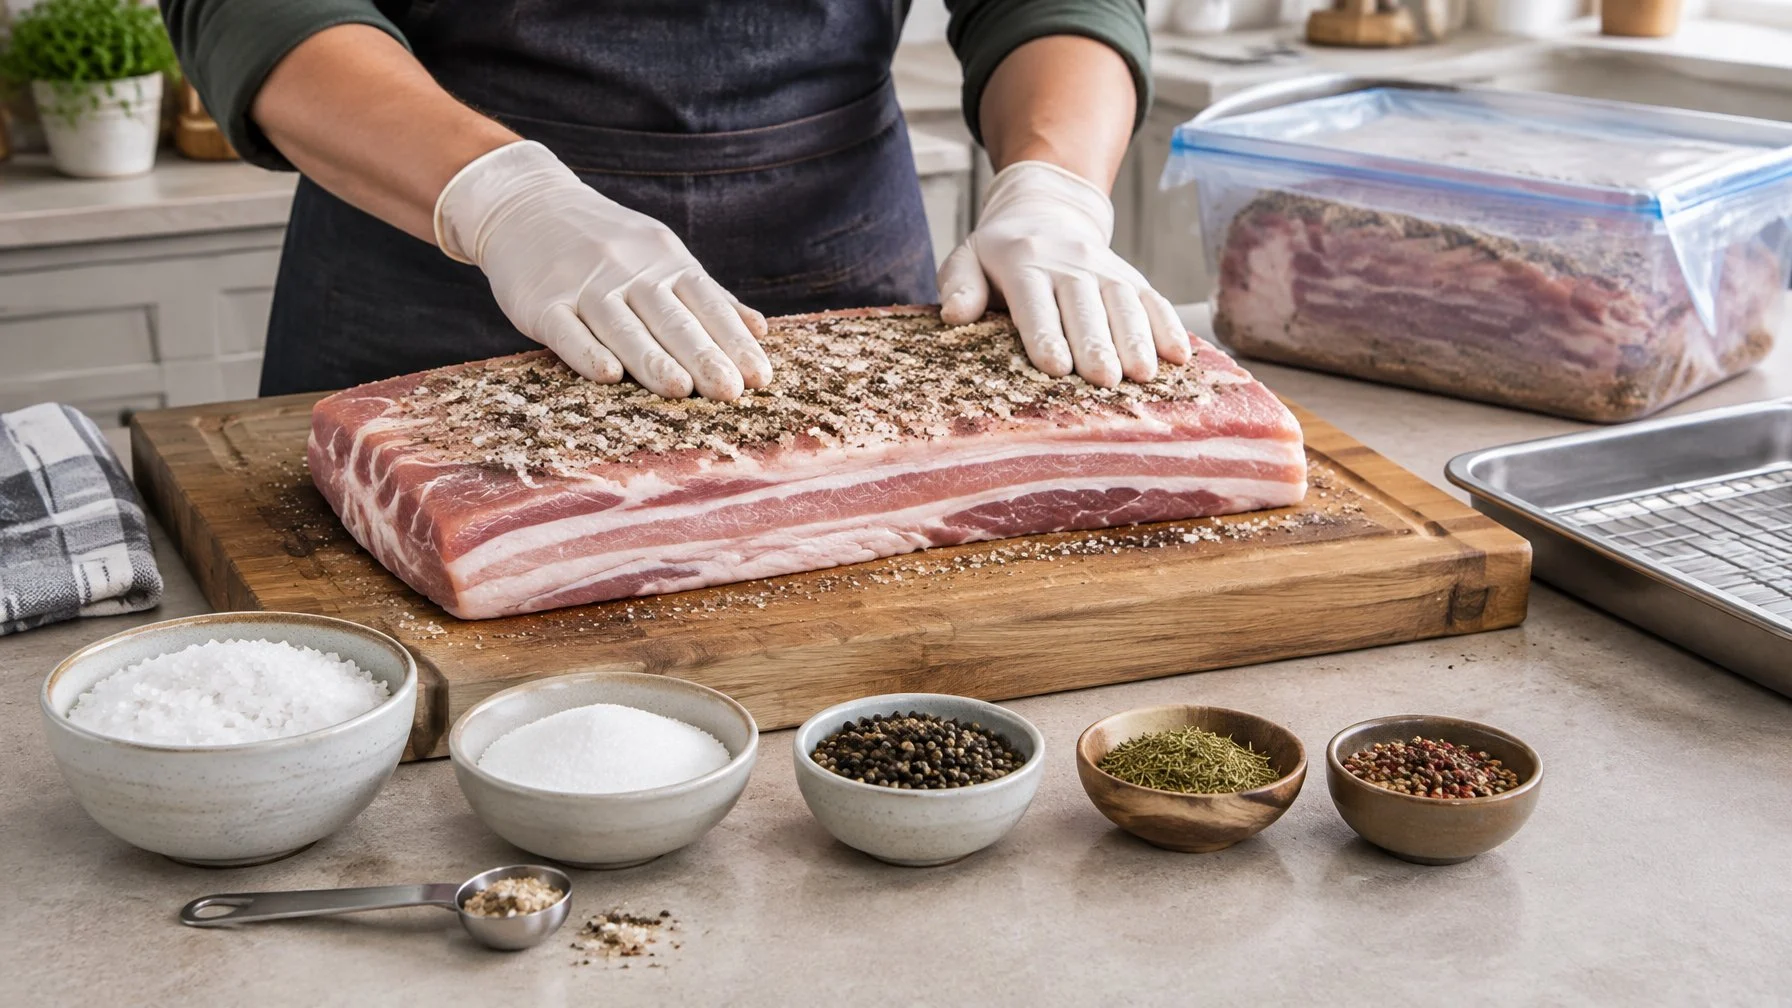
The dry cure method runs in seven steps: mix, coat, refrigerate, check, dry, cook, and store. Each step of the bacon curing process has a specific purpose for food safety and flavor.
A dry cure is a measured mix of salt, sugar and sodium nitrite rubbed onto meat, which draws out moisture and cures it over days.
1. Calculate and Mix the Cure
Weigh each ingredient into one bowl using the percentages above. Measuring by weight keeps the nitrite in its safe range.
Whisk for 30 seconds until the pink curing salt is spread evenly through the white salt. Clumps of Cure #1 create spots with too much nitrite.
2. Coat Every Surface and Bag the Belly
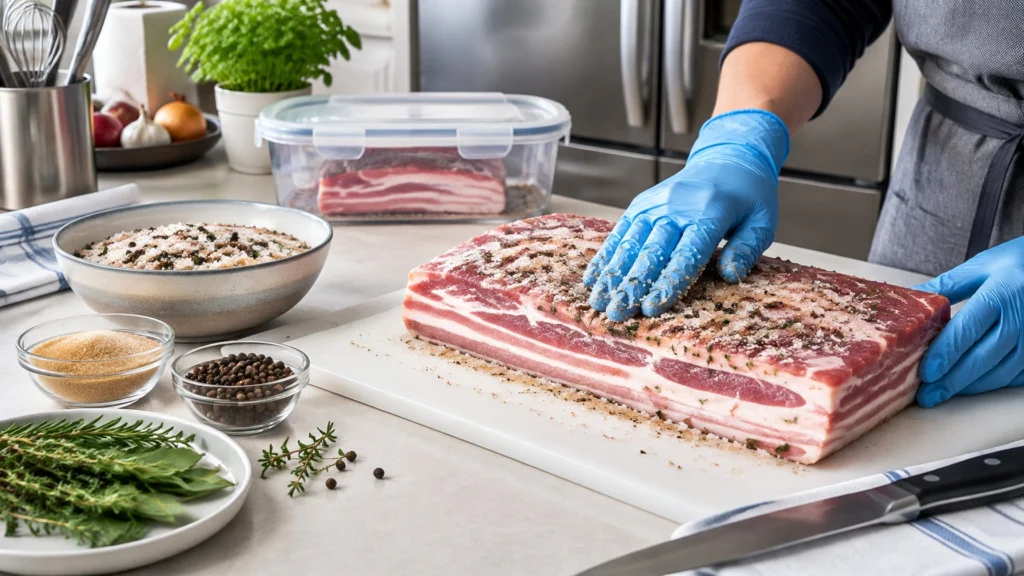
Put on gloves. Rub the dry cure rub over the top, bottom and all four edges. Use every grain.
The amount was set for this exact weight, so leftover cure means an under-cured belly. Slide the belly into the bag, press out the air, and seal it. Less air means better contact with the brine that forms.
3. Refrigerate and Turn the Bag
Lay the bag flat on a tray in a fridge at 40°F or below. Cold slows bacteria while the cure works.
Flip the bag once a day. Liquid will pool within a day or two, and turning moves it around the meat.
Plan on about 7 days for a belly 1 to 1.5 inches thick. Oregon State’s PNW784 cures in the refrigerator for five to seven days, flipping the bag each day. Add a day or two for thicker cuts.
4. Check the Belly and Remove Surface Cure
Press the thickest part. A cured belly feels firm all the way through, like a flexed muscle.
If the center still feels soft, reseal and give it 1 to 2 more days. Once it is firm, rinse the belly under cold water and pat it dry. Rinsing removes surface salt that would make the outer slices harsh.
If you enjoy a peppery bark, coat the slab with freshly cracked black pepper right after patting it dry.
5. Dry the Surface Before Smoking
Set the belly on a rack over a sheet pan, uncovered, in the fridge for 12 to 24 hours. Air dries the surface into a tacky skin called a pellicle.
Smoke sticks to a dry, tacky surface. A wet surface gives smudgy color and bitter flavor.
6. Hot-Smoke or Oven-Cook, Then Chill
Cook or hot smoke the belly until the thickest part reads 160°F on a probe thermometer. That is the internal temperature Oregon State Extension’s PNW784 gives for home-cured bacon. PNW784 sets the cooker at 225°F to 250°F and says it takes about three hours to reach 160°F.
PNW784 also allows an oven set higher than 160°F. It gives no oven setting, so go by the internal temperature, not the clock. For how the USDA smoker range compares, see the temperature table below and our guide to smoking sausage in an electric smoker.
Chill the slab in the fridge right away. A cold slab firms up and slices cleanly.
7. Slice, Package, and Store
Slice the cold slab against the grain, 1/8 to 1/4 inch thick. Cold fat cuts without tearing.
Portion the slices into meal-size packs and vacuum seal them. If you are choosing a sealer, our guide to the chamber vacuum sealer vs vacuum sealer question helps with fatty, moist cuts like bacon.
Date every pack before it goes in the cold. Our steps on how to label frozen meat keep your home-cured bacon from turning into a mystery package.
Well-sealed homemade bacon maintains its flavor and texture for months in the freezer.
Keep the Cure and Cooking Process Safe
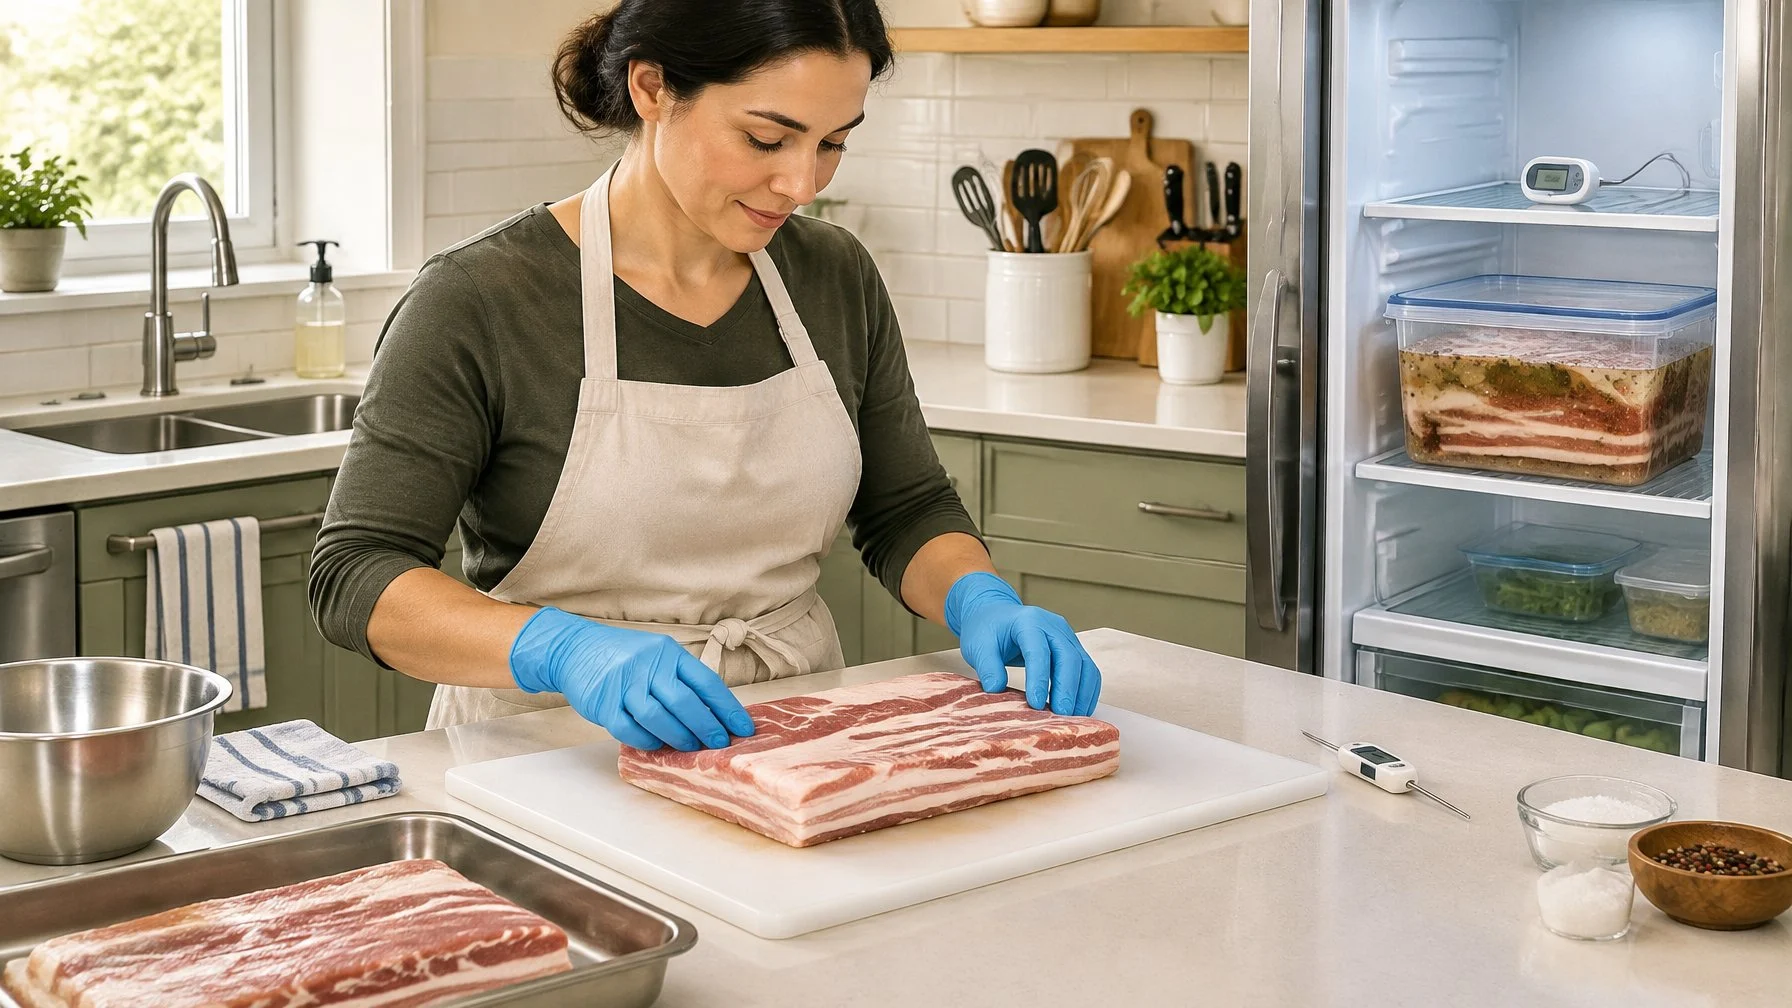
Three limits keep bacon curing safe: an exact Cure #1 dose, cold holding with full cooking, and a clear line between hot and cold smoking.
SAFETY: Keep the belly at 40°F or below for the whole cure. The USDA Food Safety and Inspection Service says a refrigerator set at 40°F or below protects most foods, and that bacteria grow fastest between 40°F and 140°F. Home-cured bacon is perishable. Curing does not make it shelf-stable, so keep it refrigerated or frozen.
Why Must Cure #1 Be Weighed Precisely?
Sodium nitrite works in tiny amounts and becomes harmful in large ones. At 0.25% of belly weight, Cure #1 lands near 156 ppm of nitrite. That gives the pink color and cured flavor, and it slows the bacteria that cause botulism.
Store Cure #1 away from table salt, sealed and labeled. It looks like seasoning to anyone who does not know what it is.
What Refrigerator and Cooking Temperatures Apply?
| Stage | Temperature |
|---|---|
| Fridge during cure and drying | 40°F or below |
| Smoker air temperature, USDA FSIS | 225°F to 300°F |
| Cooker setting, Oregon State PNW784 | 225°F to 250°F |
| Minimum internal for whole pork cuts, USDA FSIS | 145°F |
| Internal temperature for home-cured bacon, Oregon State PNW784 | 160°F |
| Chill after cooking | Within 2 hours |
For smoking, USDA advises keeping smoker heat between 225°F and 300°F and cooking whole pork cuts to at least 145°F. Oregon State’s PNW784 sets the cooker at 225°F to 250°F and the belly at 160°F inside. The sources differ in their numbers, and this guide uses the PNW784 160°F because it is the extension source for home-cured bacon. A smoker set to 200°F is below both ranges, so use the probe, not the dial, to decide when the belly is done.
Never partly cook bacon and finish it later. USDA warns that this lets bacteria survive.
For storage, the University of Minnesota lists bacon at 7 days in the refrigerator at 40°F, and Oregon State’s PNW784 gives up to seven days refrigerated. For longer storage, freeze it. PNW784 says frozen bacon is best used within four months. Our freezers guides cover holding a steady 0°F.
Why Is Cold Smoking a Separate Safety Decision?
Hot smoking cooks the belly. Cold smoking adds flavor without cooking, so the meat stays in or near the danger zone for hours.
Cold-smoked bacon is still raw and must be fully cooked before you eat it. Cold smoking also calls for strict control of cure, time and temperature, so treat it as a separate project with its own verified recipe. For a first batch, hot smoke or use the oven.
Troubleshoot Common Curing Problems
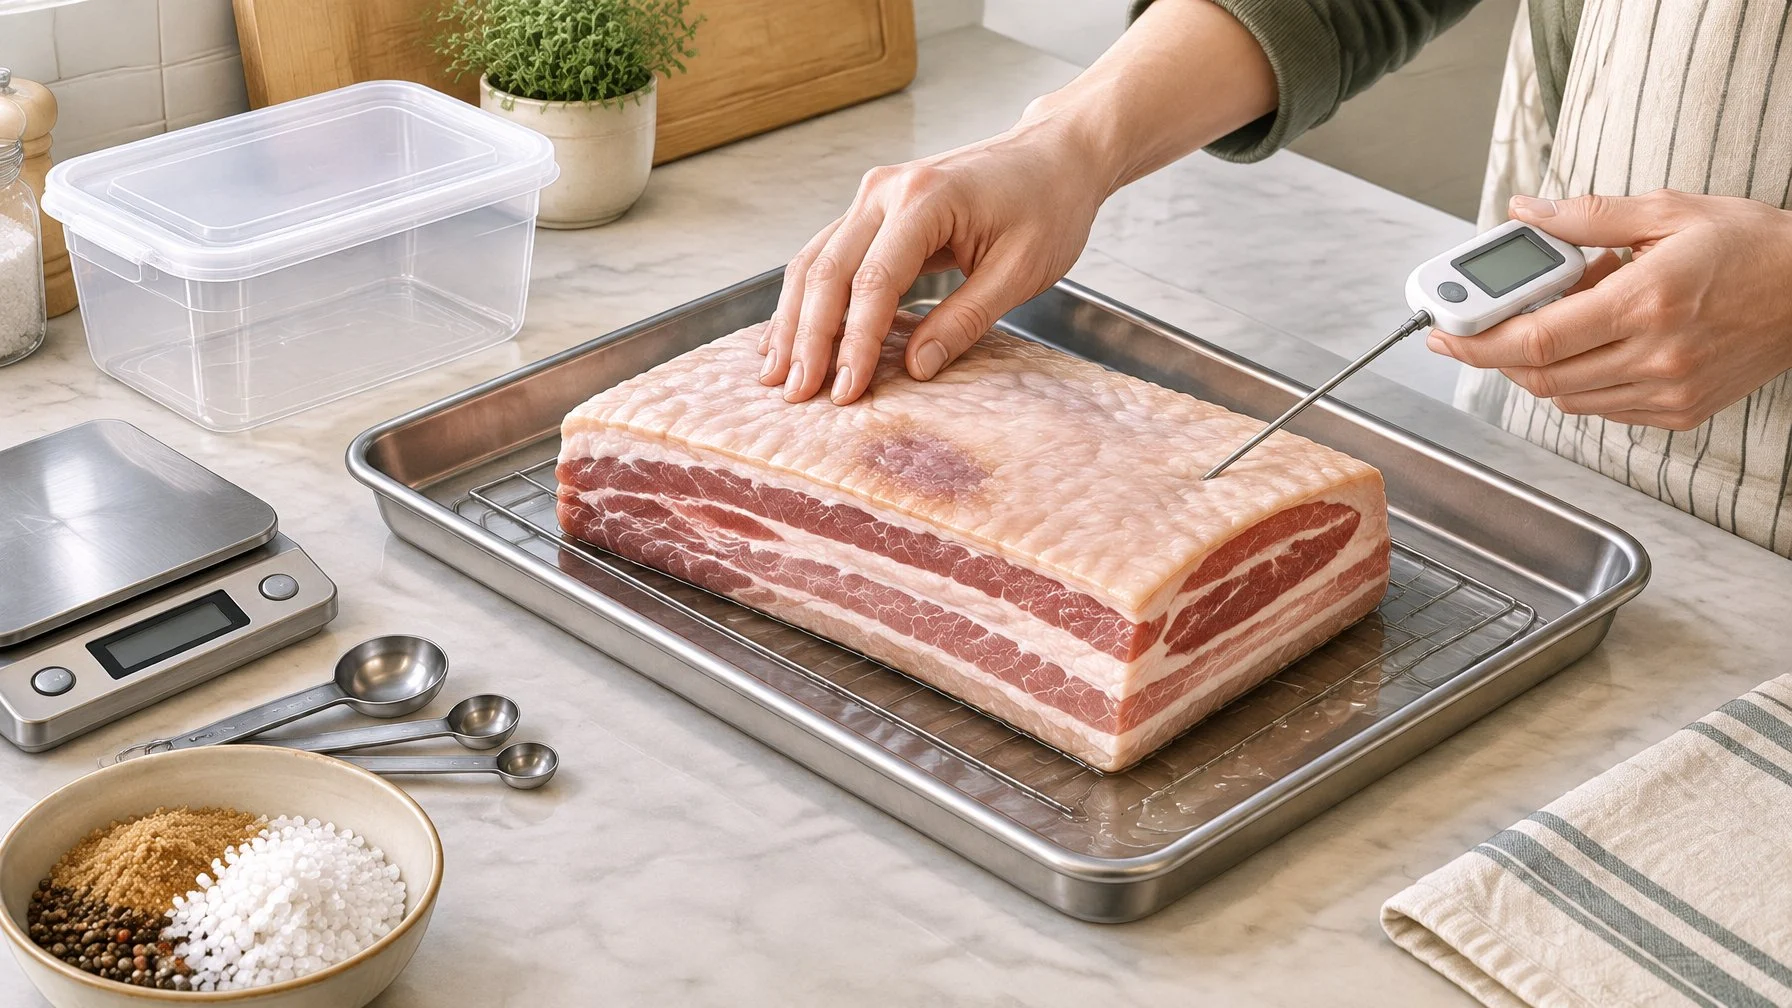
Four problems come up most: a soft center, too much salt, a wet surface, and slices that brown too fast. Each has a direct fix.
The Belly Still Feels Soft in the Center
A soft center means the cure has not reached the middle yet. Thick bellies or a very cold fridge slow it down.
Reseal the bag and add 1 day per extra half inch of thickness. Next time, cut thick bellies into two slabs before curing. Do not add more Cure #1, because the dose is already set by weight.
The Finished Bacon Tastes Too Salty
Too much salt usually comes from volume measuring, skipping the rinse, or leaving the belly in cure far past firm.
Fry a test slice before you slice the whole slab. If it is too salty, soak the slab in cold water in the fridge for 1 to 2 hours, pat it dry, and test again. For the next batch, drop the salt to 2% of belly weight and keep Cure #1 at 0.25%.
The Surface Is Too Wet for Smoke to Stick
A wet surface means the drying step was too short or the fridge is humid.
Give it another 12 hours uncovered on the rack. Run a small fan near the slab in a cool room for 30 to 60 minutes before smoking.
The Slices Brown Before They Cook Through
Fast browning comes from sugar. Bellies cured with maple syrup or honey burn first when exposed to high heat.
Cook the slices over medium-low heat, or bake them at 375°F on a rack. Cut thinner slices, about 1/8 inch, so the fat renders before the sugar scorches. You can also cut the sugar to 0.5% of belly weight next time.
Frequently Asked Questions
Can you cure bacon overnight?
No, an overnight dry cure is too short for a whole belly. Salt and nitrite need about 7 days to move through a 1 to 1.5 inch slab at fridge temperature. Commercial pumped bacon cures faster because brine is injected into the meat, but home dry curing depends on slow movement from the surface inward. Thicker bellies need more days.
Can you cure bacon without curing salt?
You can salt and cook pork belly without Cure #1, but the result tastes and looks like salted roast pork. It stays gray and lacks the cured flavor. Without nitrite you also lose protection against botulism bacteria, so keep it cold, cook it fully, and eat it within days. For true bacon, use Cure #1 weighed at 0.25%.
Are Cure #1 and nitrate curing salts the same thing?
No. Cure #1 contains sodium nitrite only and is meant for bacon, sausage and quick cures. Cure #2 adds sodium nitrate for long dry-aged meats like salami or prosciutto. Specialty charcuterie such as prosciutto requires months of air-drying, where nitrates break down gradually. Because bacon cures in days, nitrate is unnecessary and unsafe. Federal rules say nitrate is prohibited in all bacon, so use Cure #1 only. Our sausage making guides explain where Cure #2 belongs.
What is the dry-cure ratio for bacon?
A reliable home ratio is 2.5% kosher salt, 1% sugar and 0.25% Cure #1, all by belly weight. For a 5 lb belly (2,268 g), that comes to 57 g salt, 23 g sugar and 5.7 g Cure #1. This lands near 156 ppm nitrite, under the 200 ppm federal limit for dry-cured bacon. Always weigh; never use spoons.
Can you finish cured bacon in the oven instead of a smoker?
Yes. Oregon State’s PNW784 allows an oven set higher than 160°F. Place the rinsed and dried belly on a rack over a sheet pan and cook until the thickest part reads 160°F. PNW784 gives no oven setting, so go by the probe thermometer. You lose the smoke flavor. Chill it right away, then slice it cold.
When your bacon is sliced and sealed, our guide on how to label frozen meat is the next step for keeping your freezer organized.
This is general guidance based on USDA recommendations. When in doubt, follow the USDA FSIS source linked above.