
Quartering a deer takes four steps. Skin the side you will cut and keep it clean. Remove both front shoulders along the muscle seams, then free both hindquarters at the hip joints. Finish by taking the backstraps, tenderloins, and usable rib and neck meat. Most whitetails can be quartered with one sharp knife in under an hour, then bagged and chilled below 40°F.
After reading, you will be able to break a deer into four clean quarters plus loins, and keep the hindquarter seams intact so you can cut rounds and roasts later. Learning how to quarter a deer cleanly is one of the most useful skills in deer hunting to protect your venison. I also cover cooling numbers from USDA and university extension guides, and how to keep ice melt off the meat.
If you are still deciding whether to do the work yourself, my breakdown of whether it is worth processing your own deer is a good place to start.
What You Need to Quarter a Deer
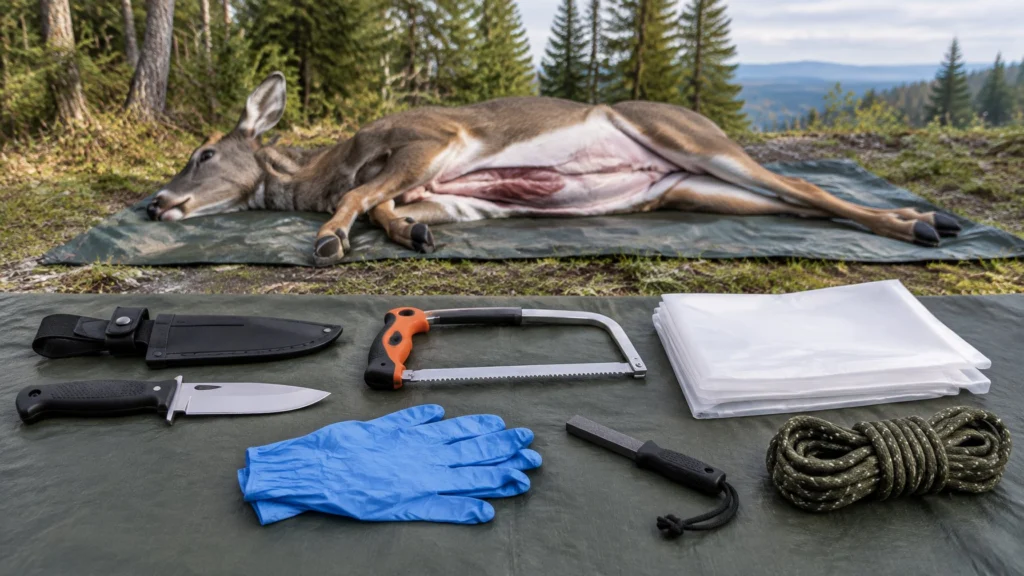
The kit is short: a knife, rubber gloves, and breathable game bags cover most jobs. A bone saw is a helper for a few cuts, and you can skip it for joint-based quartering.
Which Knives, Gloves, and Game Bags Do You Need?
One sharp 4 to 6 inch blade does the work. A second knife lets you swap when the first dulls on hair. Keep a steel or stone within reach.
| Item | What to look for | Why |
|---|---|---|
| Boning or skinning knife | 4 to 6 in, stiff or semi-flex | Follows seams and joints |
| Spare knife or replaceable blades | Same size | Hair dulls edges fast |
| Sharpener | Steel or pocket stone | Keeps cuts clean |
| Rubber or nitrile gloves | Several pairs | Clean hands, CWD precaution |
| Game bags | Breathable cloth, one per quarter | Air flow, keeps bugs and dirt off |
| Tarp or clean sheet | Large enough for the carcass | Clean surface in the field |
| Paper towels, clean water | Plenty | Wiping knives and hands |
For shape and steel choices, see my guide to the best knife for processing deer. Owner reports across hunting forums favor blades that clean up in a sink with no hidden seams where blood collects.
When Is a Bone Saw Useful?
A saw helps when you want the shanks off cleanly or plan to split the pelvis or rib cage. For basic quartering, you cut through joints and seams, so the saw stays in the pack.
Saws also leave bone dust on the meat, which you then trim away. If you process several deer a year at home, a bench unit makes sense; see my picks for the best meat band saw for home use.
Prepare the Deer and Keep the Meat Clean
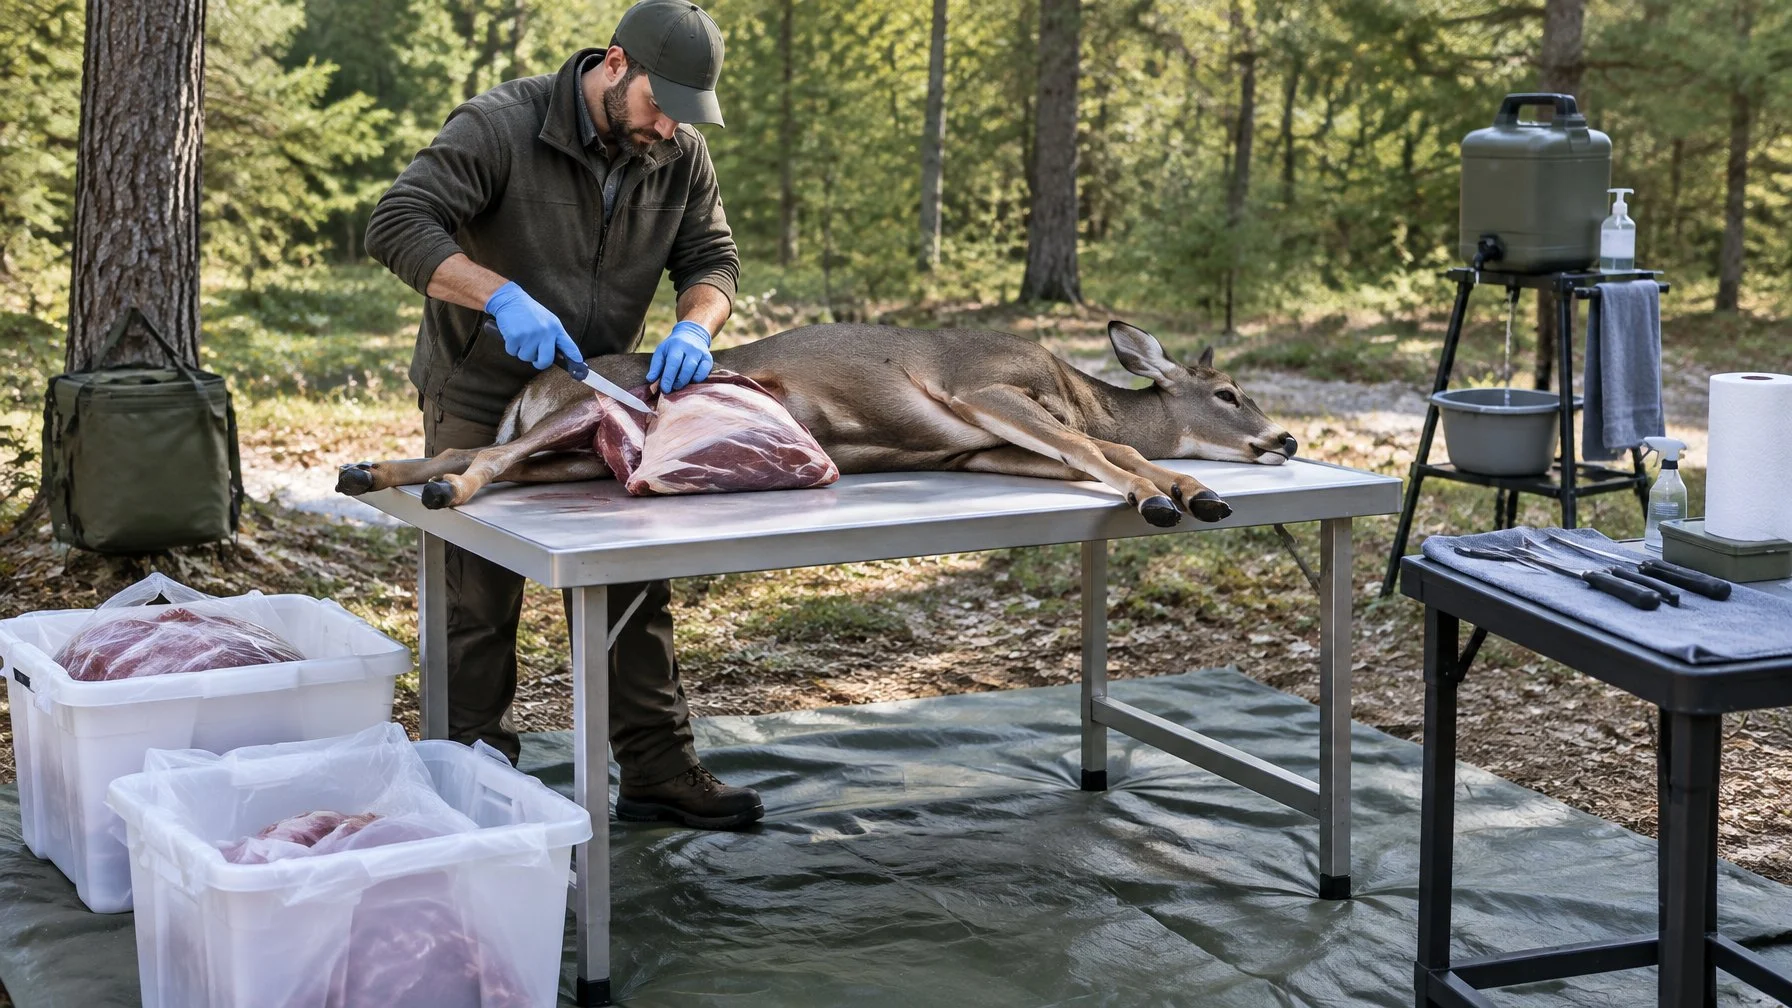
Clean venison starts before the first quartering cut. Get the carcass dressed and cooling, check your state’s rules, then set up a clean surface and skin only the area you will cut.
Field-Dress, Cool, and Check Local Rules
Dress the deer promptly and start cooling. Penn State Extension advises that you cool the carcass quickly to 35 to 40°F to slow bacterial growth.
Check your state wildlife agency’s rules before you cut. Some states require the carcass to reach a check station whole, and some limit moving bone-in parts out of CWD zones. The CDC reports CWD in wild deer in 36 U.S. states and recommends rubber gloves, avoiding the brain and spine, and keeping field knives out of your kitchen.
SAFETY: Bacteria grow fastest between 40 and 140°F, and USDA FSIS says foods held above 40°F for more than 2 hours should not be eaten. Use a thermometer to confirm your fridge or cooler holds 40°F or below. In CWD areas, follow your state agency’s testing guidance and do not eat meat from an animal that tests positive (CDC).
Set Up a Clean Work Area and Skin the Sections You Will Cut
Lay the deer on a tarp or hang it from a gambrel. Hanging keeps meat off the ground and lets gravity open the seams.
- Put on fresh rubber gloves. Clean hands keep bacteria off the meat.
- Skin one side first, from the spine down. The hide on the other side keeps dirt off.
- Pull and fist the hide more than you cut. Less knife work means less hair on the meat.
- Wipe the knife between cuts. A dirty blade drags hair and bacteria into every slice.
Commercial kitchens keep the cutting station clean with rules from the FDA Food Code. Wet wiping cloths sit in a sanitizer solution between uses, and cloths used on surfaces that touch raw meat are kept apart from all other cloths. A surface gets cleaned first, then sanitized. Use separate boards and knives for raw trim and finished cuts. Single-use gloves are meant for one task only: throw them out when they tear, get dirty, or the work stops, and wash your hands before you put on a new pair.
Remove the Quarters and Remaining Meat
Shoulders come off first, then the hindquarters, then the loins and salvage meat. Quartering a deer means removing the two front shoulders and two hindquarters as whole pieces, then taking the loins and trim separately.
Step 1: Free Both Front Shoulders Along the Muscle Seams
The shoulder has no ball joint to the body. It is held by muscle only.
Lift the leg away from the ribs and slice along the thin seam between the shoulder blade and rib cage. Keep the blade flat against the ribs. The whole shoulder lifts off in one piece.
Step 2: Separate Both Hindquarters at the Hip Joints
Cut along the top of the pelvis, just behind the backstrap, following the natural seam. Push the leg outward to expose the ball-and-socket hip joint.
Cut the ligament inside the socket, and the leg drops free. Stay on the bone and leave the round muscles joined by their seams, so you can separate them cleanly on the table later.
Step 3: Remove the Backstraps and Tenderloins
Backstraps run along both sides of the spine on the outside. Cut down each side of the spine from hip to neck, then follow the ribs to peel each strap off in one long piece.
Tenderloins sit inside the body cavity under the spine. Work them loose with your fingers and a few short cuts.
Step 4: Save Usable Rib and Shank Meat
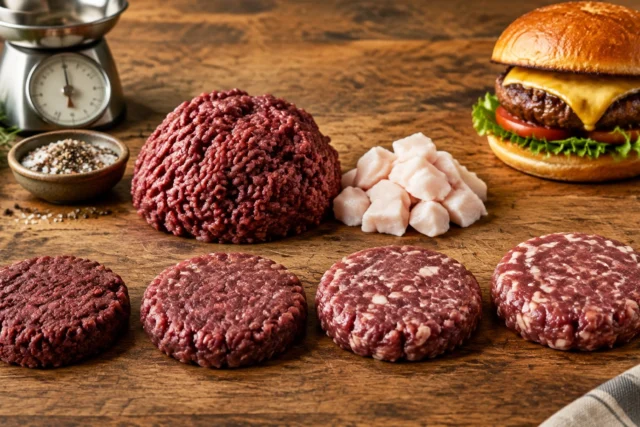
Rib meat, flank, and neck meat make good grind. Take time to trim between the bones, as clean rib meat adds great bulk to burger packages. Strip the thin muscle between ribs and trim the neck in chunks. Bag this trim apart from the quarters.
| Piece | Where it comes from | Best use |
|---|---|---|
| Front shoulders (2) | Muscle seam off ribs | Roasts, stew, grind |
| Hindquarters (2) | Hip joint | Steaks, roasts, jerky |
| Backstraps (2) | Along outer spine | Steaks, medallions |
| Tenderloins (2) | Inside cavity under spine | Quick sear |
| Rib, flank, neck trim | Rib cage and neck | Grind, sausage |
Cool and Transport the Meat Safely
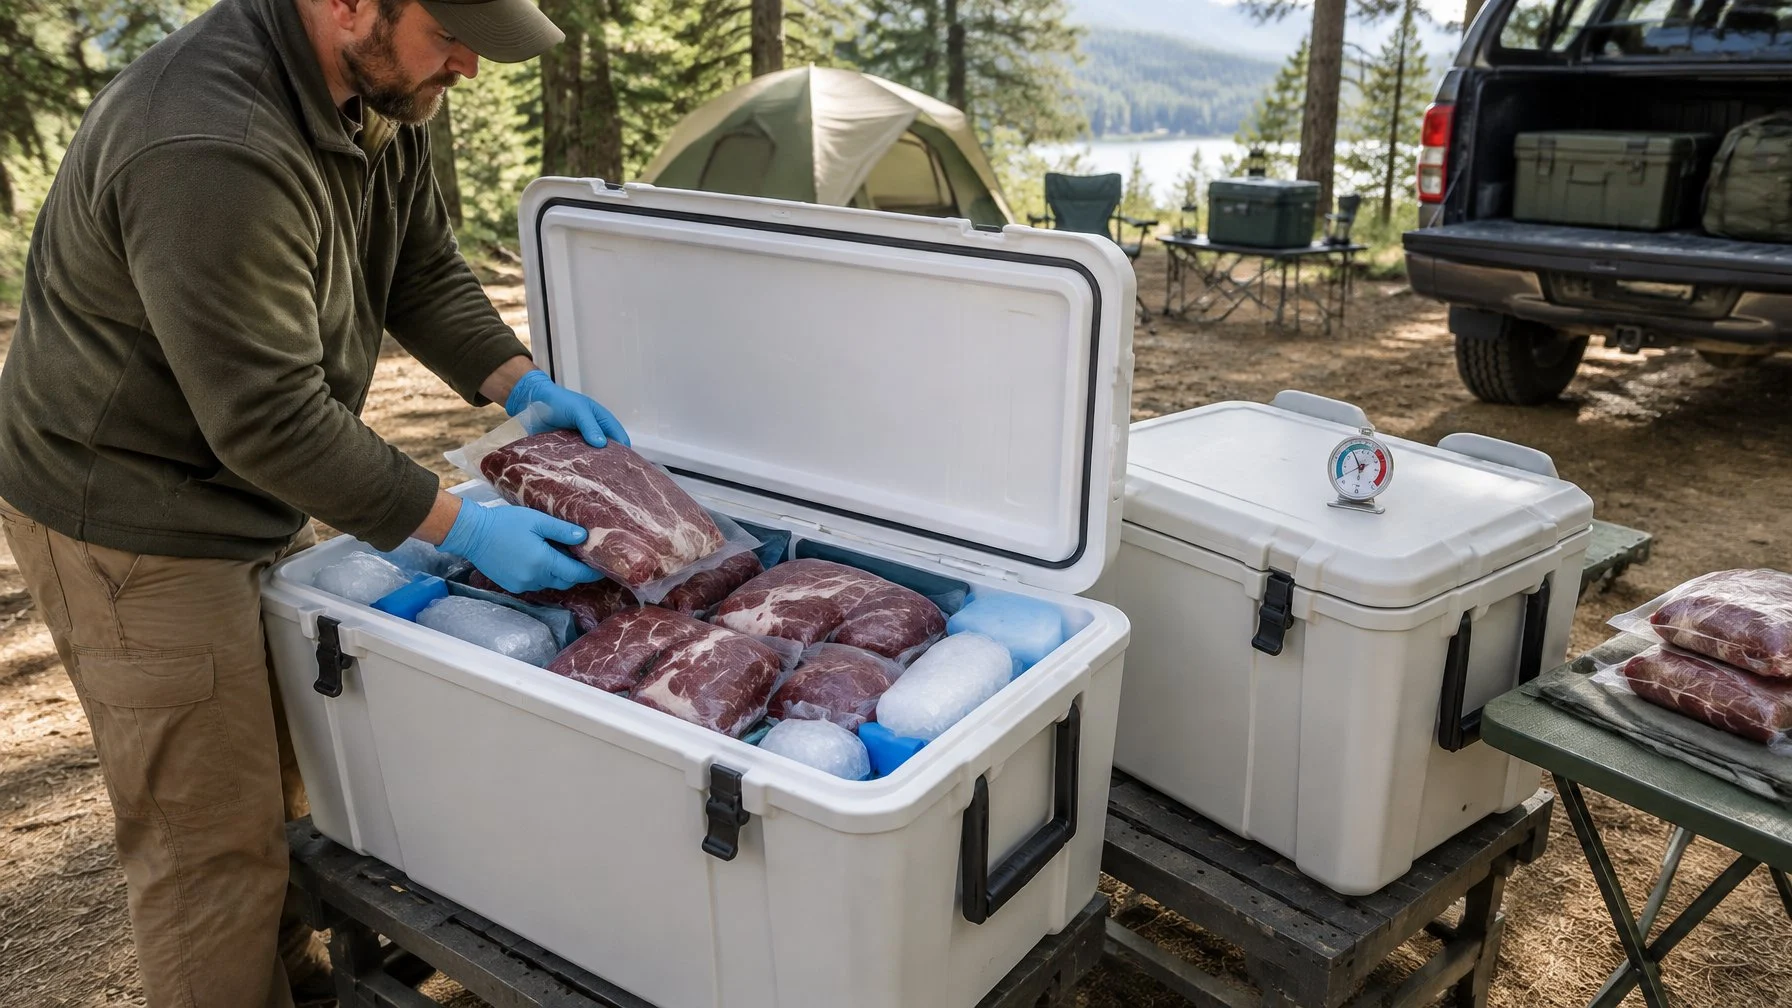
Getting heat out fast is the goal once the meat is off the bone. That comes down to bagging for airflow and icing without soaking.
How Do You Bag Quarters Without Trapping Heat?
Use breathable cloth game bags, one piece per bag. Plastic holds body heat in the thick hindquarter muscle.
Hang bags in shade where air moves. Keep them off the ground and out of truck beds in the sun. For long trips, Penn State Extension suggests carcasses be skinned, quartered, and packed in ice or dry ice.
How Do You Keep Meat Cold Without Soaking It in Meltwater?
Put a rack or upturned tray in the cooler bottom so meat sits above the melt. Seal loose trim in food-grade bags before it goes in.
Drain the cooler at least once a day and add ice on top. Keep an appliance thermometer inside and aim for 40°F or below. Penn State advises that home processors hold the carcass at 40°F or below for two to three days at most before cutting and freezing.
What Cuts Can You Make From the Quarters Later?
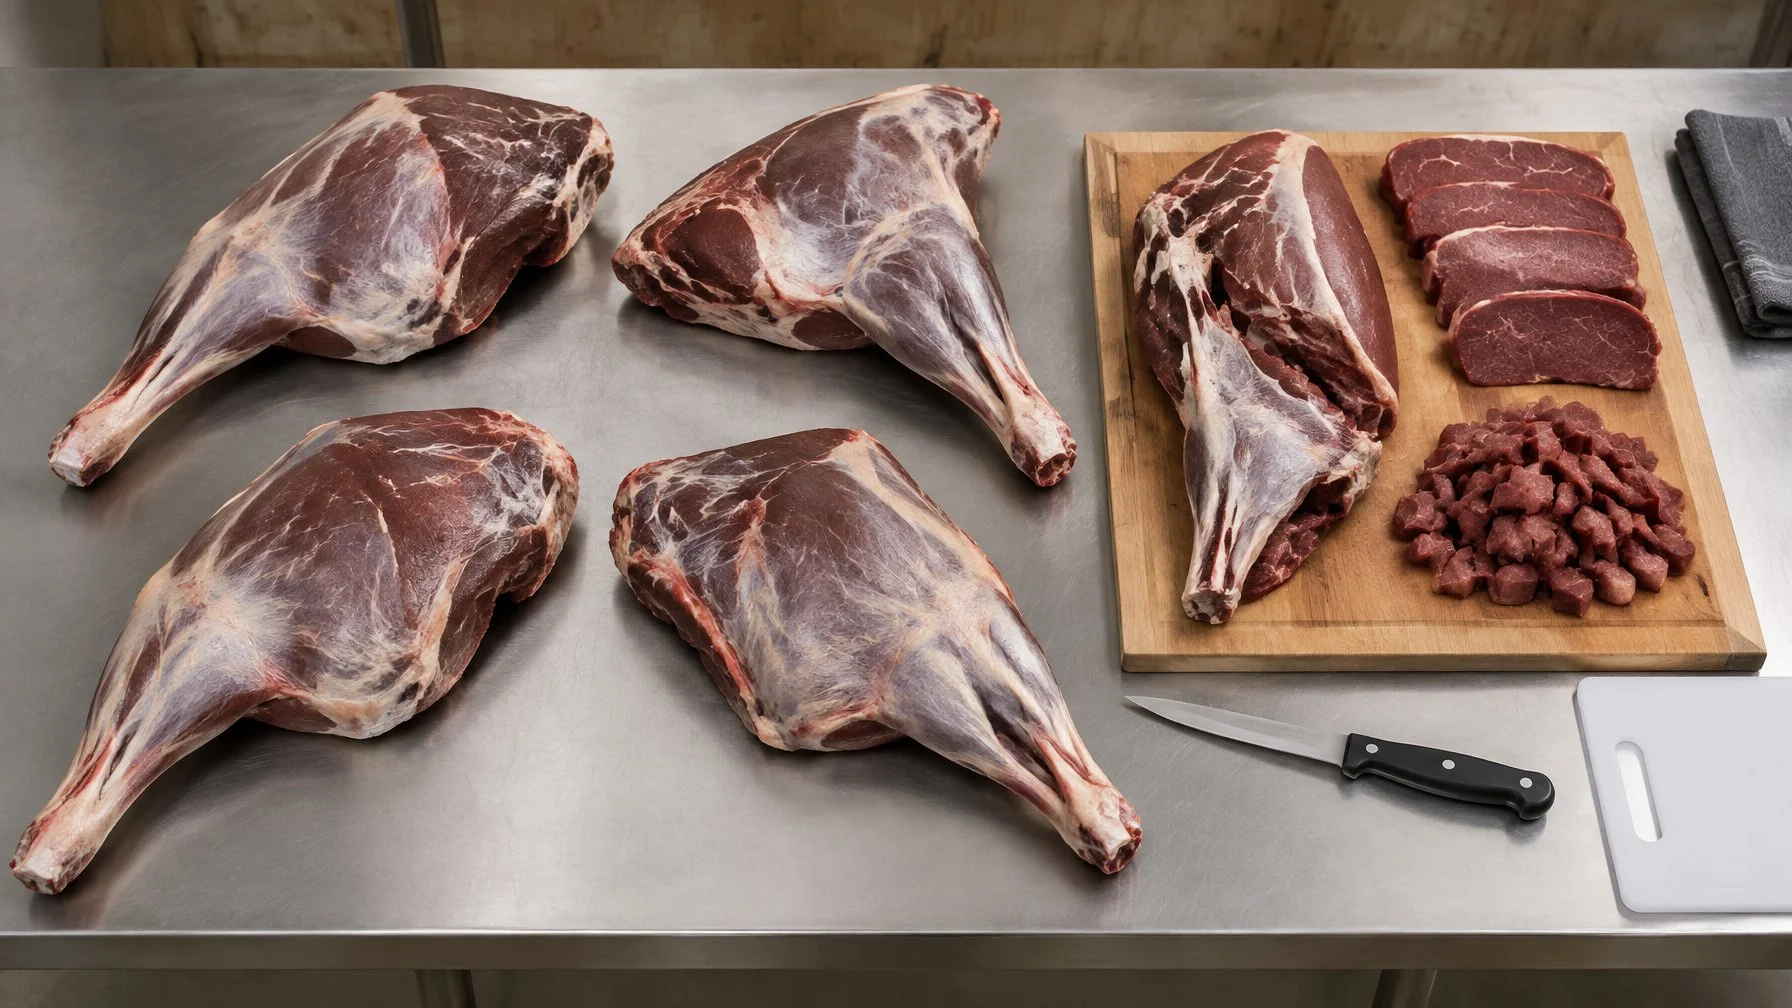
Intact seams turn the quarters into a menu. The hindquarter gives you the rounds, sirloin tip, and a small tri-tip, while shoulders and shanks suit stew, grind, and braising.
Hindquarter: Identify the Rounds, Sirloin Tip, and Tri-Tip
A venison hindquarter holds several distinct muscles you can split by hand along silver seams.
- Top round: large inner muscle, good for steaks and jerky.
- Bottom round: outer muscle, good for roasts and jerky.
- Eye of round: small tube beside the bottom round, a lean roast.
- Sirloin tip (knuckle): football shape at the front of the leg, steaks or roasts.
- Tri-tip: small triangle near the hip, a quick grill cut.
Slicing across the grain turns the top round into tender steaks or cutlets. Meanwhile, the eye of round cooks well as a whole roast or cured meat.
For full breakdown methods, my butchery section covers the table work.
Shoulder and Shank: Choose Meat for Stew, Grinding, or Braising
Shoulder meat has more seams and connective tissue. Cube it for venison stew or send it to the grinder.
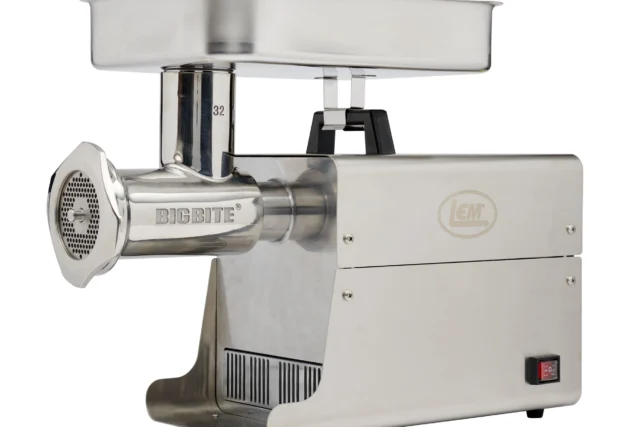
Shanks braise well whole for osso buco style dishes. Trim that goes to grind needs a grinder sized for your volume; my meat grinder size guide matches plate size to deer count, and extra trim works for sausage making.
Fix Common Quartering Problems
Four problems come up most: hair on the meat, a stuck hip joint, bone dust or cut muscle, and quarters still warm at packing. Each has a direct fix.
Hair or Dirt Gets on the Meat
Pick hair off with a damp paper towel, or trim the thin surface layer. Cut hide from the inside out so the blade lifts hair away.
The Hindquarter Will Not Release at the Hip
The ligament inside the socket is still attached. Push the leg outward hard, find the white ball, and slip the knife tip into the socket to cut the ligament.
A Cut Exposes Bone Dust or Damages a Muscle
Trim a thin layer off any surface with bone dust. If you nicked a round, mark that piece for grind or jerky and keep the whole muscles for roasts.
The Quarters Are Still Warm When Packed
Pull them out, open the bags, and hang them in cold air or spread them on ice with space between. Bacteria in the danger zone can double every 20 minutes, so move fast.
Hunters and agencies describe the same warm-weather mistakes again and again. One is leaving the hide on: Alabama Extension says to skin deer once temperatures pass 40°F, and to avoid plastic bags or tarps because they trap heat and moisture. Another is piling hot meat into a bag right away. Lay cuts out in shade with airflow first. In a cooler, many hunters drain meltwater often and keep quarters up on the ice rather than sitting in water.
Frequently Asked Questions
These answers cover field-dressing, working without a gambrel, saws, deboning, and hang time.
Do you have to field-dress a deer before quartering it?
No. The gutless method lets you skin one side and remove the quarters, backstraps, and neck meat without opening the cavity. You reach in behind the last rib for tenderloins. It is widely used in deer hunting when packing out remote game to save weight. Check your state rules first, since some require evidence of sex or a whole carcass at check-in.
Can you quarter a deer on the ground without a gambrel?
Yes. Lay the deer on a clean tarp, skin the top side, and remove that shoulder, hindquarter, and backstrap. Flip the deer onto the skinned-side hide and repeat. The hide acts as a clean mat. Keep bagged pieces off the ground and out of the sun while you work.
Do you need a saw to quarter a deer?
No. Shoulders come off along a muscle seam, and hindquarters come off at the hip’s ball-and-socket joint, so a knife handles both. A saw helps for removing shanks or splitting ribs. It also leaves bone dust, which you then trim, so many hunters leave it home for field quartering.
Should you debone a deer in the field or leave the quarters bone-in?
Deboning cuts weight and cools meat faster, which helps on long pack-outs and warm days. Bone-in quarters keep more surface covered and hold their shape for later butchery. In CWD zones, many states restrict moving spinal and certain bones, so deboning may be required. Check your state agency before you pack out.
How long can you let a deer hang before butchering it?
Penn State Extension advises holding the carcass at 40°F or below for two to three days at most when you process your own. Its aging guidance lists 32 to 38°F for 2 to 3 days. Warmer air shortens that window. Venison headed for grind or sausage gains nothing from aging.
Next, match your trim volume to the right machine with my meat grinders roundup.
This is general guidance based on USDA recommendations. When in doubt, follow the USDA FSIS source linked above.