
To debone a deer, you remove the front shoulders, tenderloins, backstraps, neck meat and rib and flank meat, then take off the hind legs and cut around each leg bone, following the muscle seams. You need a sharp boning knife, gloves, a clean table and meat held at 40°F or below.
After reading, you can turn a skinned carcass into boneless, trimmed cuts in a set order. Doing your own deer butchering at home lets you decide how every cut is trimmed and packed.
You also get a guide to primary venison cuts, the CWD tissues to avoid, and fixes for four common problems: bone chips, silver skin, warm meat and torn tenderloins.
How to Debone a Deer – What You Need Before the First Cut
You need three things in place before you cut: a cold, clean work area, the right knives and containers, and a plan for keeping meat cold and avoiding CWD-risk tissue.
Set Up a Clean, Cool Cutting Area
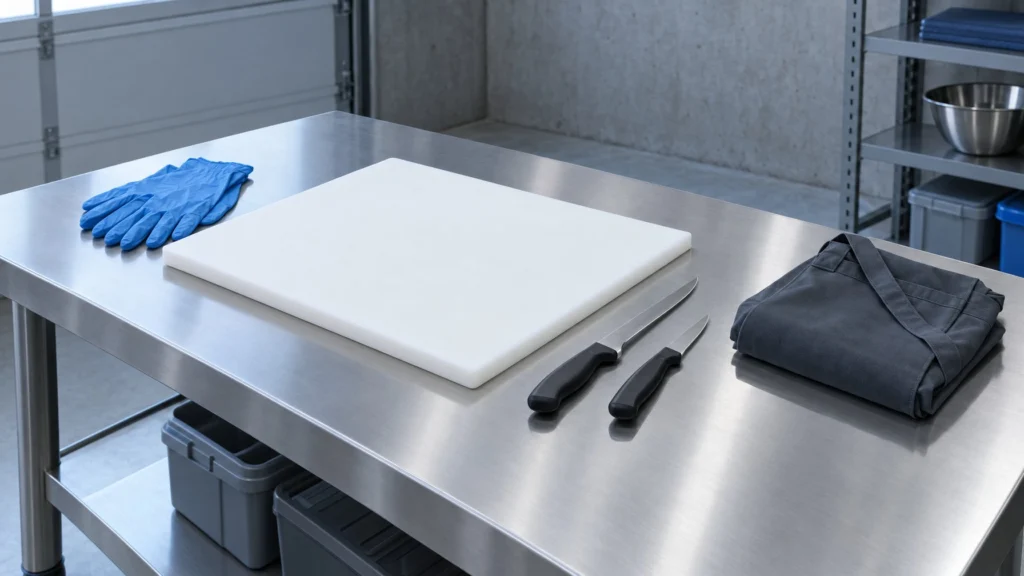
Start from a skinned deer hanging on a gambrel or laid on a clean table. The Indiana DNR deer processing guide suggests something as simple as a tarp on a kitchen table, plus a large cutting board and a cool workspace.
A hanging carcass uses gravity to open the seams for you. A table is steadier and easier on your back. Both work.
Keep these within reach:
- Rubber gloves and an apron
- A large cutting board
- Clean storage containers or tubs, one per cut type
- Freezer bags, a marker and labels
- A waste pail for fat and trim you won’t keep
In a commercial kitchen, a station gets laid out before service starts. Do the same here. Every trip away from the table is time the meat spends warming up.
Choose Knives and Containers for the Job
Deboning a deer is the process of cutting venison muscles away from the skeleton, following natural seams, so every usable cut ends up boneless.
That job needs two blades. Use a sharp boning or fillet knife for long cuts along bone and a sharp short knife for trimming. A meat saw is optional. You only need one if you want to cut rib racks for smoking.
| Tool | Job | Needed? |
|---|---|---|
| Boning or fillet knife | Following bone and seams | Yes |
| Short knife | Trimming fat and silver skin | Yes |
| Gambrel | Hanging the carcass | Optional |
| Meat saw | Cutting rib racks | Optional |
| Honing steel | Keeping the edge between cuts | Yes |
Steel your blade often. A dull edge needs more force, and forced cuts slip. Our best knife for processing deer roundup compares blade length, flex and steel based on owner reports and maker specs.
Safety: Keep Meat at 40°F or Below and Avoid CWD-Risk Tissues
SAFETY: USDA FSIS says bacteria grow most rapidly between 40°F and 140°F. Keep meat at 40°F or below while you work. Cornell’s Wildlife Health Lab notes that CWD prions concentrate in the brain, spinal cord, lymph nodes and spleen. Debone instead of sawing through bone, wear gloves, and use knives kept for deer butchering only, separate from field dressing. Check your state wildlife agency’s CWD testing and carcass-transport rules before you start.
Cornell says not to cut meat with the same blade you used on bone, so keep a second knife for clean meat. Lymph nodes sit between muscles in connective tissue. Cut them out and put them in the waste pail.
Steps 1–5: Remove the Shoulders and Torso Cuts
The torso comes apart in five moves: the front shoulders, the tenderloins, the backstraps, the neck meat, and the rib and flank meat. None of them needs a saw.
Step 1: Pull Each Front Shoulder Free Along Its Muscle Seam
Pull the front leg up and away from the body. Cut along the line where the shoulder muscles attach to the torso.
Why: The shoulder has no bone joint to the ribcage. It is held on by muscle only, so tension and gravity open the seam as you cut.
Set each shoulder on the board or in a container. You debone it later, in Step 7.
Step 2: Ease the Tenderloins Out from Beneath the Ribcage
The tenderloins sit inside the body cavity, under the spine, running from mid-ribcage back to the pelvis. Cut under each one from the front end, then pull it loose with your fingers.
Why: This is the most tender muscle on the deer, and it tears easily. Fingers separate it along its natural line with little damage.
Bag the tenderloins first and get them cold.
Step 3: Follow the Spine to Lift Each Backstrap
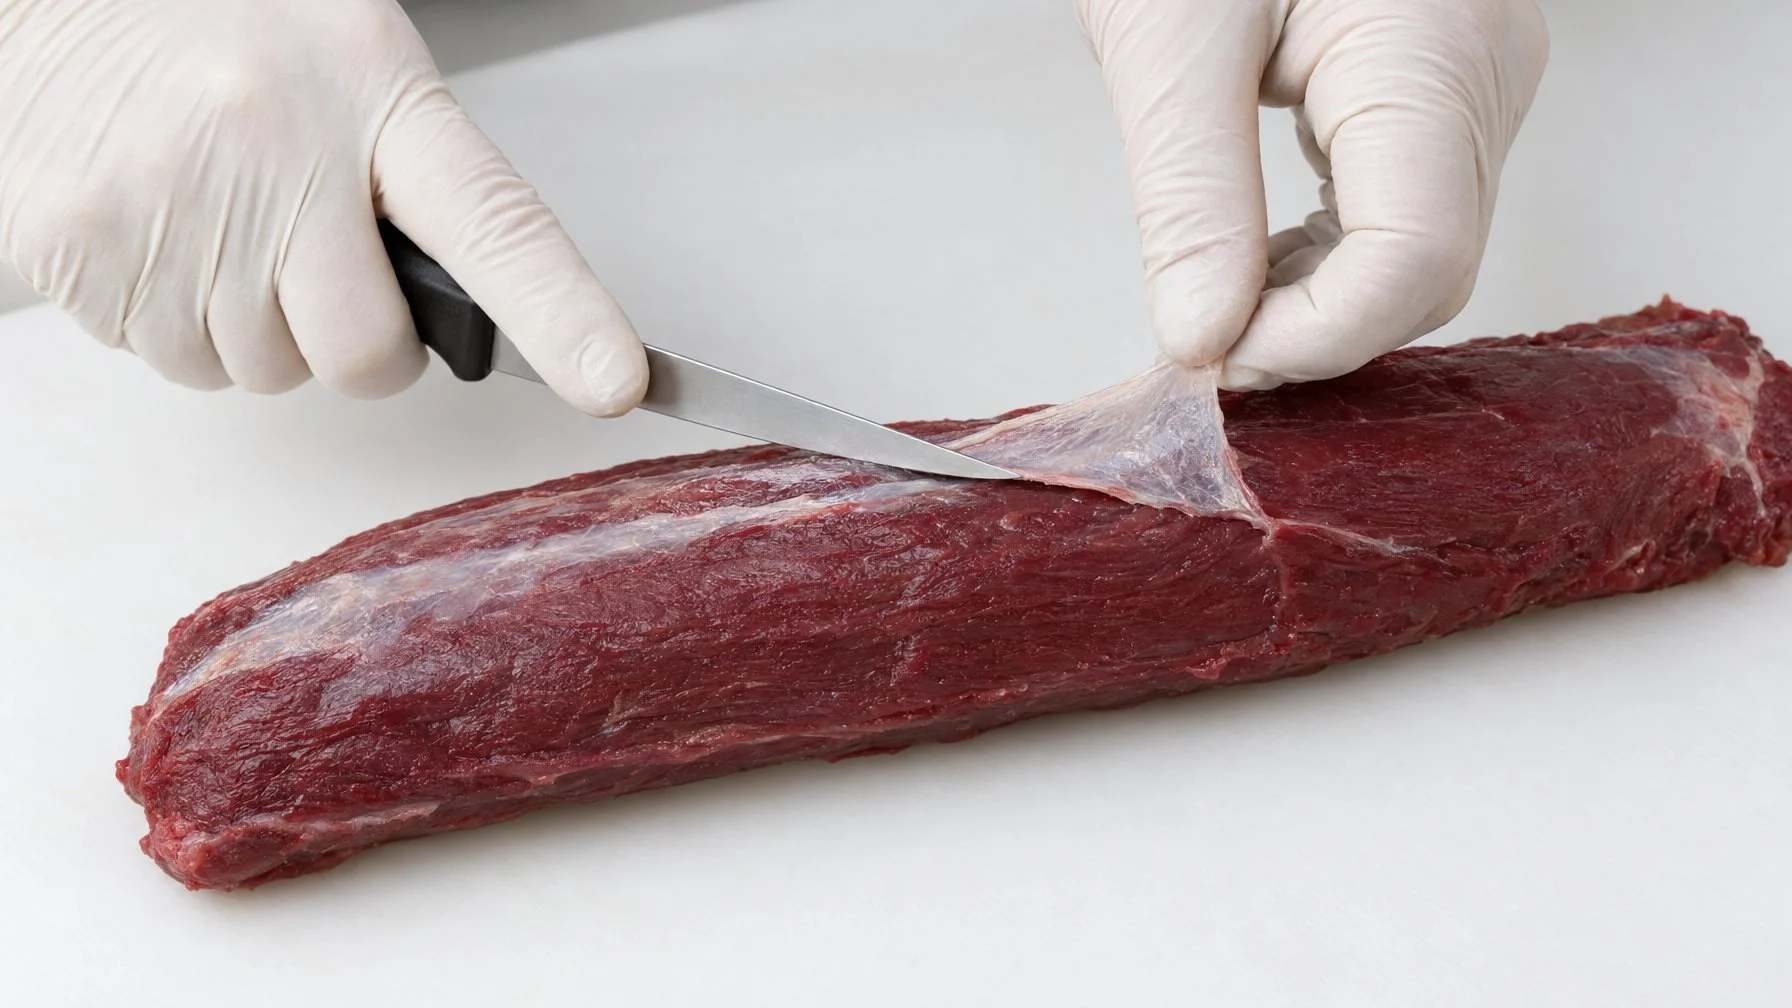
Make a cut at one end of the backstrap. Run the knife along the spine, as close to the bone as you can, the way you fillet a fish. Peel the strap away as you go.
Why: Staying tight to the bone keeps the most meat on the strap and the least on the carcass.
Keep your blade on the outside of the spine. Do not cut into the spinal column itself.
Step 4: Cut the Neck Meat Away from the Bone
Use the same filleting method on the neck. Take the meat from the top of the neck, then the bottom.
Why: Neck meat makes a good roast or a lot of grind, and it comes off the bone cleanly with long, close cuts.
Trim off fat, lymph nodes and silver skin before it goes in the container.
Step 5: Trim the Rib and Flank Meat
Cut the thin meat off the ribs and flank and add it to your grind pile for ground venison. If you want ribs for smoking, saw the racks off instead.
Why: This meat is thin and layered with membrane. It works best ground. New Mexico State University Extension notes the loin also cuts loose from the ribs, which leaves the rib meat easy to reach.
Steps 6–9: Debone the Legs and Sort the Cuts
The legs hold most of your roasts and steaks. Deboning these sections yields several versatile venison cuts for your freezer.
You take the hind legs off at the hip, free the shanks, pull each femur, then trim and package. A table at the end tells you which muscle is which.
Step 6: Separate Each Hind Leg at the Hip Joint
Cut from where the leg meets the hip down to the ball joint. Work the knife around the joint and remove the leg there.
Why: The ball joint comes apart with a knife, so you don’t need a saw.
Have a second person hold the leg. A hind leg is heavy, and on a hanging carcass it drops suddenly once it comes free. On a gambrel, cut around the joint below the hanging point and snap off the lower leg. If you prefer to work by quarters, our guide on how to quarter a deer covers that route.
Step 7: Free the Shanks and Debone the Front Shoulders
On each hind leg, cut through the knee joint to free the shank. On each front shoulder, break the shank loose the same way.
Next, run your boning knife along the ridge of the shoulder blade. That separates the flat iron. Take the rest of the shoulder meat off the blade, then trim the fat and sinew.
Why: Shank meat is full of heavy tendons. Trim it out separately for grind or slow cooking.
Step 8: Cut Around the Femur and Follow the Hindquarter Seams
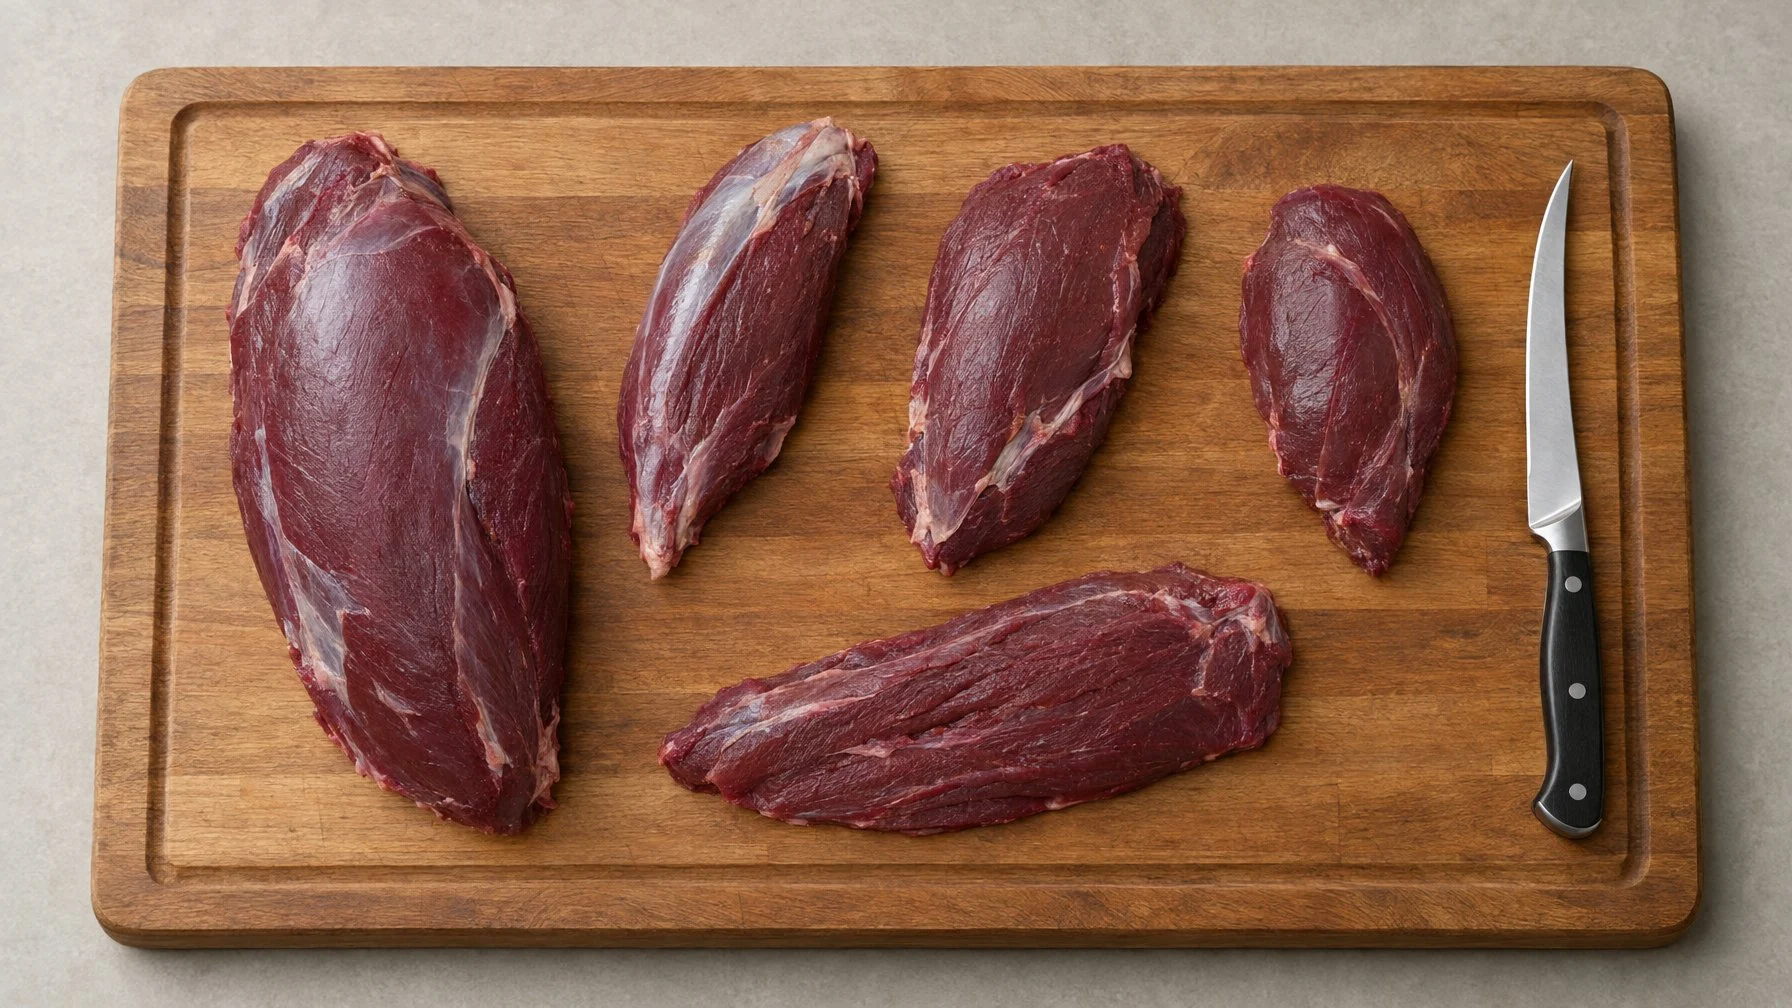
Lay the hindquarter on the board. Cut along the femur all the way around, then pull the bone out. That leaves a fully boneless leg.
Now follow the thin membranes between the muscles with your fingers and the knife tip. The leg separates into four main pieces:
- Sirloin tip, at the front of the femur
- Bottom round, on the outside (the smaller one)
- Top round, on the inside (about twice the size of the bottom round)
- Eye of round, between the two rounds
Why: Seam-cut muscles stay whole, so you can choose roasts or steaks later.
Step 9: Trim, Sort and Package the Boneless Meat
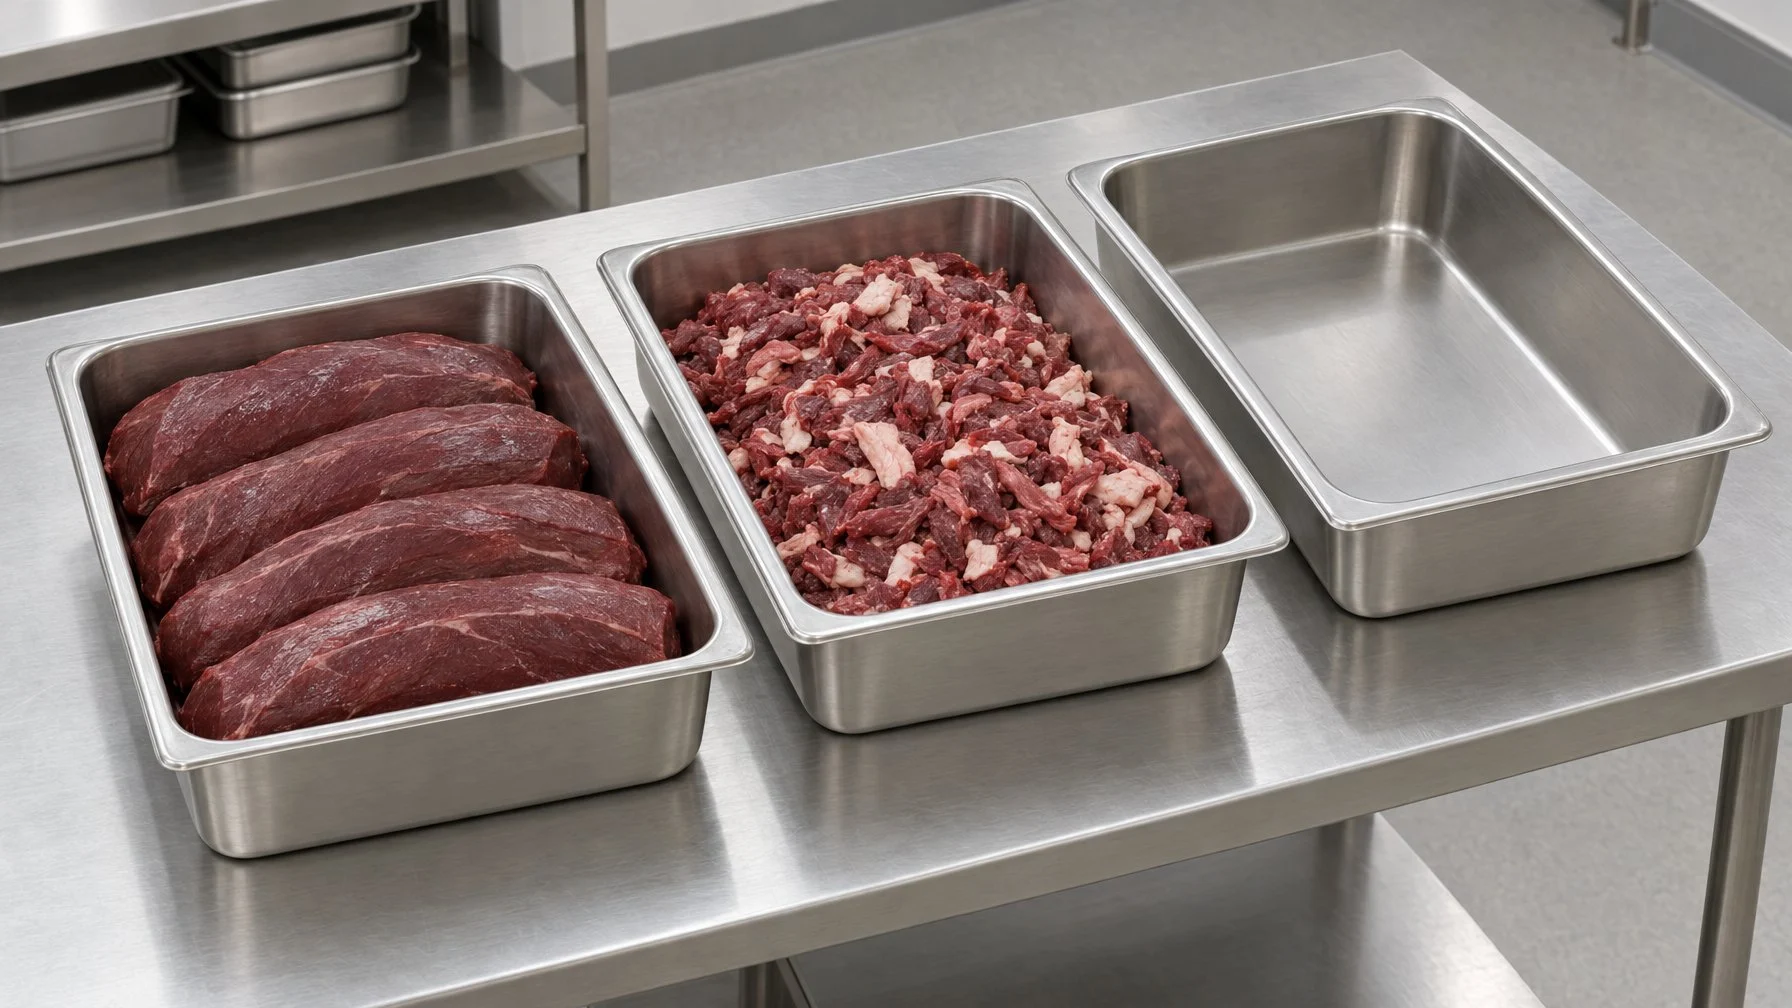
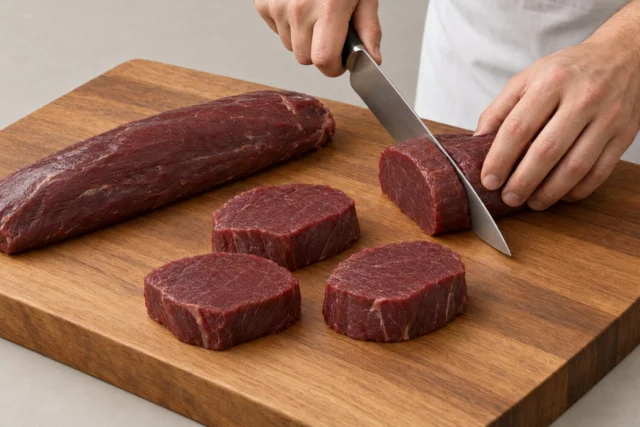
Trim all fat from every cut. Venison fat tastes bitter. Peel off silver skin, then sort cuts into containers. Trimmings go to the grind pile for lean ground venison.
Freeze at 0°F or below in airtight bags or containers, and double wrap. Mark each package with the cut and the date. Our tips on how to label frozen meat keep a full freezer easy to sort. For the grind pile, see our pick of the best meat grinder for deer.
Which Muscle Is Which? A Cut-by-Cut Table of Location and Use
Understanding individual venison cuts helps you choose the best cooking method for every portion of the animal.
| Cut | Where it is | What to do with it |
|---|---|---|
| Tenderloin | Under the spine, inside the cavity | Whole, quick sear |
| Backstrap | Along the top of the spine | Steaks or whole roast |
| Top round | Inside of hind leg | Roast, steaks, jerky |
| Bottom round | Outside of hind leg | Roast, jerky |
| Eye of round | Between top and bottom round | Small roast, jerky |
| Sirloin tip | Front of the femur | Roast or steaks |
| Flat iron | On the shoulder blade | Steaks |
| Shoulder | Front leg | Roast or grind |
| Neck | Top and bottom of neck | Roast or grind |
| Shank | Lower legs | Slow cook or grind |
| Rib and flank | Ribcage and belly | Grind, or ribs to smoke |
How Do You Fix Common Deboning Problems?
Four problems show up again and again: bone chips near shot damage, fat and silver skin left on, meat warming up, and tenderloins that tear.
Bone Fragments Near Shot Damage: Trim Generously
Cut wide around any shattered bone or bloodshot meat. Cornell advises trimming generously there and near the spine.
Look and feel for hard chips before a cut goes in the bag. A fragment in a steak is a chipped tooth. A fragment in the grind can damage a grinder plate. If a large area is damaged, give up the meat and move on.
Fat or Silver Skin Left on a Cut: Trim Before Packaging
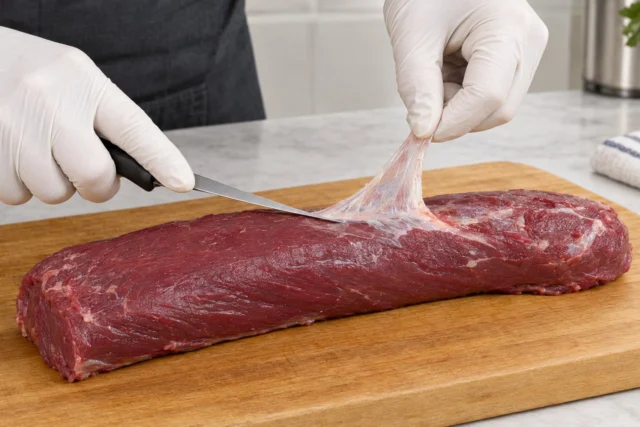
Trim before you freeze, not after you thaw. Fat turns bitter, and silver skin cooks up tough and chewy.
Slide the tip of your short knife under one edge of the silver skin. Angle the blade slightly up toward the membrane and pull the skin taut with your other hand. Strip it in long passes.
Keep the lean bits you trim off for ground venison. If you add fat back at the grinder, our venison burger fat ratio guide covers how much.
Meat Getting Warm: Stop and Chill It in Batches
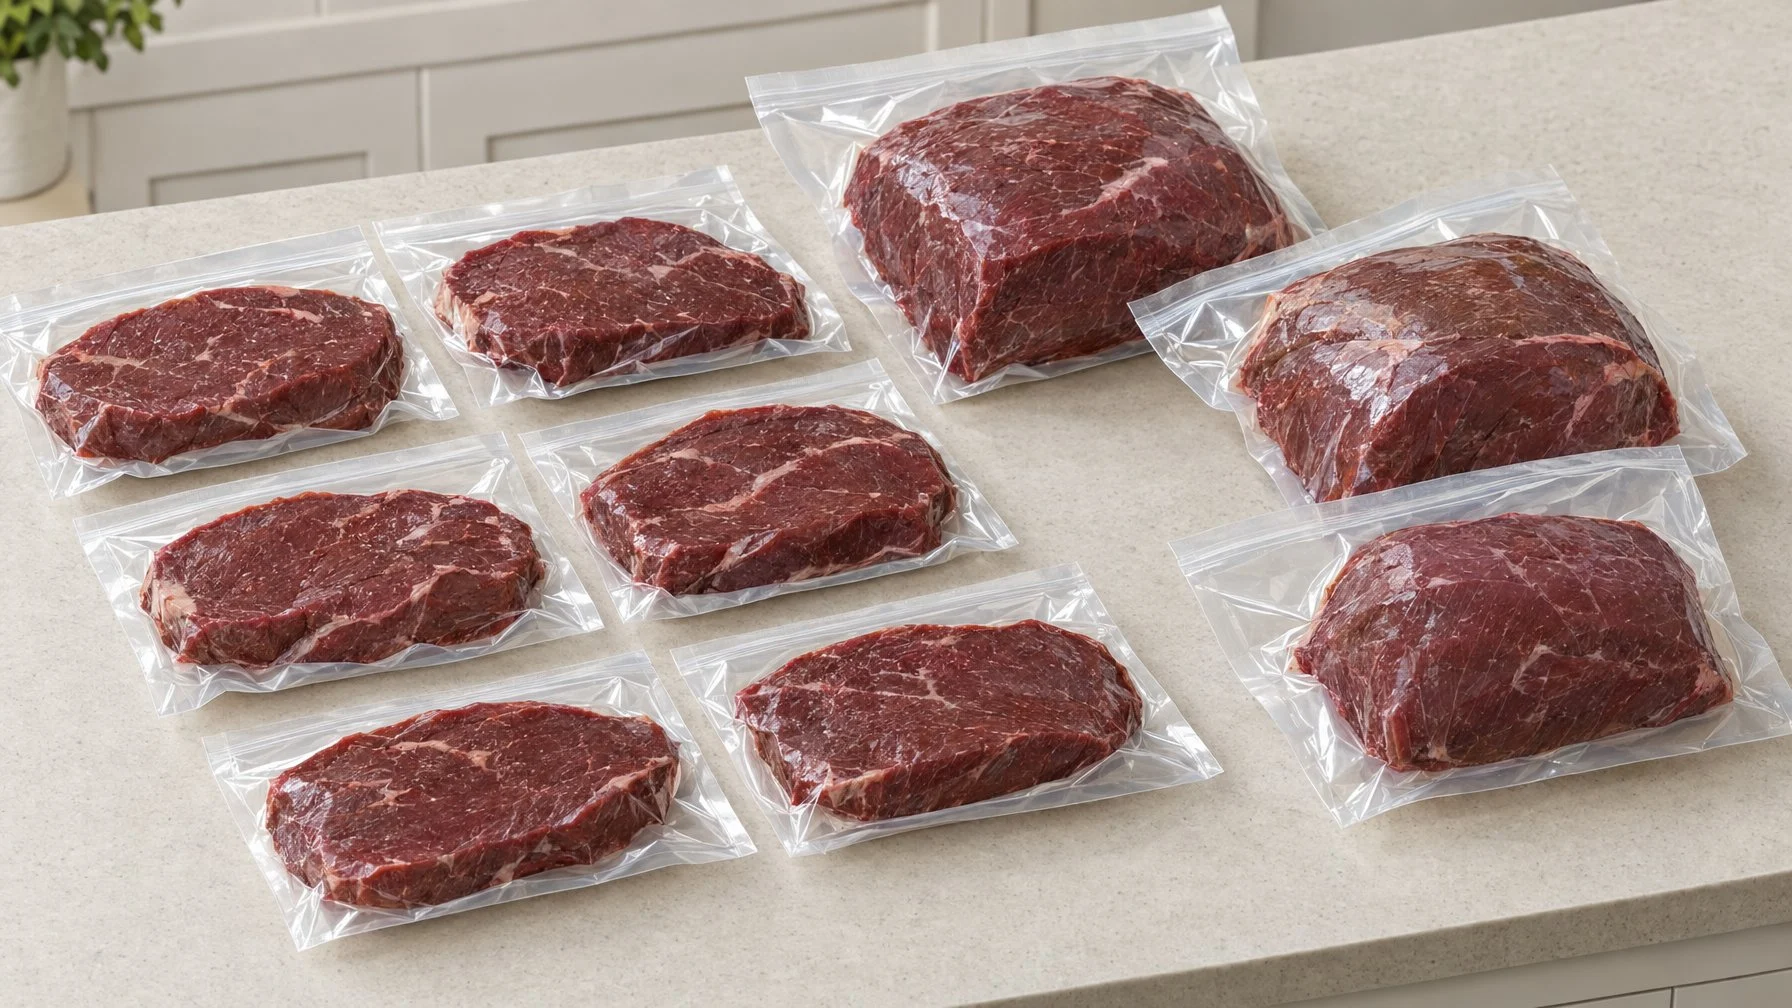
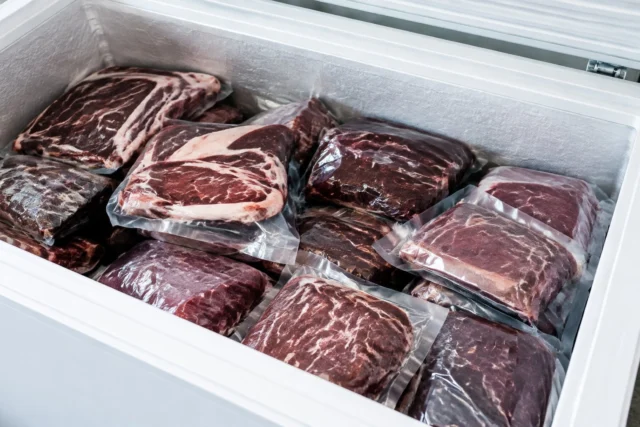
If meat feels soft or the room warms past 40°F, stop. Move finished cuts to a fridge or a cooler with ice. Bring out one quarter at a time.
Cold meat holds its shape and seams open cleanly. Warm meat smears and tears. Working in batches keeps everything on the board below the danger zone.
Tenderloins Tearing: Use Your Fingers and Short, Shallow Cuts
Tenderloins tear when you pull with a blade. Start one short cut under the front end, then work the muscle loose with your fingers.
Use the knife only for the thin bits of membrane that won’t give. Keep cuts short and shallow, close to the bone.
Deboning a Deer: Quick Answers
Can you debone a deer while it hangs?
Yes. A deer hanging on a gambrel is the setup Indiana DNR describes, and gravity helps open the shoulder and backstrap seams as you cut. Work at chest height so you can see each seam. Have a second person hold each hind leg, because a hanging carcass drops suddenly when a leg comes free at the hip joint.
Can you debone a deer on a table?
Yes. A clean table covered with a tarp and topped with a large cutting board works well. You may find it steadier than a hanging carcass. Work one section at a time, starting with the shoulders and torso cuts and finishing with the hind legs. Keep pieces you are not working on in a fridge or iced cooler at 40°F or below.
How do you debone a deer in the field?
You follow the same order: shoulders, backstraps, tenderloins, neck, then the hind legs, cutting around each bone. Keep meat off the ground on a clean game bag or tarp, and get it cold fast. Check your state’s rules first, since many states regulate carcass transport, and some require proof of sex or CWD sampling before you leave.
Do you need a meat saw to debone a deer?
No. Every step can be done with a sharp boning knife, because the shoulders attach by muscle and the leg joints separate with a knife. A saw is useful only if you want rib racks for smoking. Cornell’s Wildlife Health Lab advises avoiding sawing into bone where possible.
How long does it take to debone a deer?
Your first deer takes the longest, and you get faster with each one as the seams become familiar. Good deer butchering requires patience while you learn each muscle seam. Plan the job so meat never sits above 40°F. If the session runs long, chill finished cuts and work in batches. For a full plan from carcass to freezer, see our guide on how to butcher a deer.
This is general guidance based on USDA recommendations. When in doubt, follow the USDA FSIS source linked above.
When your grind pile is ready, our meat grinder size guide helps you match a grinder to the amount of venison you process each season.