
As an Amazon Associate I earn from qualifying purchases.
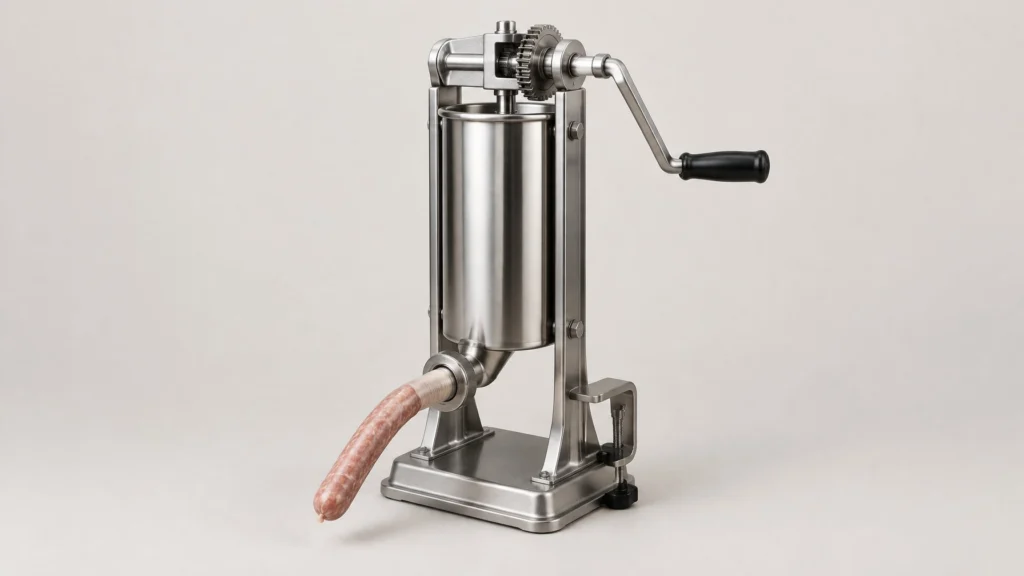
Secure the stuffer to a stable surface, load cold meat into the cylinder, vent trapped air, then crank steadily while the casing feeds off the tube. For a home batch, a vertical manual sausage stuffer with an air-release valve and a tube matched to your casing gives the most control with the least waste. Keep the meat at 40°F or colder the whole time.
After reading, you will be able to set up your stuffer, prep casings, weigh a fresh-sausage batch in pounds and grams, fill links without blowouts, and fix the four problems owners report most. You also get USDA cooking temperatures, casing soak times, and durability checks for reliable home sausage making.
What Do You Need Before Stuffing?
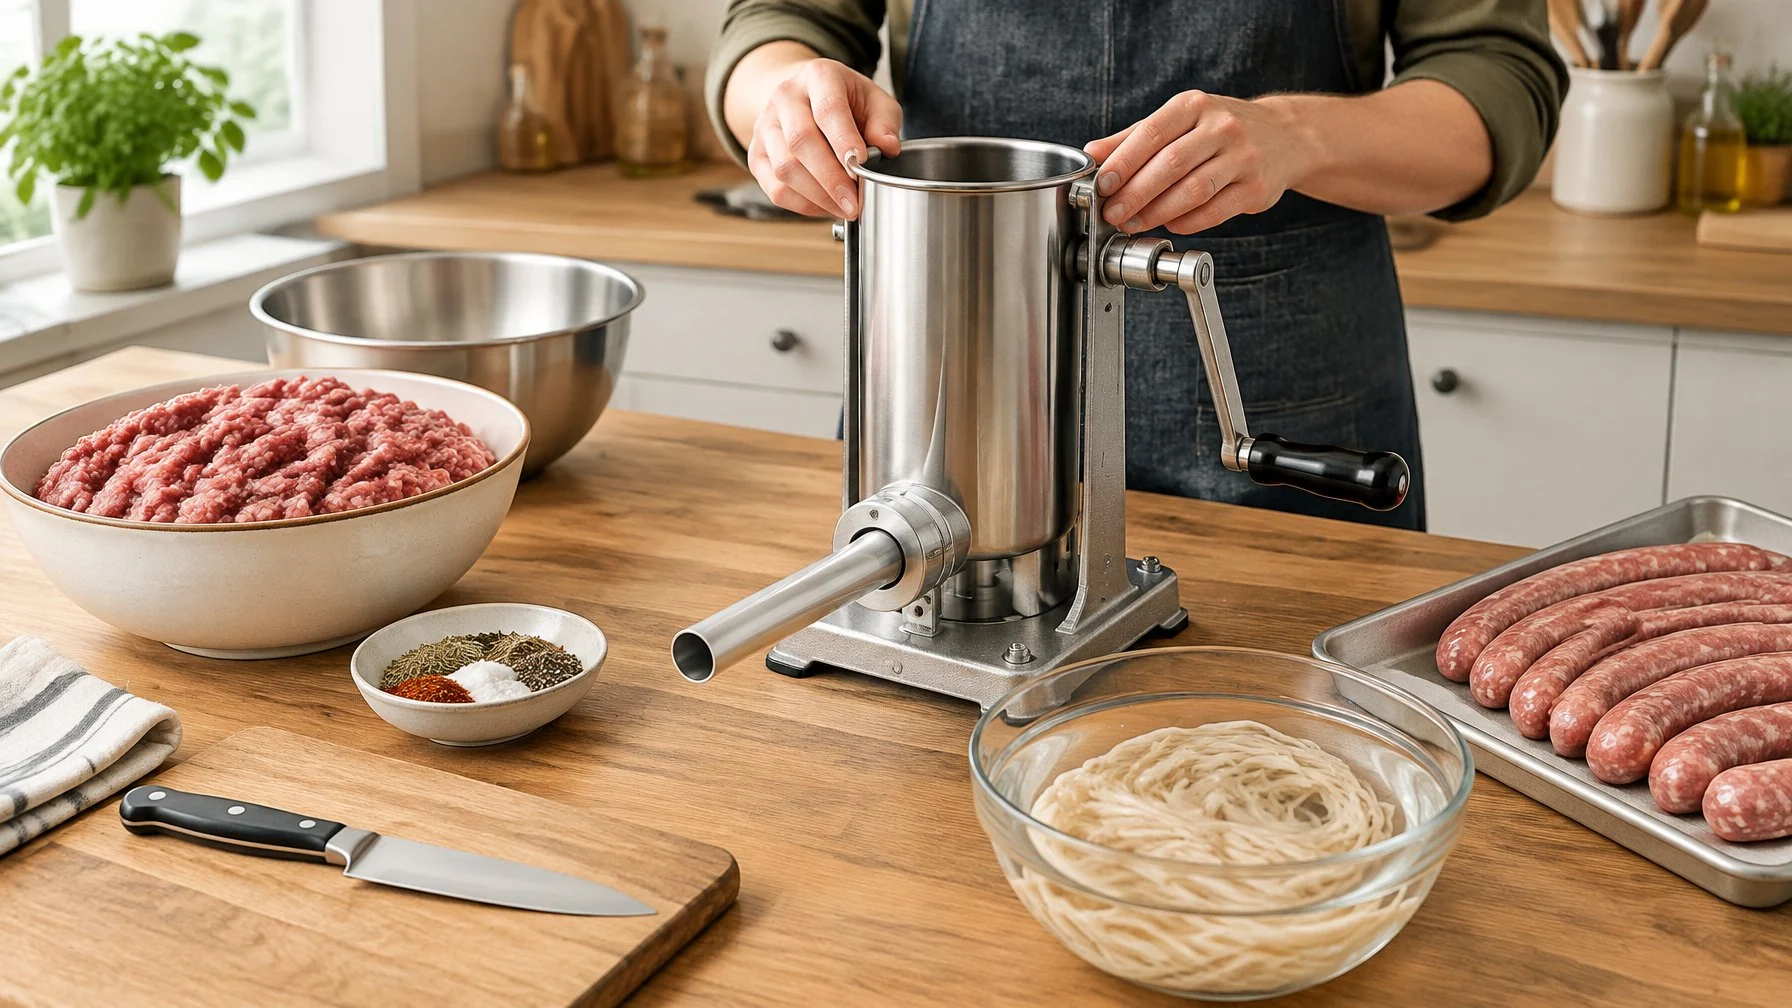
You need the right gear, prepped casings, and a cold work area, plus a batch weighed out before the cylinder comes off the base. Weights matter because salt and water are figured by the pound.
Equipment, Casings, and a Cold Work Area
A manual sausage stuffer is a hand-cranked press that pushes ground meat from a cylinder through a tube and into casings. For any home sausage maker, choosing a durable stainless steel sausage stuffer ensures sanitation and efficiency during meat processing.
Lay out your gear by type before you start:
- Stuffer: a vertical sausage stuffer, with the cylinder, piston, gasket, and tubes clean and dry.
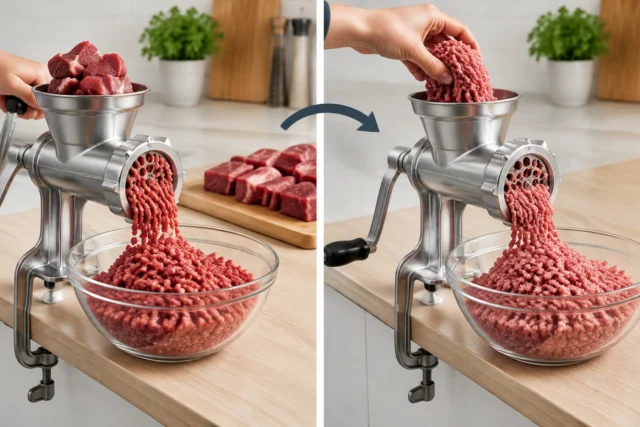
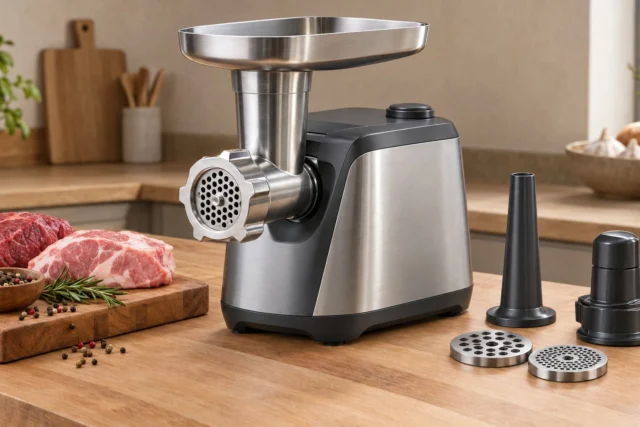
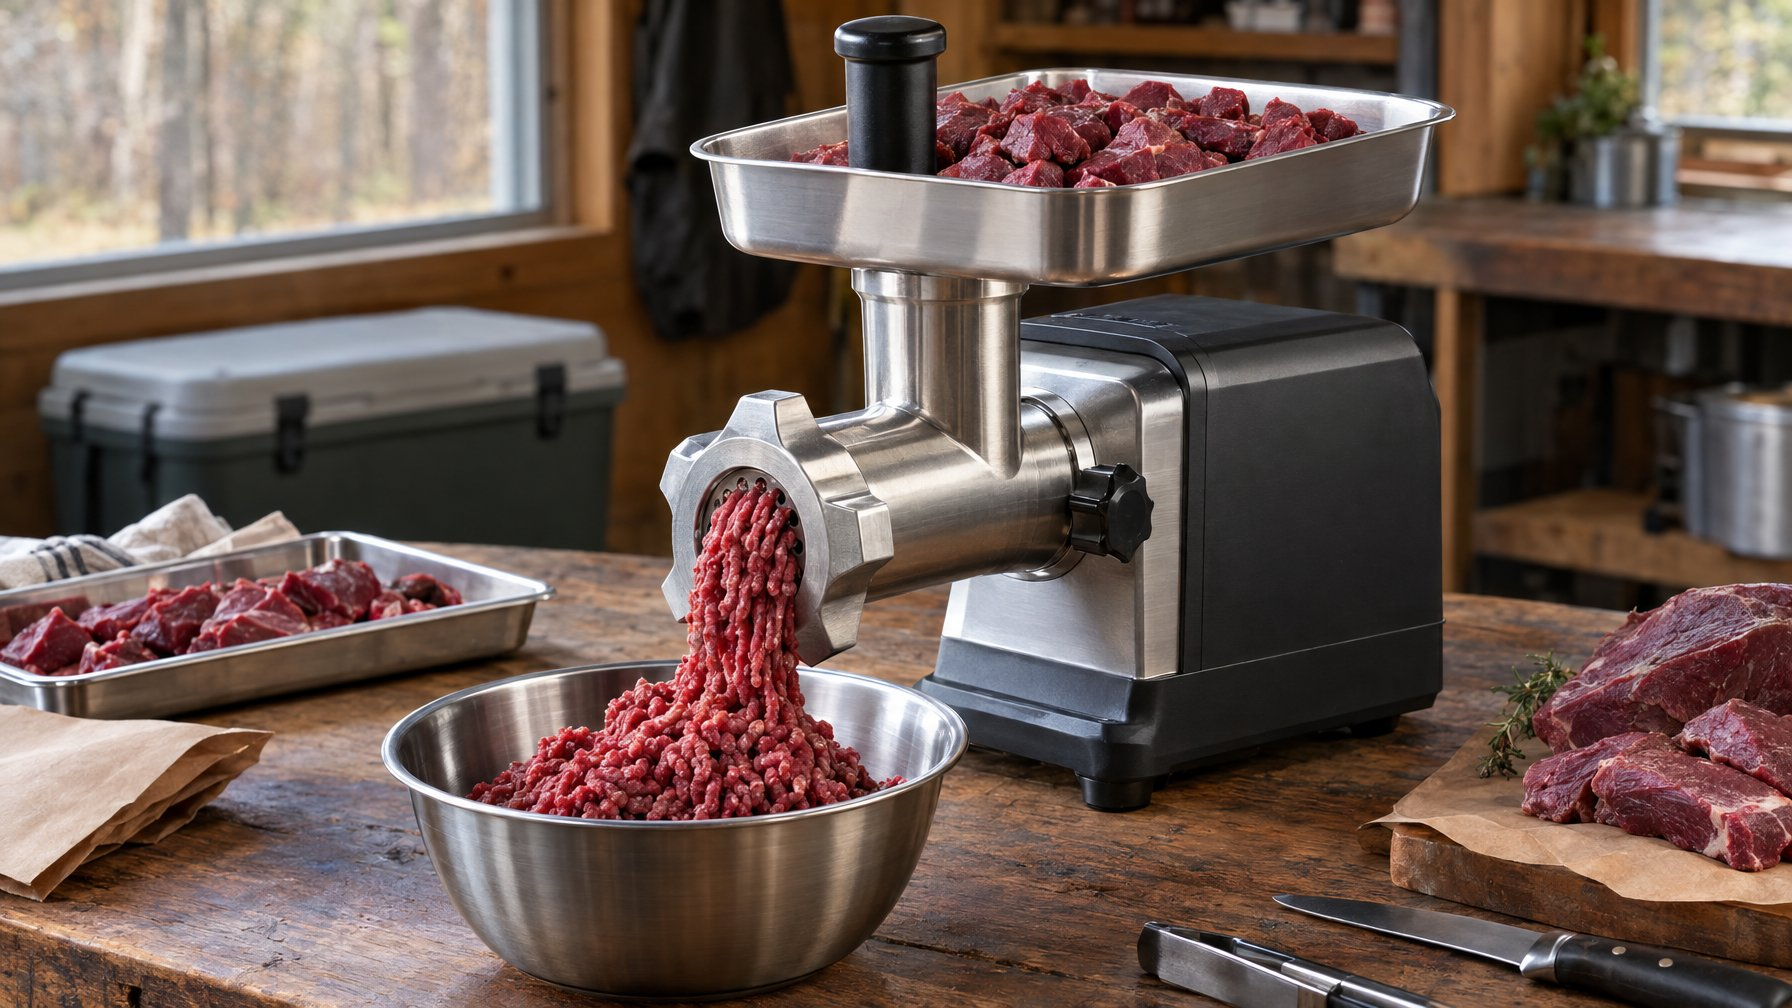
- Grinder: for meat you grind yourself. Our meat grinders coverage explains plate sizes.
- Scale: one that reads grams.
- Food-grade lubricant: for the cylinder wall and gasket.
- Casings: natural hog or sheep, or collagen casings.
- Twine, hog rings, or a pricker: for tying and venting.
- Sheet pans and a thermometer: to hold and check finished links.
Prep natural casings first. Rinse them, then soak in 85 to 90°F water for at least 10 minutes to pull out the salt. Edible collagen casings go straight from the package onto the tube, dry.
Chill everything that touches meat. Cold metal keeps fat from smearing. Our guide on how long to freeze meat before grinding gives firm-up times. Your refrigerator should run at 40°F or below, and raw meat should not sit out more than 2 hours.
Meat and Salt Weights for a Fresh-Sausage Batch
This optional example makes 5 lb of fresh sausage. LEM suggests an 80/20 ratio of lean meat to pork fat and 1 oz of water per pound to help the mix flow.
| Ingredient | Pounds/Ounces | Grams |
|---|---|---|
| Lean meat (venison, beef, or pork) | 4 lb | 1,814 g |
| Pork fat | 1 lb | 454 g |
| Cold water | 5 oz | 142 g |
| Salt at 1.5% of meat weight | 1.2 oz | 34 g |
Salt math: 2,268 g of meat × 0.015 = 34 g. Add seasoning to taste.
Lean game needs added fat. See where to buy beef fat for venison if pork fat is hard to find.
This recipe uses no curing salt. Cured or smoked sausage needs a measured cure from a reliable published recipe. Do not guess the amount. For what each curing salt contains, see Prague Powder #1 vs #2; for smoking temperatures, see how to smoke sausage in an electric smoker.
How Do You Fill Sausage Casings by Hand?
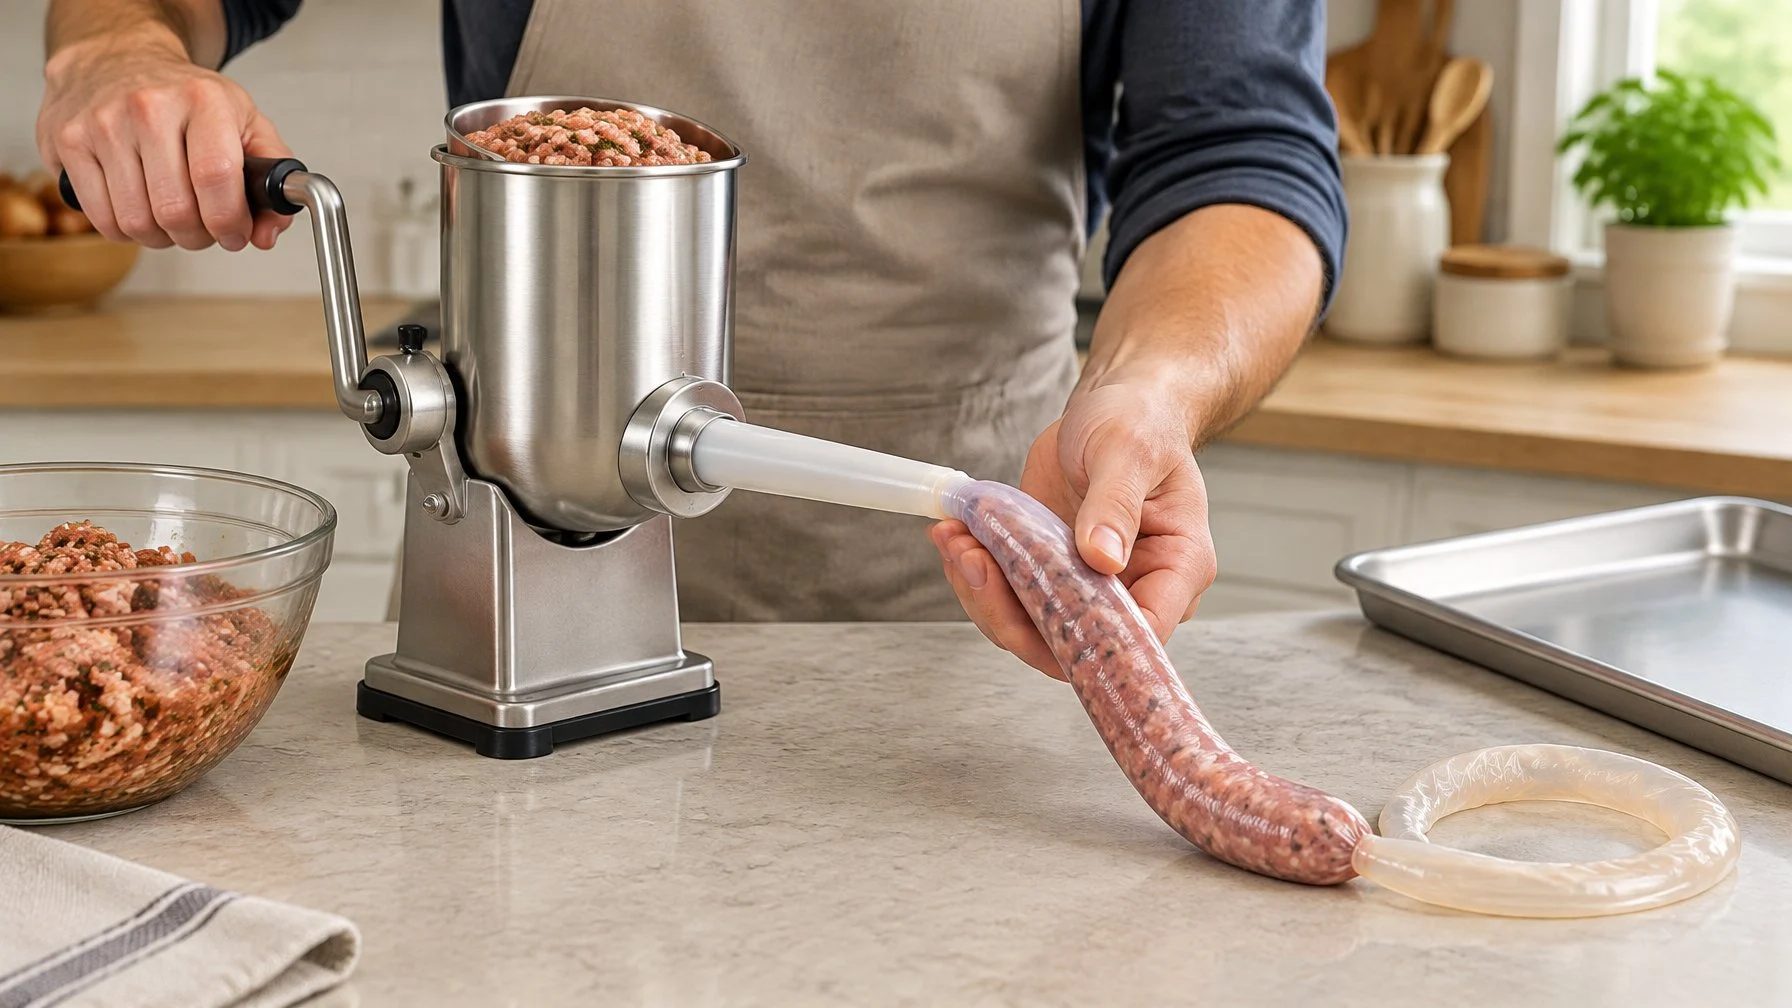
Filling takes four moves: secure and assemble, load and vent, crank while the casing feeds, then link and chill. The safety numbers follow the steps.
Step 1: Secure the Base and Fit the Tube
- Clamp or set the base on a solid, dry counter. A base that slides spills meat and strains your wrist.
- Seat the piston gasket with its groove facing down toward the meat. A backward gasket lets meat slip past.
- Coat the cylinder wall and gasket with food-grade lubricant. Friction makes cranking hard.
- Crank the piston to the top, then lock the cylinder in. The piston needs full travel.
- Fit the tube and hand-snug the ring nut. Omcan warns that overtightening the ring nut can damage the funnel.
Step 2: Load the Cylinder and Release Trapped Air
- Tilt out the cylinder and pack meat in handfuls. Small loads leave fewer gaps.
- Press each layer down firmly. Pressing pushes air out before it reaches the casing.
- Tilt the cylinder upright and lock it. A loose cylinder shifts under pressure.
- Crank until the piston meets the meat. The air-release valve vents the pocket under the piston.
- Keep cranking until meat reaches the tube tip. Now the tube holds no air.
Stuff right after mixing. Seasoned meat sets up fast and strains the gears.
Step 3: Feed the Casing and Crank at a Steady Pace
- Slide the whole casing onto the tube. Bunched casing feeds evenly.
- Tie or ring the end. A sealed end lets pressure build.
- Crank with one hand at an even pace. Starts and stops cause air gaps.
- Hold the casing near the tube tip with light pressure. Avantco notes that pressure close to the funnel packs the mix firmly.
- Stop when the coil feels firm with some give. Tight coils burst when twisted.
Step 4: Stop, Link, and Chill the Sausage
- Back the crank off a quarter turn when the casing runs out. Relieved pressure keeps meat from pushing out.
- Tie or ring the open end.
- Twist links in alternating directions, or tie collagen with twine. Collagen tears when twisted hard.
- Prick any air pockets with a clean pin.
- Lay links on a sheet pan and refrigerate right away.
Safety: Keep Raw Meat Cold and Cook to the Right Temperature
SAFETY: Stuffing does not make raw meat safe to eat. Fresh sausage is raw until cooked. USDA FSIS sets 160°F for ground beef, pork, lamb, and veal and 165°F for ground poultry. Check with a food thermometer. Keep raw links at 40°F or colder and cook or freeze ground meat within 2 days. Cured, smoked, or dried sausage follows separate cure and process rules from a reliable published recipe.
| Sausage type | Cook to (USDA FSIS) |
|---|---|
| Fresh beef, pork, lamb, venison blends | 160°F |
| Fresh turkey or chicken | 165°F |
FSIS also states that fresh sausages must be kept refrigerated and thoroughly cooked before eating.
What Goes Wrong During Stuffing?
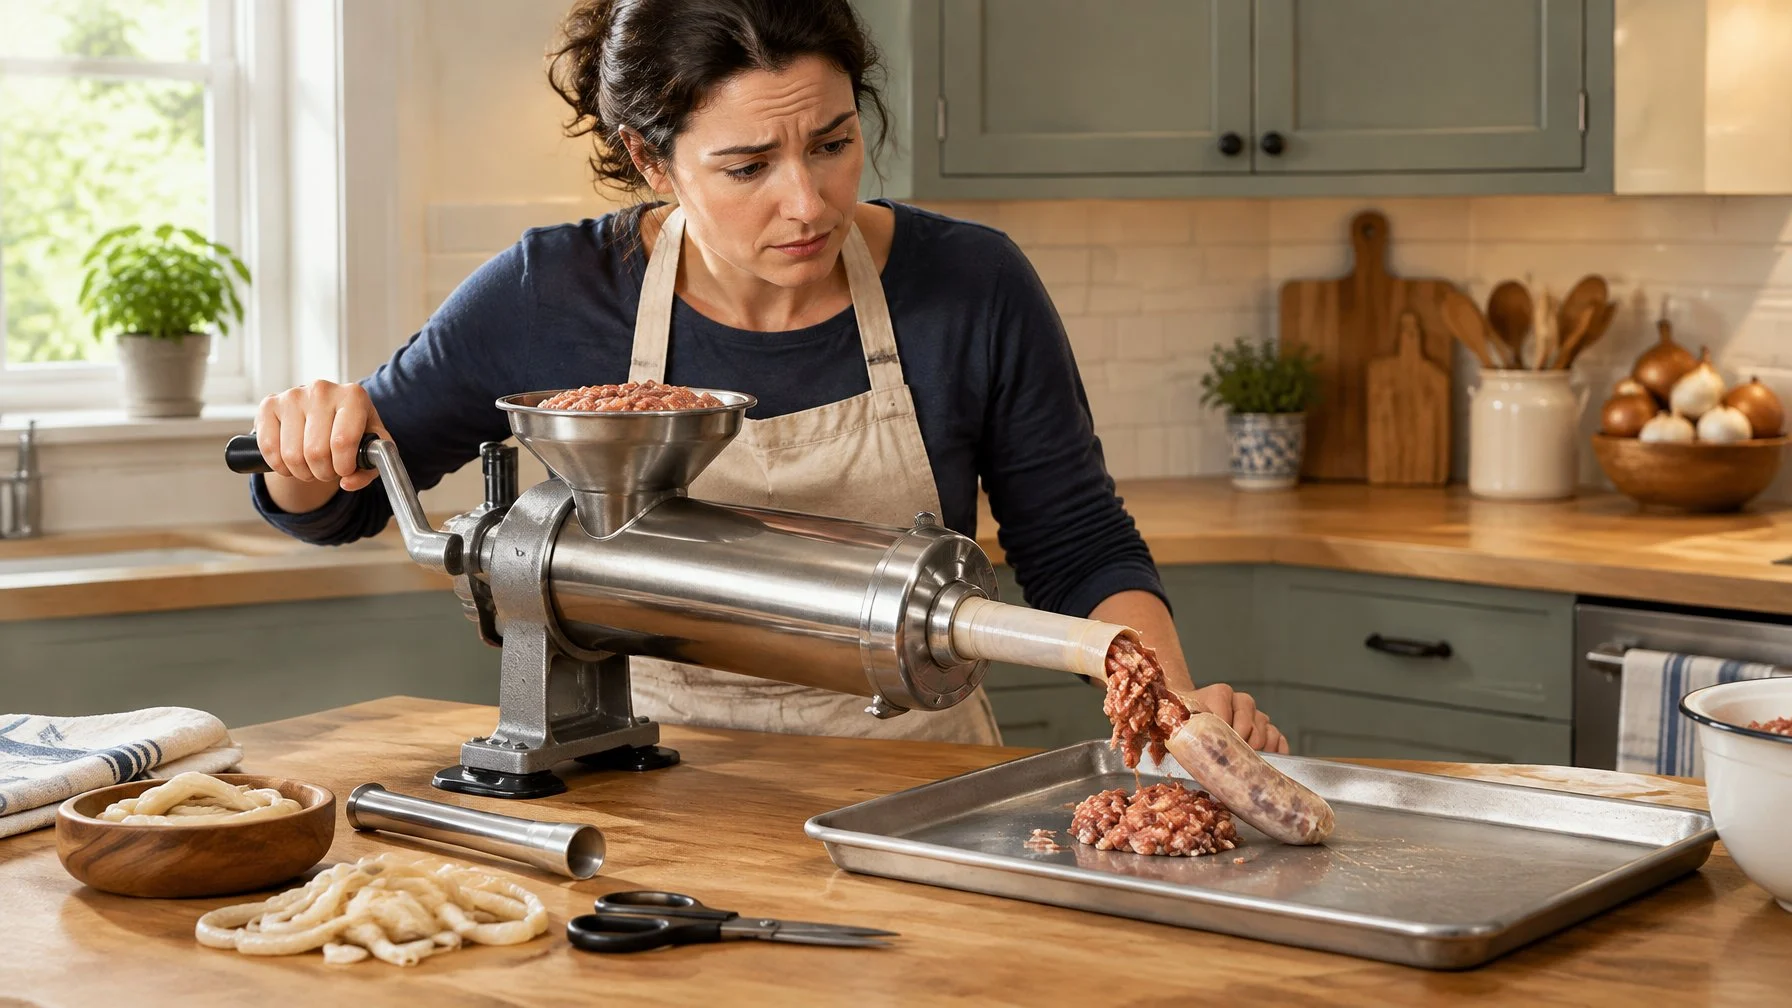
Four problems show up again and again in owner reports: split casings, air pockets, meat leaking past the piston, and a handle that binds or a base that walks. Most trace back to prep, not a broken stuffer.
Casings Burst or Slip Off the Tube
Bursts come from the casing, the tube, or the fill. LEM’s troubleshooting list covers all three.
- Old or brittle casings: replace them.
- Wrong soak: soak natural casings 10 minutes or more; keep collagen strands dry.
- Overfilling: ease off the crank and leave room to twist.
- Burr on the tube: run a fingertip around the tip and smooth or replace it.
- Tube too big: step down one size.
Casings slip when the tube is wet with fat and your guiding hand is loose. Wipe the tube and hold the casing with steady, light pressure.
Air Pockets Form in the Links
Air enters during loading. Pack the cylinder in small handfuls and press each one down.
Push meat to the tube tip before you put the casing on. A clogged air-release valve also traps air, so pull and clean it each session. Prick pockets in finished links with a sterile pin.
Meat Leaks Past the Piston
Meat above the piston means a gasket problem or a shifted shaft. Check these in order:
- Is the gasket installed?
- Is the groove facing down toward the meat?
- Is it lubricated?
- Is the main shaft aligned?
On LEM models, loosen the four gearbox bolts, crank the piston to the bottom, and retighten to realign the shaft.
The Handle Binds or the Base Moves
A stiff mix is the usual cause of a binding handle. Add a little cold water and use the largest tube your casing fits.
Never force the crank; the handle can flip back and hurt you. Recheck that the cylinder faces the right way.
A walking base needs a clamp, a rubber mat, or a sturdier counter. Omcan also warns never to store its stuffers below 32°F.
Which Stuffer Features Matter for Your Batch?
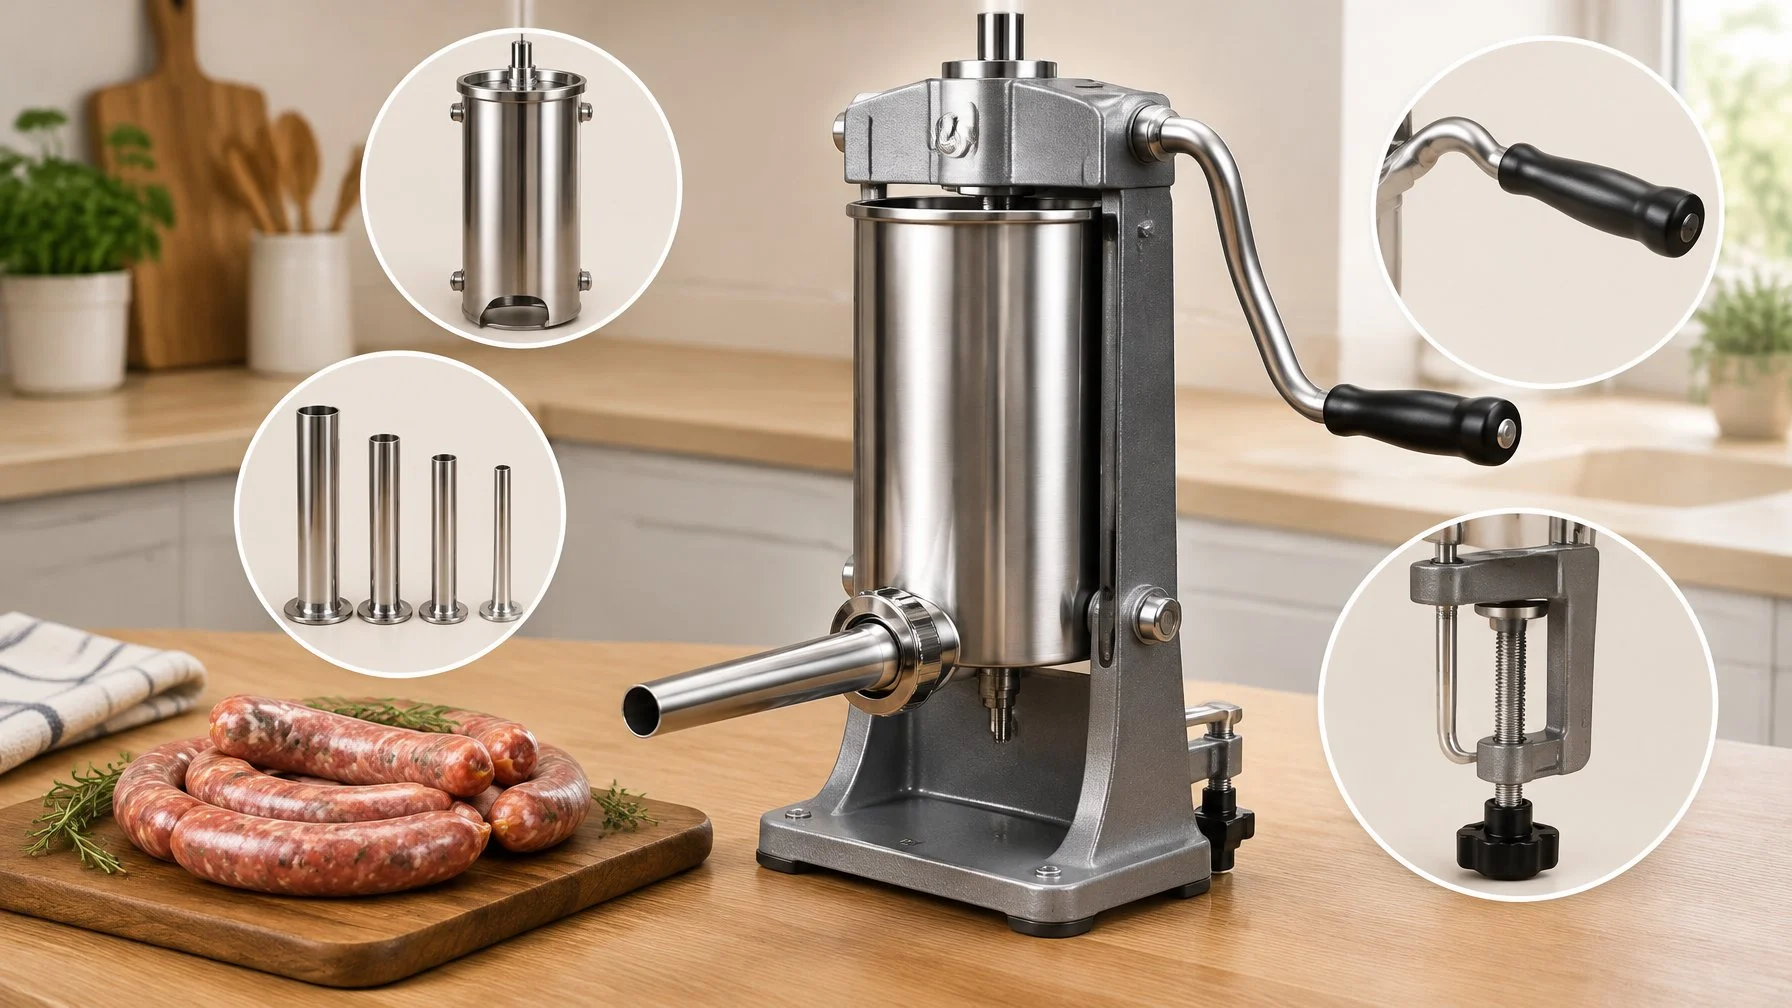
Finding the best manual sausage stuffer comes down to your kitchen space and typical recipe sizes. Capacity, gears and seals, tube fit, and motor needs decide which stuffer suits you. We compared manufacturer specs and owner reports; we did not run product tests.
Match Cylinder Capacity to Your Batch and Counter Space
Pick a cylinder that holds your usual batch in one or two loads. Every reload means venting air again.
| Model | Capacity | Cylinder | Unit weight |
|---|---|---|---|
| Hakka SV-3 | 7 lb (3 L) | 140 x 200 mm | 17.6 lb |
| LEM #1112 | 10 lb | n/a | n/a |
| Omcan 47499 | 22 lb | 8.9″ x 10.6″ | 50.7 lb |
| Omcan 47500 | 33 lb | 8.9″ x 15.7″ | 57.3 lb |
The Hakka 7lb/3L sausage stuffer lists at $129.99 and stands 21.3 inches tall, fitting easily under most cabinets. This vertical sausage maker suits 5 lb batches like the recipe above.
Families splitting a deer may want 10 to 15 lb capacity; see whether processing your own deer is worth it for scale.
Compare Gears, Mounting, Seals, and Replaceable Parts
Check these four points on any spec sheet:
- Two-speed gears: slow for filling, fast for raising the piston.
- Mounting: clamp holes or a wide, heavy base.
- Seal and valve: a replaceable gasket and an air-release valve you can take apart.
- Parts and warranty: Omcan lists a 6-month parts and labor bench warranty. Look for a published parts list like LEM’s.
In a commercial kitchen, a stuffer with no spare gaskets sits idle the day one tears.
Choose Tubes That Fit Your Casings and Clean Easily
Use the largest tube your casing slides onto. Bigger tubes mean easier cranking.
| Casing | Common tube |
|---|---|
| Snack sticks, 16–19 mm collagen | 16 mm (about 1/2″) |
| Breakfast links, sheep | 16–19 mm |
| Brats and Italian, hog | 22–25 mm |
| Summer sausage, 40 mm+ | 38 mm (1 1/2″) |
Stainless steel stuffing tubes hold up to hot water, heavy pressure, and thorough scrubbing. Many cooks prefer stainless steel stuffing tubes because they do not bend when pushing stiff meat.
In comparison, plastic stuffing tubes are lightweight and economical. However, plastic stuffing tubes can scratch, warp, or retain odors over repeated washings.
When Is an Electric Sausage Stuffer Worth Considering?
An electric sausage stuffer makes sense if you run large batches often or have hand or wrist limits. It frees both hands for the casing.
Even hybrid makers point back to the crank: Avantco recommends the manual handle for thick mixtures that overwork the motor. For most home batches, a vertical stainless steel sausage stuffer does the job. If you also need a grinder, our best meat grinders roundup covers that half of the setup.
Manual Sausage Stuffer: Quick Answers
What is the best manual sausage stuffer for home batches?
The best manual sausage stuffer for home kitchens is typically a vertical, two-speed stainless steel model matched to your batch size. This design gives you maximum control without taking up excessive counter space. The Hakka 7lb/3L sausage stuffer suits 5 lb batches, with four steel tubes and an air-release valve. If you process whole deer, step up to 10 to 15 lb so you reload less often and vent air fewer times per session.
Can I stuff sausage with a meat grinder instead?
Yes, most grinders accept a stuffing tube, but the meat passes the auger twice and warms up. That smears fat and gives a pasty texture. A dedicated sausage maker moves cold meat with a piston and minimal heat. If you grind and stuff in one go, keep the head ice cold and grind meat twice only when the recipe calls for a fine texture.
How full should I pack a sausage casing?
Fill until the casing feels firm but still gives a little when you squeeze it. If you plan to twist links, leave room for the twist, or the casing splits. For collagen you will tie, about three-quarters full works. Large casings need roughly 2 inches empty at the open end so you can close them with a hog ring or twine.
Should sausage meat be cooked before stuffing?
No, fresh sausage is stuffed raw and cooked afterward. USDA FSIS says to cook fresh sausage made with beef, pork, lamb, or veal to 160°F and poultry sausage to 165°F, checked with a thermometer. Keep raw links at 40°F or colder and cook or freeze them within 2 days. Cured and smoked styles follow their own published recipes.
How do I clean a manual sausage stuffer?
Take out the tube, crank the piston up, and lift out the cylinder. Remove the gasket and air-release valve, then hand-wash every part in hot, soapy water and dry it right away. LEM says not to use a dishwasher. Wipe the gearbox with a damp cloth. The method mirrors how to clean a meat grinder, lubricant included.
For recipes and casing guides, your next step is the SaltRail sausage making section.
This is general guidance based on USDA recommendations. When in doubt, follow the USDA FSIS source linked above.